Creative Woodworks & crafts 2009-04, страница 59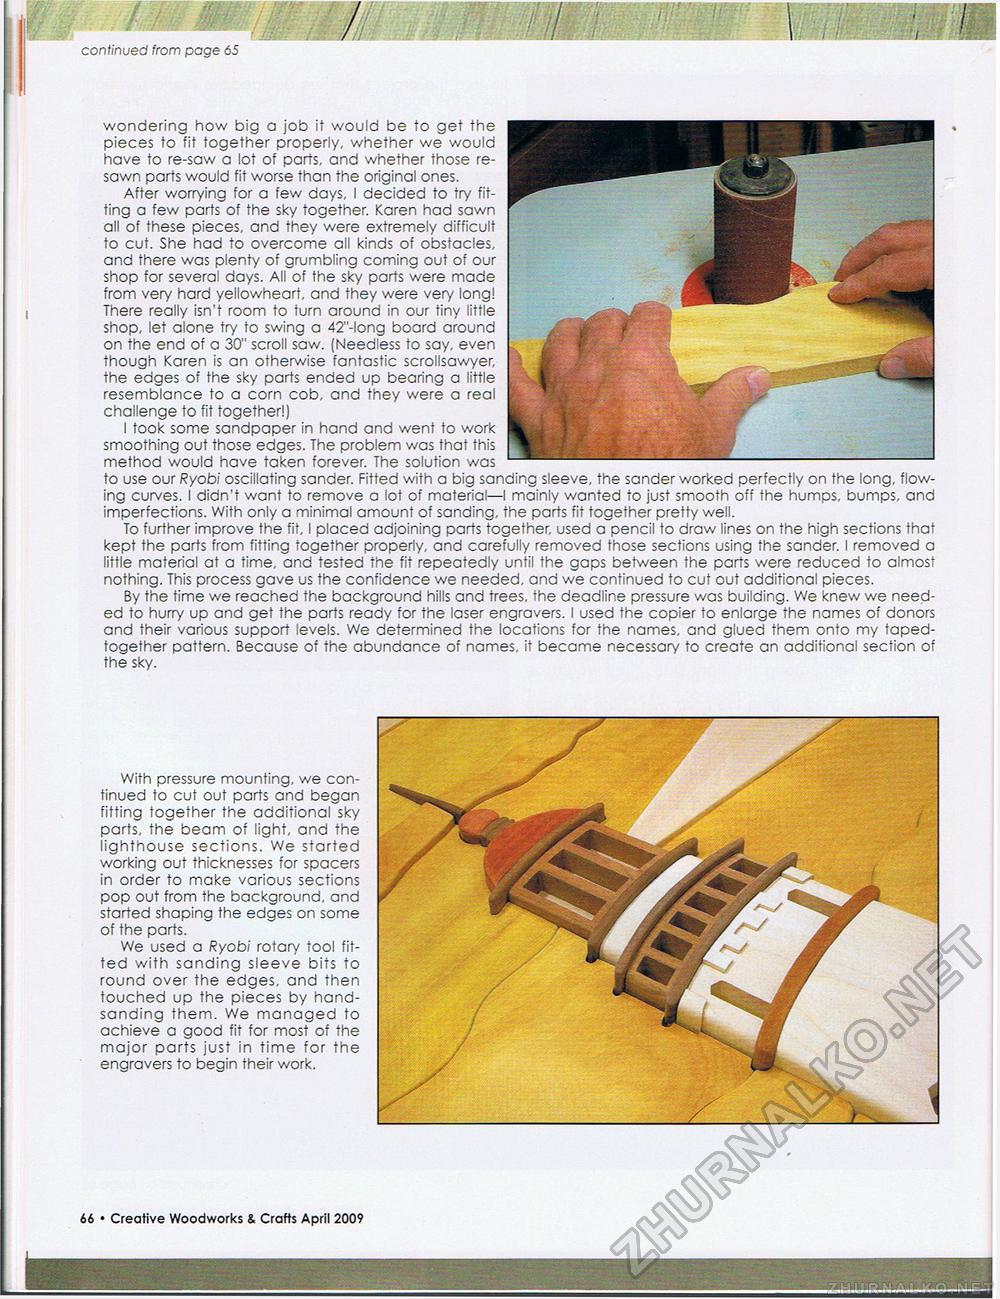
(■■i^VHHII^^HBHHi continued from page 65 wondering how big a job it would be to get the pieces to fit together properly, whether we would have to re-saw a lot of parts, and whether those re-sawn parts would fit worse than the original ones. After worrying for a few days, I decided to try fitting a few parts of the sky together. Karen had sawn all of these pieces, and they were extremely difficult to cut. She had to overcome all kinds of obstacles, and there was plenty of grumbling coming out of our shop for several days. All of the sky parts were made from very hard yellowheart, and they were very long! i There really isn't room to turn around in our tiny little shop, let alone try to swing a 42"-long board around on the end of a 30" scroll saw. (Needless to say, even though Karen is an otherwise fantastic scrollsawyer, the edges of the sky parts ended up bearing a little resemblance to a corn cob, and they were a real challenge to fit together!) I took some sandpaper in hand and went to work smoothing out those edges. The problem was that this method would have taken forever. The solution was to use our Ryobi oscillating sander. Fitted with a big sanding sleeve, the sander worked perfectly on the long, flowing curves. I didn't want to remove a lot of material—I mainly wanted to just smooth off the humps, bumps, and imperfections. With only a minimal amount of sanding, the parts fit together pretty well. To further improve the fit, I placed adjoining parts together, used a pencil to draw lines on the high sections that kept the parts from fitting together properly, and carefully removed those sections using the sander. I removed a little material at a time, and tested the fit repeatedly until the gaps between the parts were reduced to almost nothing. This process gave us the confidence we needed, and we continued to cut out additional pieces. By the time we reached the background hills and trees, the deadline pressure was building. We knew we needed to hurry up and get the parts ready for the laser engravers. I used the copier to enlarge the names of donors and their various support levels. We determined the locations for the names, and glued them onto my taped-together pattern. Because of the abundance of names, it became necessary to create an additional section of the sky. With pressure mounting, we continued to cut out parts and began fitting together the additional sky parts, the beam of light, and the lighthouse sections. We started working out thicknesses for spacers in order to make various sections pop out from the background, and started shaping the edges on some of the parts. We used a Ryobi rotary tool fitted with sanding sleeve bits to round over the edges, and then touched up the pieces by hand-sanding them. We managed to achieve a good fit for most of the major parts just in time for the engravers to begin their work. 66 • Creative Woodworks & Crafts April 2009 UiyumL— ~'-~ |


