Creative Woodworks & crafts 2009-04, страница 71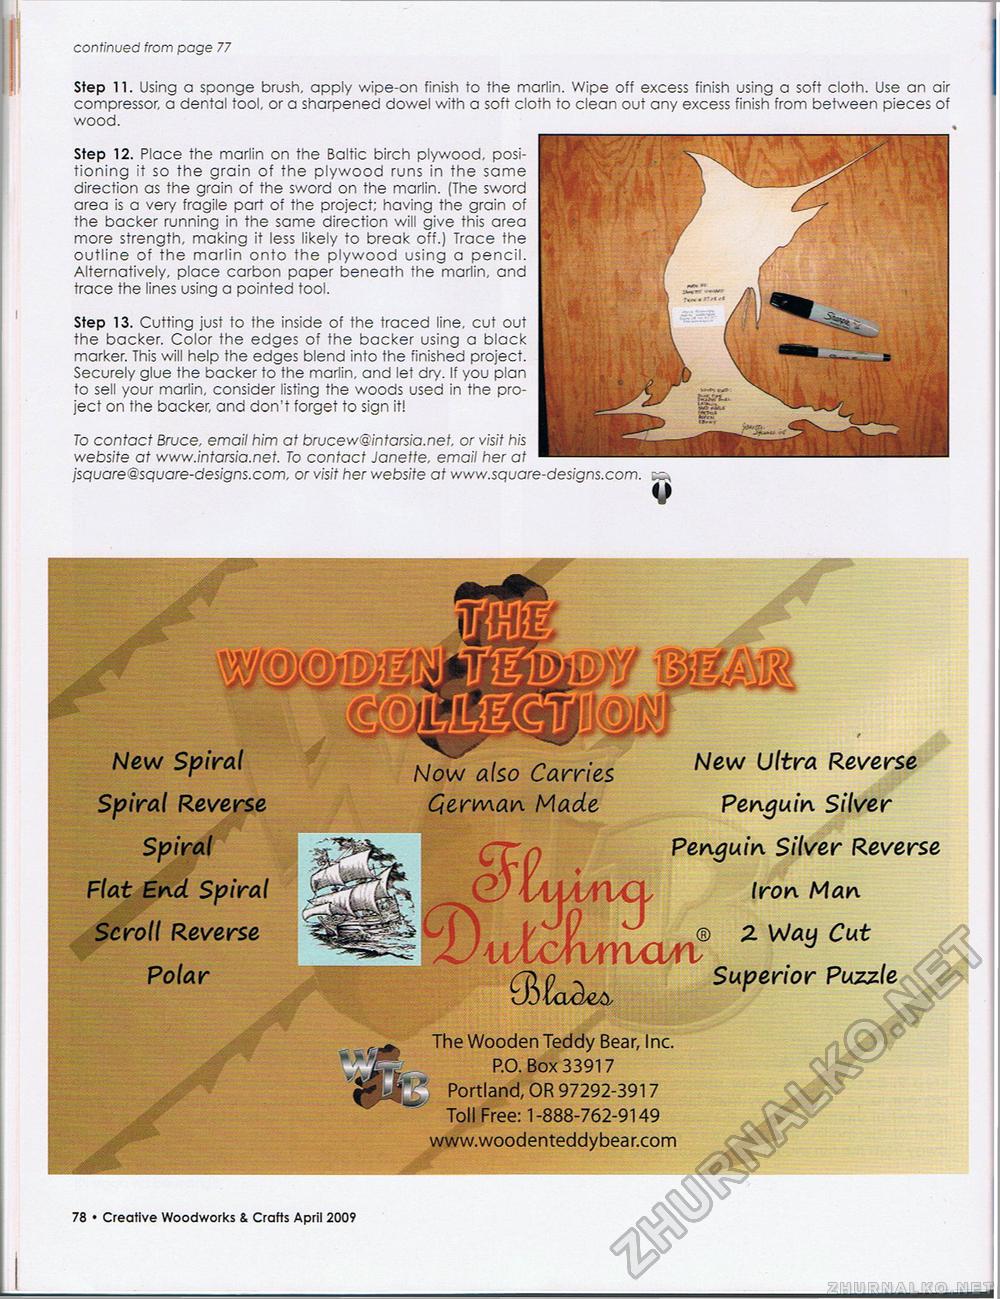
continued from page 77 Step 11. Using a sponge brush, apply wipe-on finish to the marlin. Wipe off excess finish using a soft cloth. Use an air compressor, a dental tool, or a sharpened dowel with a soft cloth to clean out any excess finish from between pieces of wood. Step 12. Place the marlin on the Baltic birch plywood, positioning it so the grain of the plywood runs in the same direction as the grain of the sword on the marlin. (The sword area is a very fragile part of the project; having the grain of the backer running in the same direction will give this area more strength, making it less likely to break off.) Trace the outline of the marlin onto the plywood using a pencil. Alternatively, place carbon paper beneath the marlin, and trace the lines using a pointed tool. Step 13. Cutting just to the inside of the traced line, cut out the backer. Color the edges of the backer using a black marker. This will help the edges blend into the finished project. Securely glue the backer to the marlin, and let dry. If you plan to sell your marlin, consider listing the woods used in the project on the backer, and don't forget to sign it! To contact Bruce, email him at brucew@intarsia.net, or visit his website at www.intarsia.net. To contact Janette, email her at jsquare@square-designs.com, or visit her website at www.square-designs.com New Spiral Spiral Reverse Spiral Flat End Spiral Scroll Reverse Polar Now also Carries New Ultm Reverse German Made Penguin Silver Penguin Silver Reverse Iron Man 2 Way Cut ______uncvn Superior Puzzle The Wooden Teddy Bear, Inc. P.O. Box 33917 Portland, OR 97292-3917 Toll Free: 1-888-762-9149 www.woodenteddy bea r.com mM 78 • Creative Woodworks & Crafts April 2009 |


