Creative Woodworks & crafts 2009-04, страница 68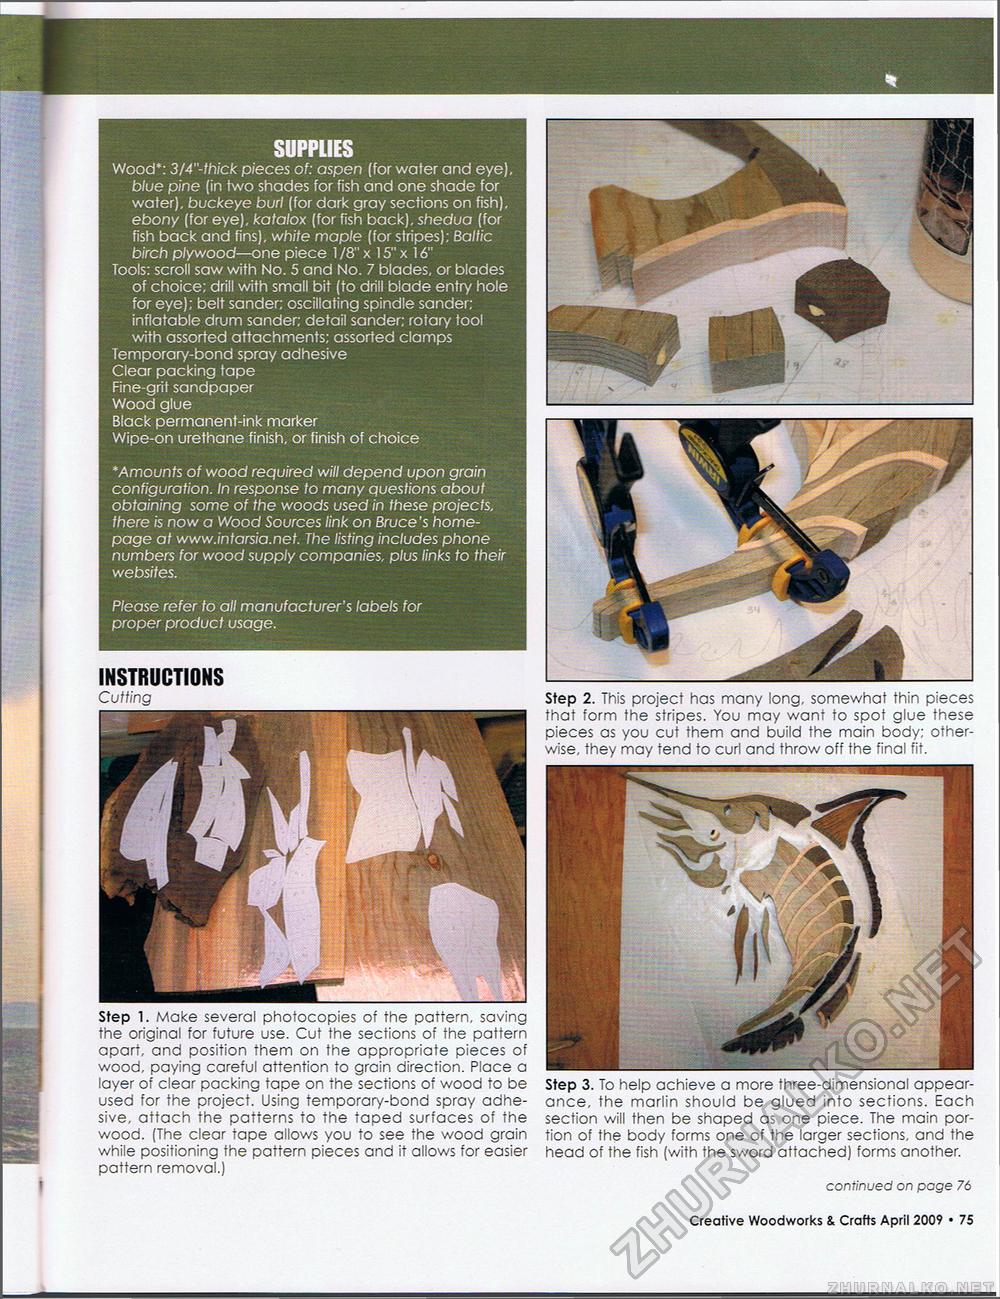
SUPPLIES Wood*: 3/4"-thick pieces of: aspen (for water and eye), blue pine (in two shades for fish and one shade for water), buckeye burl (for dark gray sections on fish), ebony (for eye), katalox (for fish back), shedua (for fish back and fins), white maple (for stripes); Baltic birch plywood—one piece 1 /8" x 15" x 16" Tools: scroll saw with No. 5 and No. 7 blades, or blades of choice; drill with small bit (to drill blade entry hole for eye); belt sander; oscillating spindle sander; inflatable drum sander; detail sander; rotary tool with assorted attachments; assorted clamps Temporary-bond spray adhesive Clear packing tape Fine-grit sandpaper Wood glue Black permanent-ink marker Wipe-on urethane finish, or finish of choice *Amounts of wood required will depend upon grain configuration. In response to many questions about obtaining some of the woods used in these projects, there is now a Wood Sources link on Bruce's homepage at www.intarsia.net. The listing includes phone numbers for wood supply companies, plus links to their websites. Please refer to all manufacturer's labels for proper product usage. INSTRUCTIONS Cutting Step 1. Make several photocopies of the pattern, saving the original for future use. Cut the sections of the pattern apart, and position them on the appropriate pieces of wood, paying careful attention to grain direction. Place a layer of clear packing tape on the sections of wood to be used for the project. Using temporary-bond spray adhesive, attach the patterns to the taped surfaces of the wood. (The clear tape allows you to see the wood grain while positioning the pattern pieces and it allows for easier pattern removal.) Step 2. This project has many long, somewhat thin pieces that form the stripes. You may want to spot glue these pieces as you cut them and build the main body; otherwise, they may tend to curl and throw off the final fit. Step 3. To help achieve a more three-dimensional appearance, the marlin should be glued into sections. Each section will then be shaped as one piece. The main portion of the body forms one of the larger sections, and the head of the fish (with the sword attached) forms another. continued on page 76 Creative Woodworks & Crafts April 2009 • 11 |


