Creative Woodworks & Crafts-050-1998-winter, страница 51
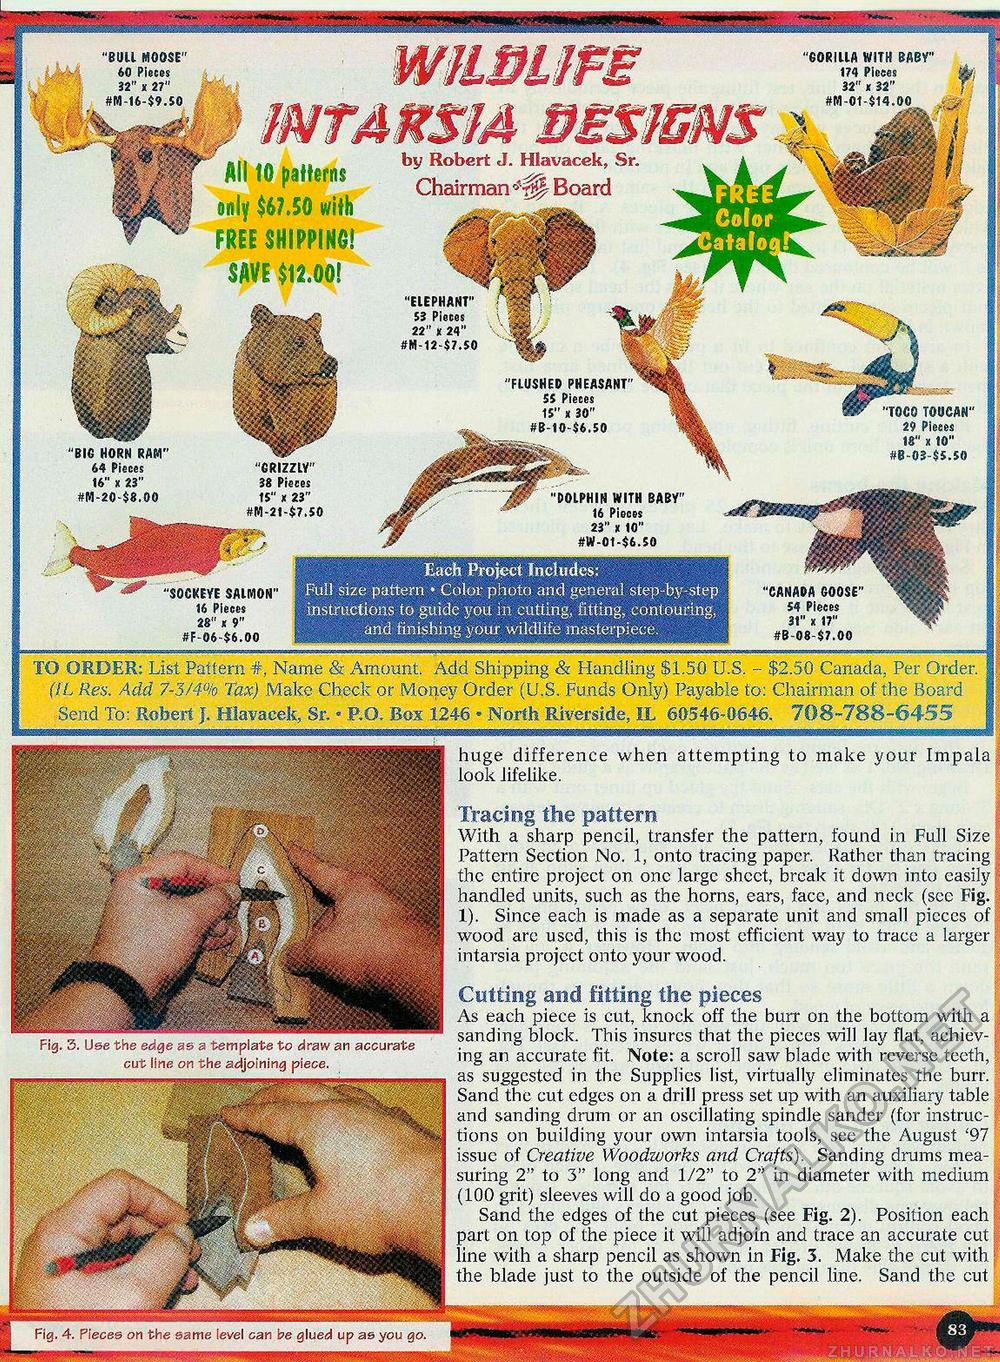
Each Project Includes: Pull size pattern • Color photo and general step-by-step instructions to guide you in cutting, fitting, contouring, ■■■ : and finishing your wikllifo masterpiece. 60RIUA WITH BA8Y' 174 Pieces 32"x 32" #M-01-$14.00 "BUll «oosr 60 Pieces 32" x 27" #M-16-$9.50 by Robert J. Hlavacek, Sr. Chairman Board "ElEPHANT" S3 Pieces 22" x 24" #M-12-$7.50 HUSHED PHEASANT' 55 Pieces 15"* 30" #8-10-46.50 'TOCO TOUCAN' 29 Pieces 18" x 10" #8-03-$5.50 "6RIZZIY" 38 Pieces 15" x 23" #M-21-$7.50 DOLPHIN WITH BABY' 16 Pieces 23"X 10" #W-0t-$6.50 CANADA COOSE' 54 Pieces 31" x 17" #6-08-$?.00 S0CKEYE SAIM0N' 16 Pieces 28" x 9" #F-06-$6.00 TO ORDER: List Pattern #, Name & Amount. Add Shipping & Handling $1.50 U.S. - $2.50 Canada,. Per Order. 1 (IL Res. Add 7-3/4% Tax) Make Check or Money Order (U.S. Funds Only) Payable to: Chairman of the Board 1 Send To: Robert J. Hlavacek, Sr. - P.O. Box 1246 « North Riverside, IL 60546-0646. 708-788-6455 § * ' '*"'"".....I>'"""'i""-Y??"Pfi»MaBBBwB huge difference when attempting to make your Impala iiii look lifelike. Tracing the pattern With a sharp pencil, transfer the pattern, found in Full Size | Pattern Section No. 1, onto tracing paper. Rather than tracing the entire project on one large sheet, break it down into easily J handled units, such as the horns, ears, facc, and neck (sec Fig. 1). Since each is made as a separate unit and small picces of wood are used, this is the most efficient way to trace a larger ; intarsia project onto your wood. Cutting and fitting the pieces As each piece is cut, knock off the burr on the bottom with a sanding block. This insures that the pieces will lay flat, achieving an accurate fit. Note: a scroll saw blade with reverse teeth, v as suggested in the Supplies list, virtually eliminates the burr. Sand the cut edges on a drill press set up with an auxiliary table and sanding drum or an oscillating spindle sander (for instruc- j. tions on building your own intarsia tools, see the August "'97 issue of Creative Woodworks and Crafts). Sanding drums measuring 2" to 3" long and 1/2" to 2" in diameter with medium (100 grit) sleeves will do a good job. Sand the edges of the cut pieces (see Fig. 2). Position each part on top of the piece it will adjoin and trace an accurate cut line with a sharp pencil as shown in Fig. 3. Make the cut with: the blade just to the outside of the pencil line. Sand the cut Fig. 3. Use the edge as a template to d raw an accurate cut line on the adjoining piece. Fig. 4. Pieces on the same level can be glued up as you go. JIIIMilJJJ^^ |


