Creative Woodworks & Crafts-050-1998-winter, страница 54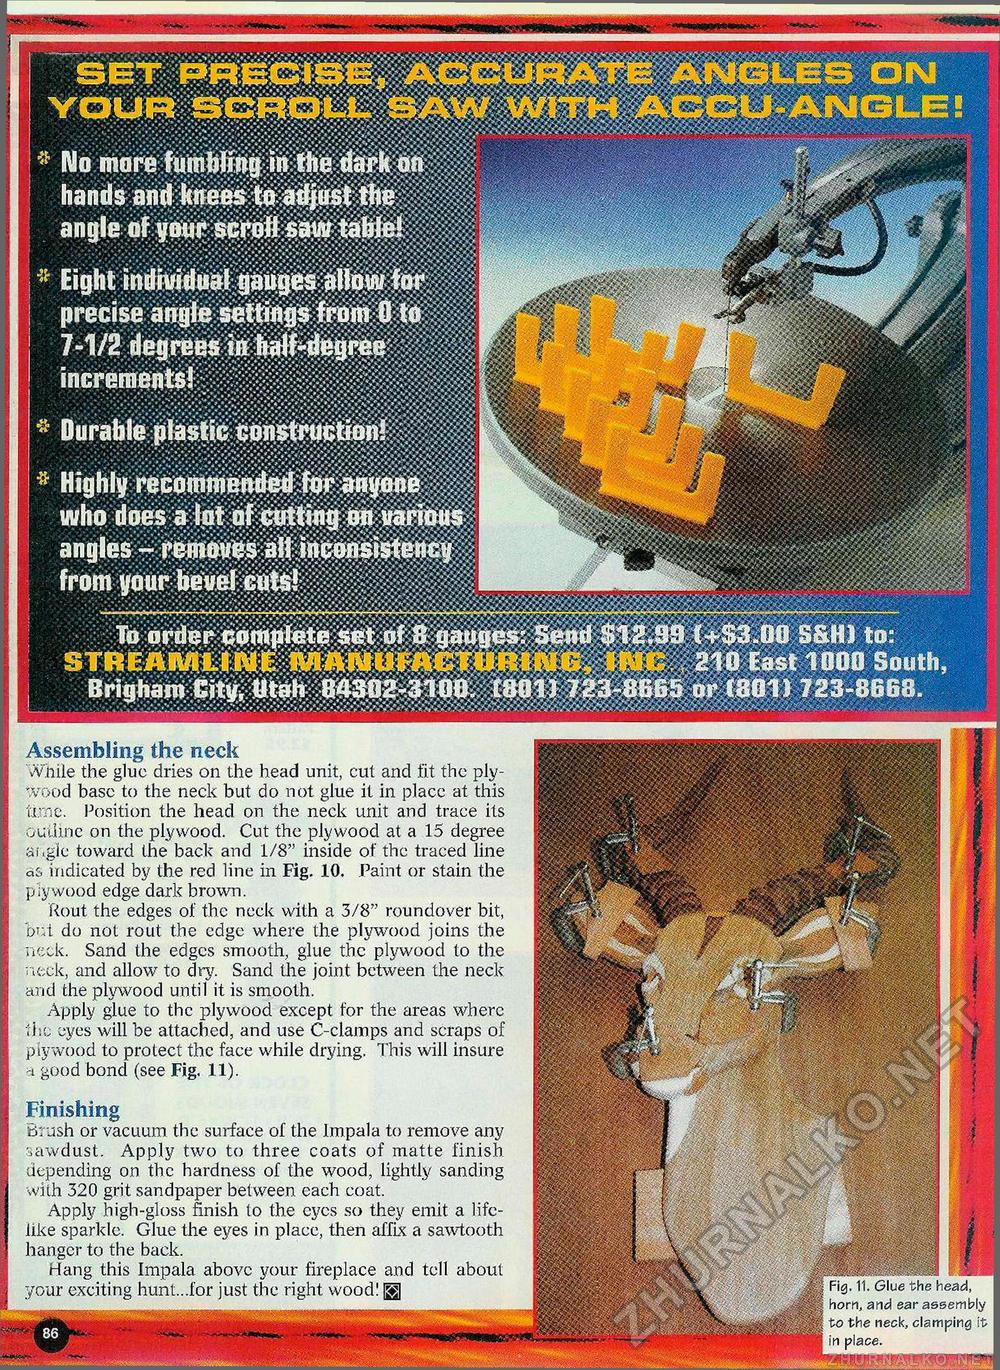
>*• -ii"'.'"' 'J\ increments! who diii^iiliiMil from yourbeuel^tsi: Assembling the neck While the glue dries on the head unit, cut and fit the plywood base to the neck but do not glue it in placc at this time. Position the head on the neck unit and trace its outline on the plywood. Cut the plywood at a 15 degree angle toward the back and 1/8" inside of the traced line as indicated by the red line in Fig. 10. Paint or stain the plywood edge dark brown. Rout the edges of the neck with a 3/8" roundover bit, but do not rout the edge where the plywood joins the neck. Sand the edges smooth, glue the plywood to the neck, and allow to dry. Sand the joint between the neck and the plywood until it is smooth. Apply glue to the plywood except for the areas where liio eyes will be attached, and use C-clamps and scraps of plywood to protect the face while drying. This will insure -i good bond (see Fig. 11). Finishing Brush or vacuum the surface of the Impala to remove any ■sawdust. Apply two to three coats of matte finish depending on the hardness of the wood, lightly sanding with 320 grit sandpaper between each coat. Apply high-gloss finish to the eyes so they emit a lifelike sparkle. Glue the eyes in place, then affix a sawtooth hanger to the back. Hang this Impala above your fireplace and tell about your exciting hunt...for just the right wood! ... - I Glue the head, horn, and ear assembly to the neck, clamping it | in place. ^HMflSHPBBWWBSWHBI |


