Creative Woodworks & Crafts-050-1998-winter, страница 52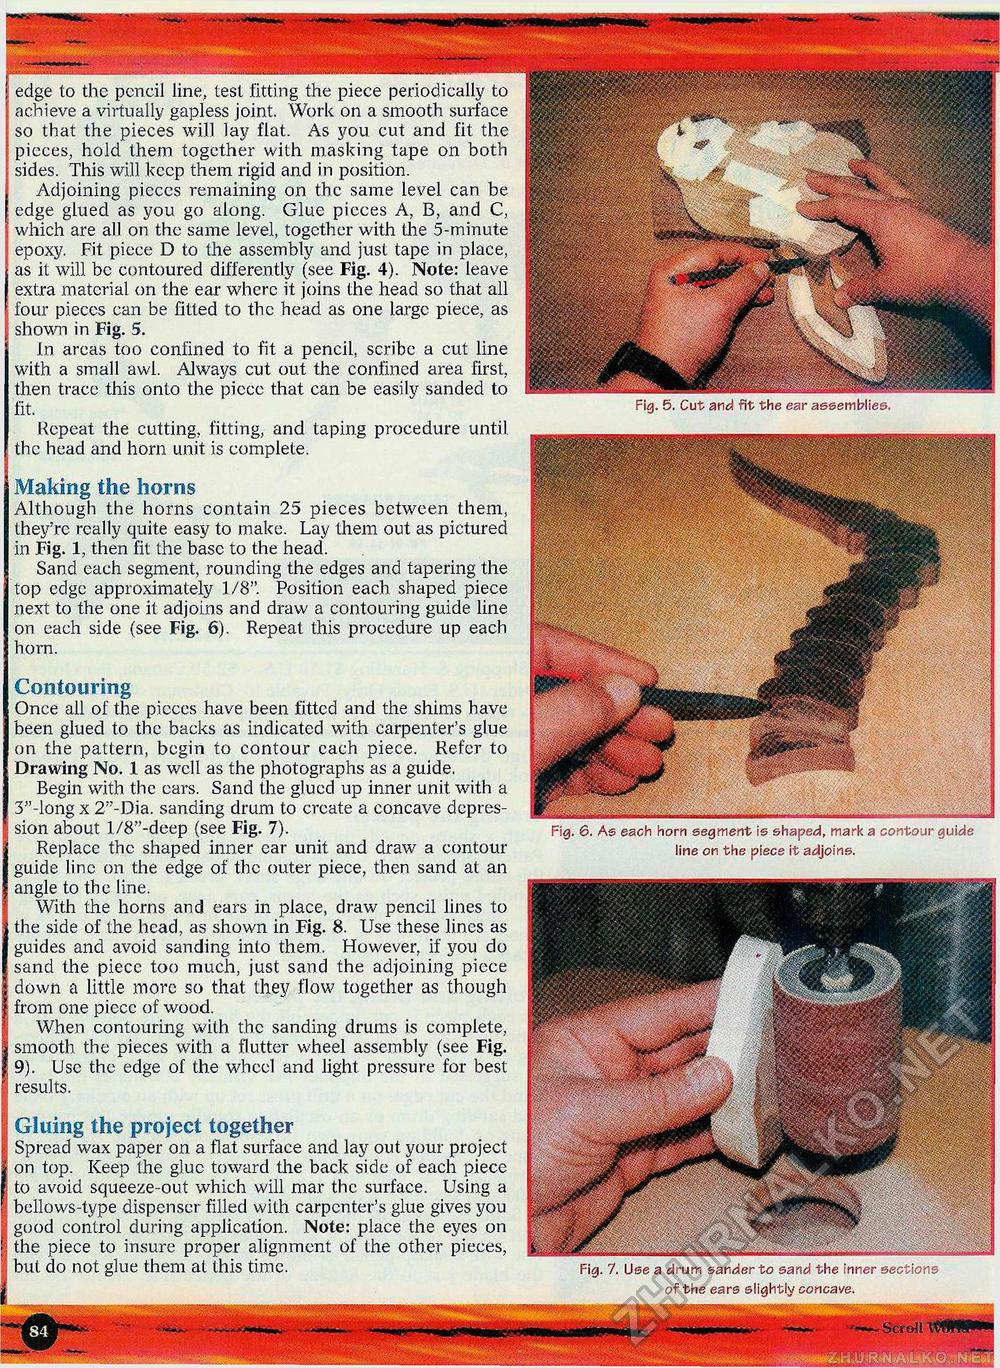
Making the horns Although the horns contain 25 pieces between them, they're really quite easy to make. Lay them out as pictured in Fig. 1, then fit the base to the head. Sand each segment, rounding the edges and tapering the top edge approximately 1/8". Position each shaped piece next to the one it adjoins and draw a contouring guide line on each side (see Fig. 6). Repeat this procedure up each horn. Contouring Once all of the pieces have been fitted and the shims have been glued to the backs as indicated with carpenter's glue on the pattern, begin to contour cach piece. Refer to Drawing No. 1 as well as the photographs as a guide. Begin with the cars. Sand the glued up inner unit with a 3"-long x 2"-Dia. sanding drum to create a concave depres- sion about l/8"-deep (see Fig. 7). Fig. 6. As each horn segment is shaped, mark a contour guide jj Replace the shaped inner ear unit and draw a contour line on the piece it adjoins. I guide line on the edge of the outer piece, then sand at an | angle to the line. With the horns and ears in place, draw pencil lines to the side of the head, as shown in Fig. 8. Use these lines as guides and avoid sanding into them. However, if you do sand the piece too much, just sand the adjoining piece down a little more so that they flow together as though I from one piecc of wood. When contouring with the sanding drums is complete, smooth the pieces with a flutter wheel assembly (see Fig. 9). Use the edge of the wheel and light pressure for best results. I Gluing the project together Spread wax paper on a flat surface and lay out your project | on top. Keep the glue toward the back side of each piece I to avoid squeeze-out which will mar the surface. Using a f bellows-type dispenser filled with carpenter's glue gives you . good control during application. Note: place the eyes on r the piece to insure proper alignment of the other pieces, : but do not glue them at this time. Fig. 7. Use a drum sander to sand the inner sections J of the ears slightly concave. : edge to the pencil line, test fitting the piece periodically to achieve a virtually gapless joint. Work on a smooth surface so that the pieces will lay flat. As you cut and fit the picces, hold them together with masking tape on both sides. This will keep them rigid and in position. Adjoining pieccs remaining on the same level can be edge glued as you go along. Glue picces A, B, and C, which are all on the same level, together with the 5-minute epoxy. Fit piece D to the assembly and just tape in place, as it will be contoured differently (see Fig. 4). Note: leave extra material on the ear where it joins the head so that all four pieces can be fitted to the head as one large piece, as shown in Fig. 5. In areas too confined to fit a pencil, scribe a cut line with a small awl. Always cut out the confined area first, then trace this onto the piece that can be easily sanded to fit. Repeat the cutting, fitting, and taping procedure until the head and horn unit is complete. _____ Fig. 5. Cut and fit the ear assemblies. |


