Creative Woodworks & crafts-103-2004-Holiday, страница 64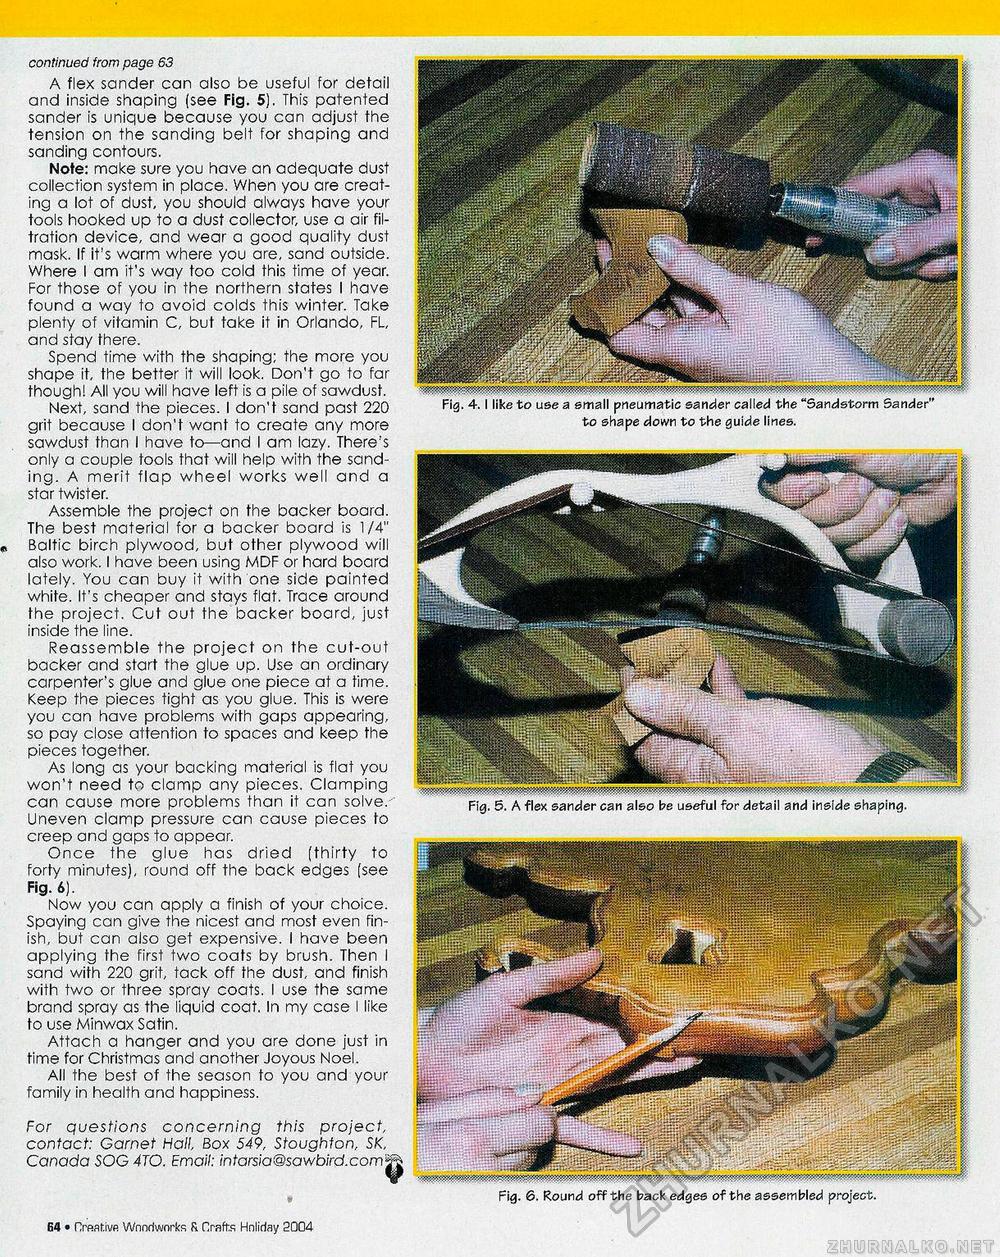
continued from page 63 A flex sander can also be useful for defail and inside shaping (see Fig. 5). This patented sander is unique because you can adjust the tension on the sanding belt for shaping and sanding contours. Note: make sure you have an adequate dust collection system in place. When you are creating a lot of dust, you should always have your tools hooked up to a dust collector, use a air filtration device, and wear a good quality dust mask. If it's warm where you are, sand outside. Where I am it's way too cold this time of year. For those of you in the northern states I have found a way to avoid colds this winter. Take plenty of vitamin C, but take it in Orlando, FL, and stay there. Spend time with the shaping; the more you shape it, the better it will look. Don't go to far though! All you will have left is a pile of sawdust. Next, sand the pieces. I don't sand past 220 grit because I don't want to create any more sawdust than I have to—and I am lazy. There's only a couple tools that will help with the sanding. A merit flap wheel works well and a star twister. Assemble the project on the backer board. The best material for a backer board is 1/4" Baltic birch plywood, but other plywood will also work. I have been using MDF or hard board lately. You can buy it with one side painted white. It's cheaper and stays flat. Trace around the project. Cut out the backer board, just inside the line. Reassemble the project on the cut-out backer and start the glue up. Use an ordinary carpenter's glue and glue one piece at a time. Keep the pieces tight as you glue. This is were you can have problems with gaps appearing, so pay close attention to spaces and keep the pieces together. As long as your backing material is flat you won't need to clamp any pieces. Clamping can cause more problems than it can solve. Uneven clamp pressure can cause pieces to creep and gaps to appear. Once the glue has dried (thirty to forty minutes), round off the back edges (see Fig. 6). Now you can apply a finish of your choice. Spaying can give the nicest and most even finish, but can also get expensive. I have been applying the first two coats by brush. Then I sand with 220 grit, tack off the dust, and finish with two or three spray coats. I use the same brand spray as the liquid coat. In my case I like to use Minwax Satin. Attach a hanger and you are done just in time for Christmas and another Joyous Noel. All the best of the season to you and your family in health and happiness. For questions concerning this project, contact: Garnet Hall, Box 549, Stoughton, SK, Canada SOG 4TO. Email: intarsia@sawbird.com Fig. 4.1 like to use a small pneumatic sander called the "Sandstorm Sander to shape down to the guide lines. Fig. 5. A flex sander can also be useful for detail and inside shaping. omhmmH m Fig. 6. Round off the back edges of the assembled project. Creative Woodworks & Craft:; Holiday 2004 • 15 |


