Creative Woodworks & crafts-103-2004-Holiday, страница 67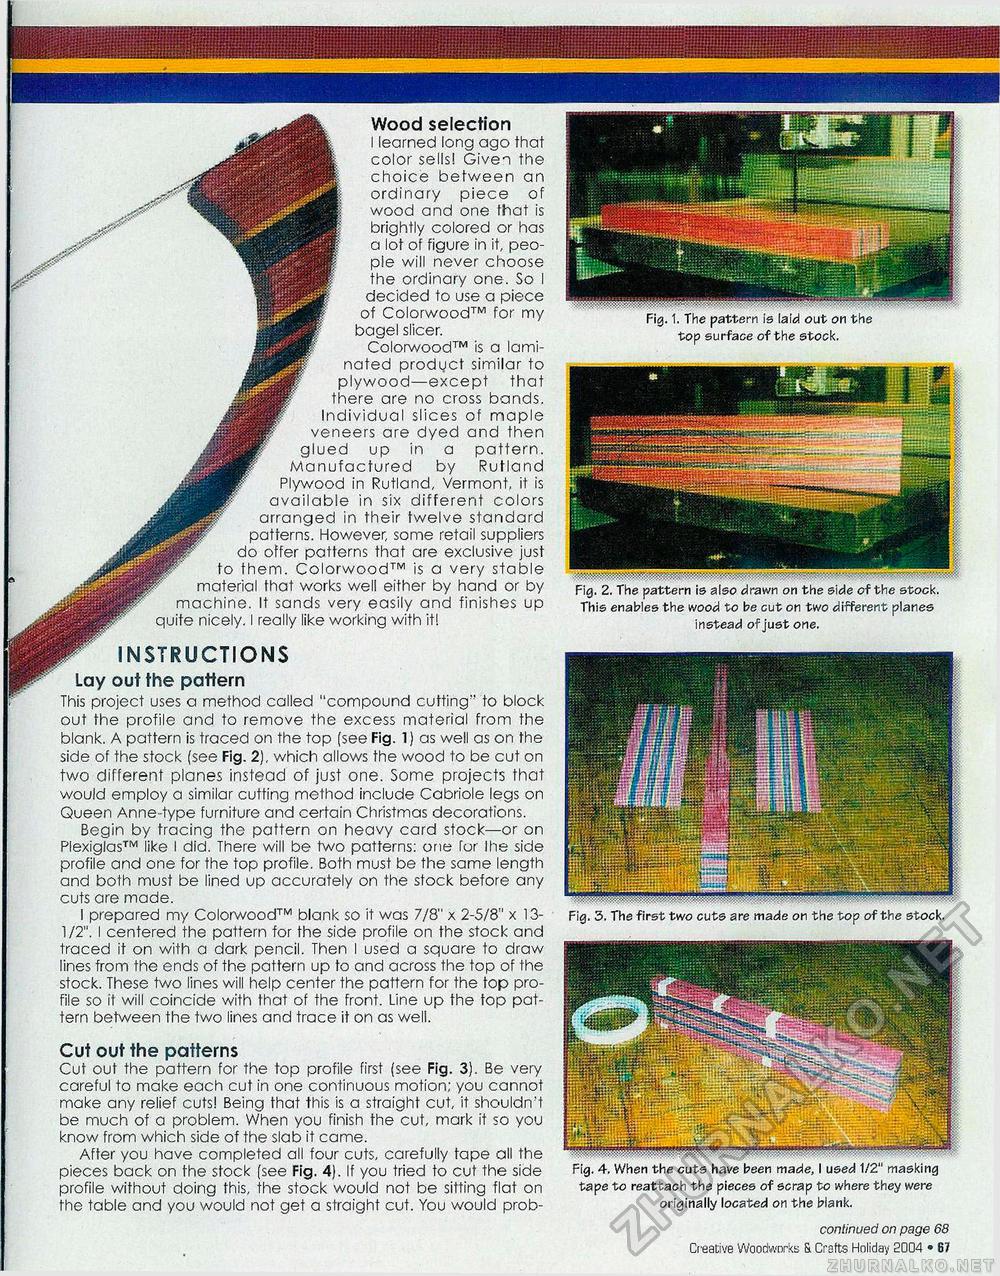
Fig. 3. The first two cuts are made on the top of the stock. Fig. 4. When the cuts have been made, I used 1/2 masking tape to reattach the pieces of scrap to where they were originally located on the blank. continued on page 68 Creative Woodworks & Crafts Holiday 2004 • 67 Cut out the patterns Cut out the pattern for the top profile first (see Fig. 3). Be very careful to make each cut in one continuous motion; you cannot make any relief cuts! Being that this is a straight cut, it shouldn't be much of a problem. When you finish the cut, mark it so you know from which side of the slab it came. After you have completed all four cuts, carefully tape all the pieces back on the stock (see Fig. 4). If you tried to cut the side profile without doing this, the stock would not be sitting flat on fhe table and you would not get a straight cut. You would prob- top surface of the stock. Fig. This enables the to be cut on two different planes instead of just one. Wood selection I learned long ago that color sells! Given the choice between an ordinary piece of wood and one that is brightly colored or has a lot of figure in it, people will never choose the ordinary one. So I decided to use a piece of Colorwood™ for my bagel slicer. Colorwood™ is a laminated product similar to plywood—except that there are no cross bands. Individual slices of maple veneers are dyed and then glued up in a pattern. Manufactured by Rutland Plywood in Rutland, Vermont, it is available in six different colors arranged in their twelve standard patterns. However, some retail suppliers do offer patterns that are exclusive just to them. Colorwood™ is a very stable material that works well either by hand or by machine. It sands very easily and finishes up quite nicely. I really like working with it! INSTRUCTIONS Lay out the pattern This project uses a method called "compound cutting" to block out the profile and to remove the excess material from the blank. A pattern is traced on the top [see Fig. 1} as well as on the side of the stock (see Fig. 2), which allows the wood to be cut on two different planes instead of just one. Some projects that would employ a similar cutting method include Cabriole legs on Queen Anne type furniture and certain Christmas decorations. Begin by tracing the pattern on heavy card stock—or on Plexiglas™ like I did. There will be two patterns: one Tor Ihe side profile and one for the top profile. Both must be the same length and both must be lined up accurately on the stock before any cuts are made. I prepared my Colorwood™ blank so it was 7/8" x 2-5/8" x 13-1/2". I centered the pattern for the side profile on the stock and traced if on with a dark pencil. Then I used a square to draw lines from the ends of the pattern up to and across the top of the stock. These two lines will help center the pattern for the top profile so it will coincide with that of the front. Line up the top pattern between the two lines and trace it on as well. |


