Creative Woodworks & crafts-103-2004-Holiday, страница 69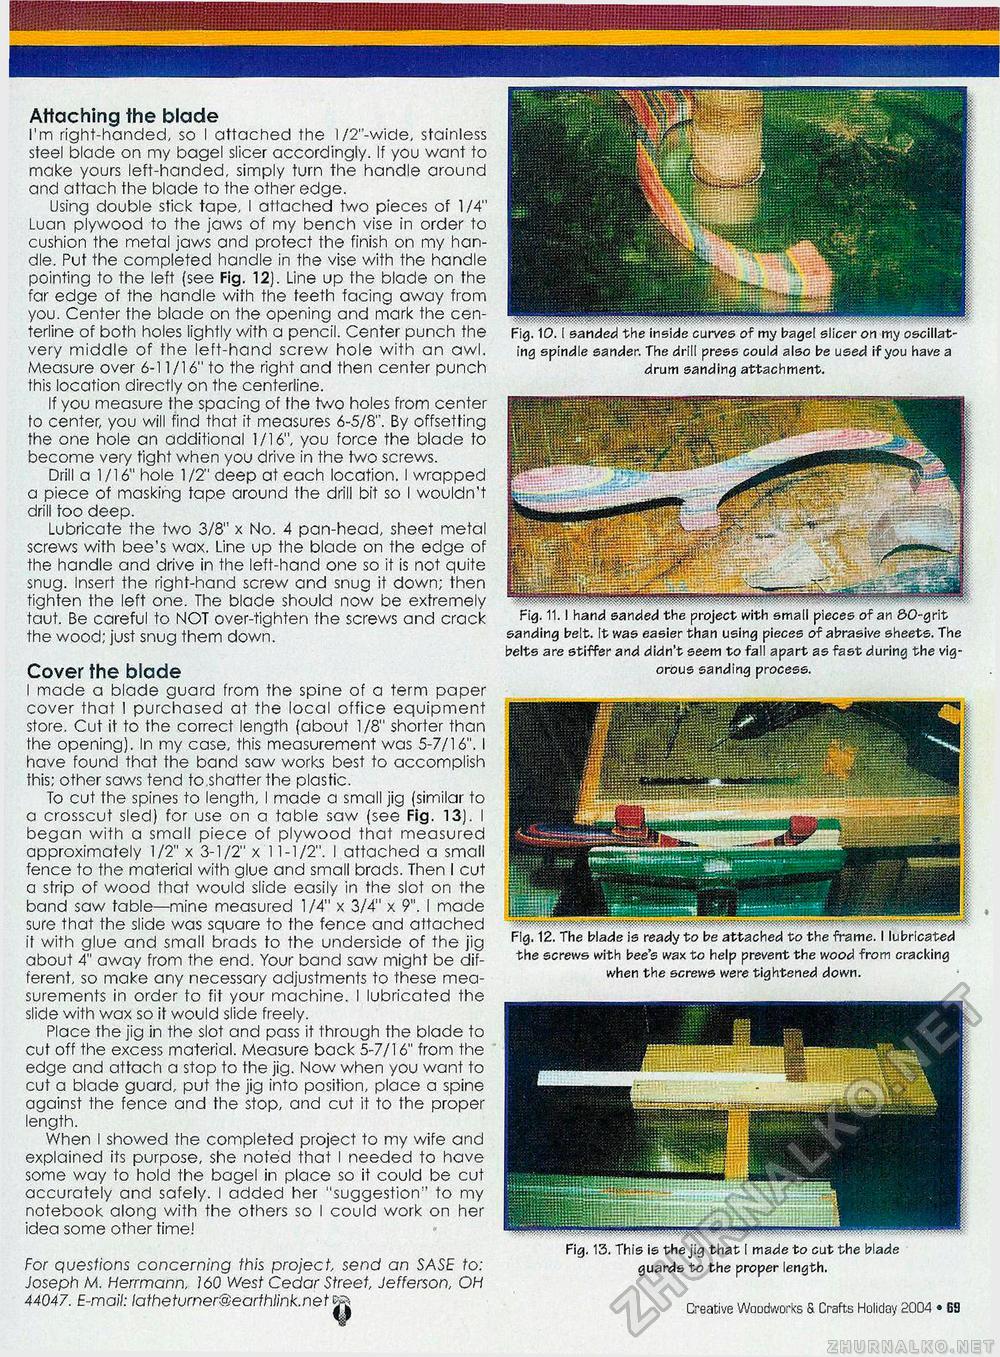
Attaching the blade I'm right-handed, so I attached the l/2"-wide, stainless steel blade on my bagel slicer accordingly. If you want to make yours left-handed, simply turn the handle around and attach the blade to the other edge. Using double stick tape, I attached two pieces of 1/4" Luan plywood to the jaws of my bench vise in order to cushion the metal jaws and protect the finish on my handle. Put the completed handle in the vise with the handle pointing to the left (see Fig. 12). Line up the blade on the far edge of the handle with the teeth facing away from you. Center the blade on the opening and mark the cen-terline of both holes lightly with a pencil. Center punch the very middle of the left-hand screw hole with an awl. Measure over 6-11/16" to the right and then center punch this location directly on the centerline. If you measure the spacing of the two holes from center to center, you will find that it measures 6-5/8". By offsetting the one hole an additional 1/16", you force the blade to become very tight when you drive in the two screws. Drill a 1/16" hole 1/2" deep at each location. I wrapped a piece of masking tape around the drill bit so I wouldn't drill too deep. Lubricate the two 3/8" x No. 4 pan-head, sheet metal screws with bee's wax. Line up the blade on the edge of the handle and drive in the left-hand one so it is not quite snug. Insert the right-hand screw and snug it down; then tighten the left one. The blade should now be extremely taut. Be careful to NOT over-tighten the screws and crack the wood; just snug them down. Cover the blade I made a blade guard from the spine of a term paper cover that I purchased at the local office equipment store. Cut it to the correct length (about 1/8" shorter than the opening). In my case, this measurement was 5-7/16". I have found that the band saw works best to accomplish this; other saws tend to,shatter the plastic. To cut the spines to length, I made a small jig (similar to a crosscut sled) for use on a table saw (see Fig. 13). I began with a small piece of plywood that measured approximately 1/2" x 3-1/2" x 11-1/2". I attached a small fence to the material with glue and small brads. Then I cut a strip of wood that would slide easily in the slot on the band saw table—mine measured 1/4" x 3/4" x 9". I made sure that the slide was square to the fence and attached it with glue and small brads to the underside of the jig about 4" away from the end. Your band saw might be different, so make any necessary adjustments to these measurements in order to fit your machine. I lubricated the slide with wax so it would slide freely. Place the jig in the slot and pass it through the blade to cut off the excess material. Measure back 5-7/16" from the edge and attach a stop to the jig. Now when you want to cut a blade guard, put the jig into position, place a spine against the fence and the stop, and cut it to the proper length. When I showed the completed project to my wife and explained its purpose, she noted that I needed to have some way to hold the bagel in place so it could be cut accurately and safely. I added her "suggestion" to my notebook along with the others so I could work on her idea some other time! For questions concerning this project send an SASE to: Joseph M. Herrmann, 160 West Cedar Street Jefferson, OH 44047. E-mail: latheturner@earthlink.net Fig. 10. I sanded the inside curves of my bagel slicer on my oscillating spindle sander. The drill press could also be used if you have a drum sanding attachment. Fig. 11. I hand sanded the project with small pieces of an 80-grit sanding belt. It was easier than using pieces of abrasive sheets. The belts are stiffer and didn't seem to fall apart as fast during the vigorous sanding process. Fig. 12. The blade is ready to be attached to the frame. I lubricated the screws with bee's wax to help prevent the wood from cracking when the screws were tightened down. Fig. 13. This is the jig that I made to cut the blade guards to the proper length. Creative Woodworks & Craft:; Holiday 2004 • 15 |


