Creative Woodworks & crafts-103-2004-Holiday, страница 68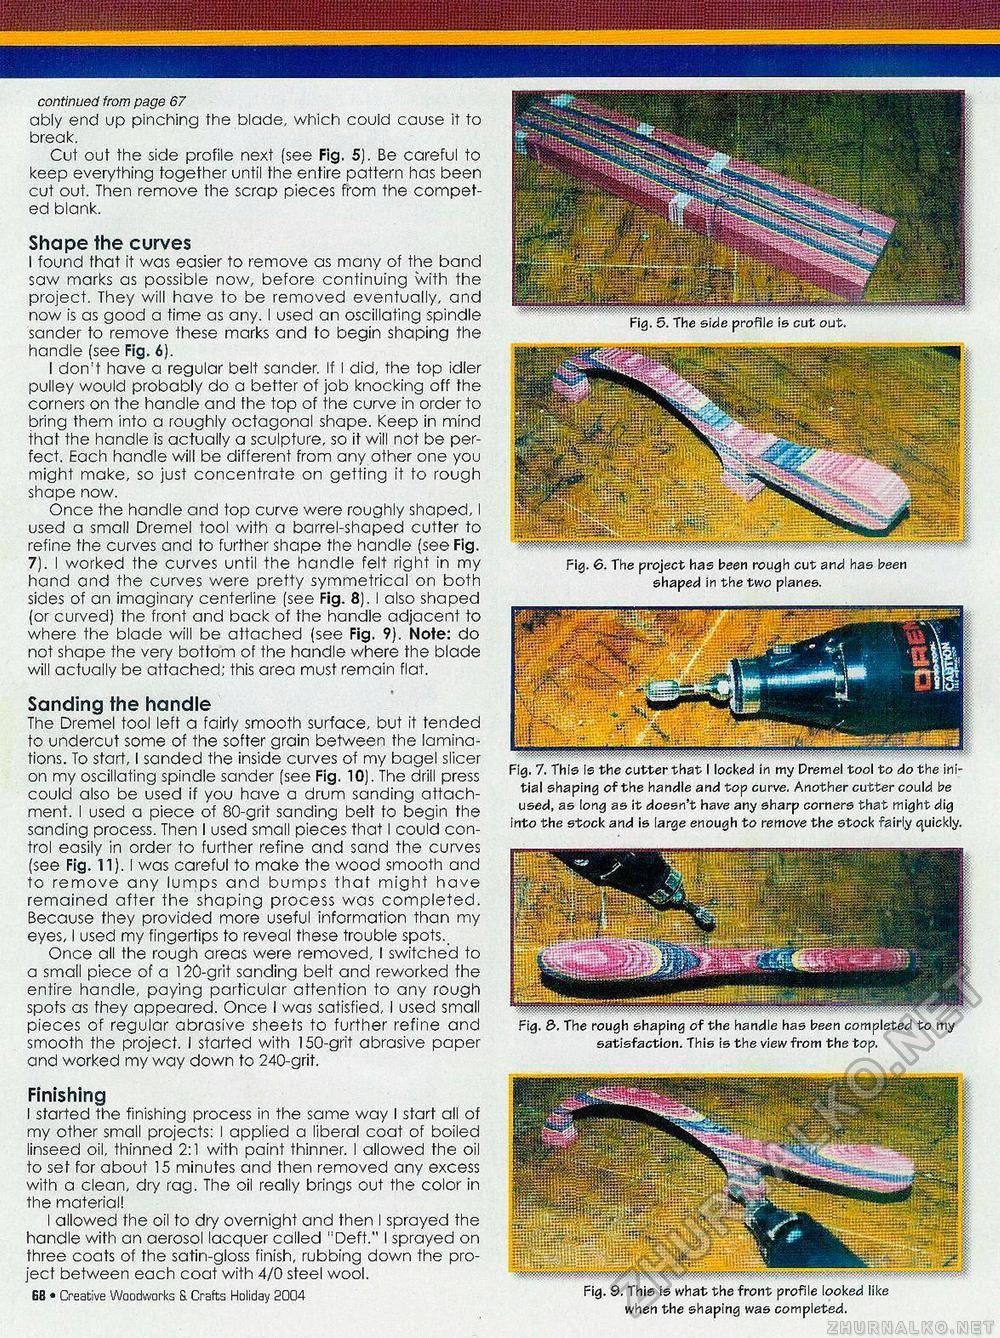
continued from page 67 ably end up pinching the blade, which could cause it to break. Cut out the side profile next (see Fig. 5). Be careful to keep everything together until the entire pattern has been cut out. Then remove the scrap pieces from the competed blank. Shape the curves I found that it was easier to remove as many of the band saw marks as possible now, before continuing with the project. They will have to be removed eventually, and now is as good a time as any. I used an oscillating spindle sander to remove these marks and to begin shaping the handle (see Fig. 6). I don't have a regular belt sander. if I did, the top idler pulley would probably do a better of job knocking off the corners on the handle and the top of the curve in order to bring them into a roughly octagonal shape. Keep in mind that the handle is actually a sculpture, so it will not be perfect. Each handle will be different from any other one you might make, so just concentrate on getting it to rough shape now. Once the handle and top curve were roughly shaped, I used a small Dremel tool with a barrel-shaped cutter to refine the curves and to further shape the handle (see Fig. 7). I worked the curves until the handle felt right in my hand and the curves were pretty symmetrical on both sides of an imaginary centerline (see Fig. 8). I also shaped (or curved) the front and back of the handle adjacent to where the blade will be attached (see Fig. 9). Note: do not shape the very bottom of the handle where the blade will actually be attached; this area must remain flat. Sanding the handle The Dremel tool left a fairly smooth surface, but it tended to undercut some of the softer grain between the laminations. To start, I sanded the inside curves of my bagel slicer on my oscillating spindle sander (see Fig. 10). The drill press could also be used if you have a drum sanding attachment. I used a piece of 80-grit sanding belt to begin the sanding process. Then I used small pieces that I could control easily in order to further refine and sand the curves (see Fig. 11). I was careful to make the wood smooth and to remove any lumps and bumps that might have remained after the shaping process was completed. Because they provided more useful information than my eyes, I used my fingertips to reveal these trouble spots. Once all the rough areas were removed, I switched to a small piece of a 120-grit sanding belt and reworked the entire handle, paying particular attention to any rough spots as they appeared. Once I was satisfied, I used small pieces of regular abrasive sheets to further refine and smooth the project. I started with 150-grit abrasive paper and worked my way down to 240-grit. Finishing I started the finishing process in the same way I start all of my other small projects: I applied a liberal coat of boiled linseed oil, thinned 2:1 with paint thinner. I allowed the oil to set for about 15 minutes and then removed any excess with a clean, dry rag. The oil really brings out the color in the material! I allowed the oil to dry overnight and then I sprayed the handle with an aerosol lacquer called "Deft." I sprayed on three coats of the satin-gloss finish, rubbing down the project between each coat with 4/0 steel wool. 68 ♦ Creative Woodworks S. Crafts Holiday 2004 Fig. 5. The side profile is cut out. Fig. 6. The project has been rough cut and has been shaped in the two planes. Fig. 7. This is the cutter that I locked in my Dremel tool to do the initial shaping of the handle and top curve. Another cutter could be used, as long as it doesn't have any sharp corners that might dig into the stock and is large enough to remove the stock fairly quickly. Fig. &. The rough shaping of the handle has been completed to my satisfaction. This is the view from the top. BbBBPI Fig. 9. This is what the front profile looked like when the shaping was completed. |


