Creative Woodworks & crafts-111-2005-Holiday, страница 13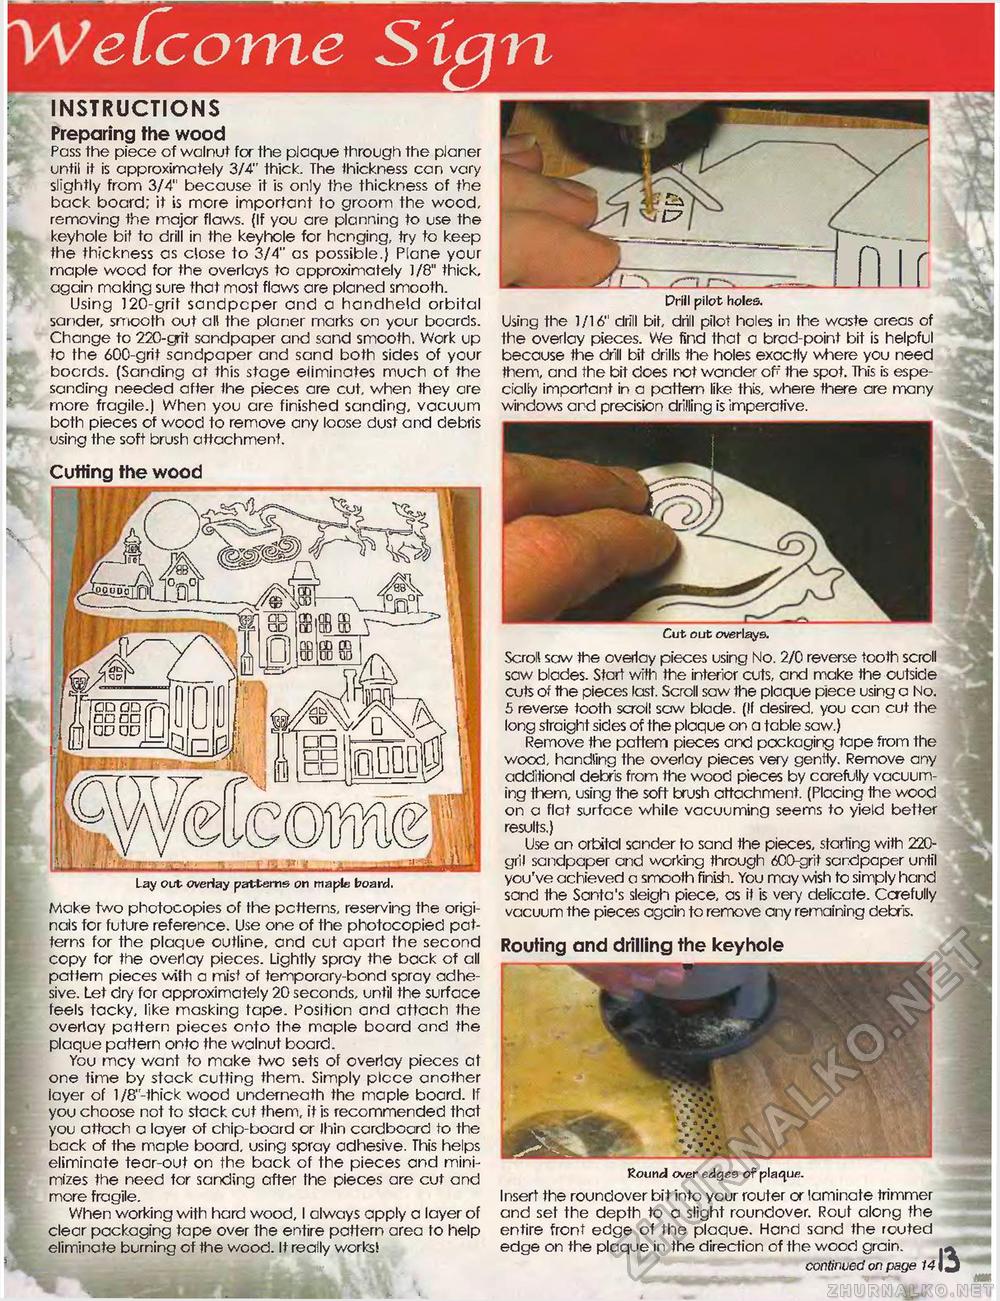
eCcome Sign INSTRUCTIONS Preparing the wood Pass the piece of walnut for the plaque through the planer until it is approximately 3/4" thick. The thickness can vary slightly from 3/4" because it is only the thickness of the back board; it is more important to groom the wood, removing the major flaws. (If you are planning to use the keyhole bit to drill in the keyhole for hcnging, try to keep the thickness as close to 3/4" as possible.) Plane your maple wood for the overlays to approximately 1/8" thick, again making sure that most flaw are planed smooth. Using 120-grit sandpcper and a handheld orbital sander, smooth out all the planer marks on your boards. Change to 220-grit sandpaper and sand smooth. Work up to the 600-grit sandpaper and sand both sides of your bocrds. (Sanding at this stage eliminates much of the sanding needed after the pieces are cut, when they are more fragile.) When you are finished sanding, vacuum both pieces of wood to remove any loose dust and debris using the soft brush attachment. Drill pilot holes. Using the 1/16" drill bit, drill pilot holes in the waste areas of the overlay pieces. We find that a brad-point bit is helpful because the drill bit drills the holes exactly where you need them, and the bit does not wander of-" the spot. This is especially important in a pattern like this, where there are many windows and precision drilling is imperative. Cutting the wood Lay out overlay patterns on maple board. Make tw photocopies of the pctterns, reserving the originals for future reference. Use one of the photocopied patterns for the plaque outline, and cut apart the second copy for the overlay pieces. Lightly spray the back of all pattern pieces with a mist of temporary-bond spray adhesive. Let dry for approximately 20 seconds, until the surface feels tacky, like masking tape. Position and attach the overlay pattern pieces onto the maple board and the plaque pattern onto the walnut board. You mcy want to make two sets of overlay pieces at one time by stack cutting them. Simply plcce another layer of l/8"-thick wood underneath the maple board. If you choose not to stack cut them, it is recommended that you attach a layer of chip-board or Ihin cardboard to the back of the maple board, using spray adhesive. This helps eliminate tear-out on the back of the pieces and minimizes the need for sanding after the pieces are cut and more fragile. When working with hard wood, I always apply a layer of clear packaging tape over the entire pattern area to help eliminate burning of the wood. It really works! Round over edges of plaque. Insert the roundover bit into your router or laminate trimmer and set the depth to a slight roundover. Rout along the entire front edge of the plaque. Hand sand the routed edge on the plaque in the direction of the wood grain. continued on page 14 |J Cut out overlays. Scroll saw the overlay pieces using No. 2/0 reverse tooth scroll saw blades. Start with the interior cuts, and make the outside cuts of the pieces last. Scroll saw the plaque piece using a No. 5 reverse tooth scroll saw blade. (If desired, you can cut the long straight sides of the plaque on a toble saw.} Remove the pattern pieces and packaging tape from the wood, handling the overlay pieces very gentty. Remove any additional debris from the wood pieces by carefully vacuuming them, using the soft brush attachment. (Placing the wood on a flat surface while vacuuming seems to yield better results.) Use an orbital sander to sand the pieces, starting with 220-gril sandpaper and working through 600-grit sandpaper until you've achieved a smooth finish. You may wish to simply hand sand the Santa's sleigh piece, as it is very delicate. Ccrefully vacuum the pieces again to remove any remaining debris. Routing and drilling the keyhole |


