Creative Woodworks & crafts-111-2005-Holiday, страница 39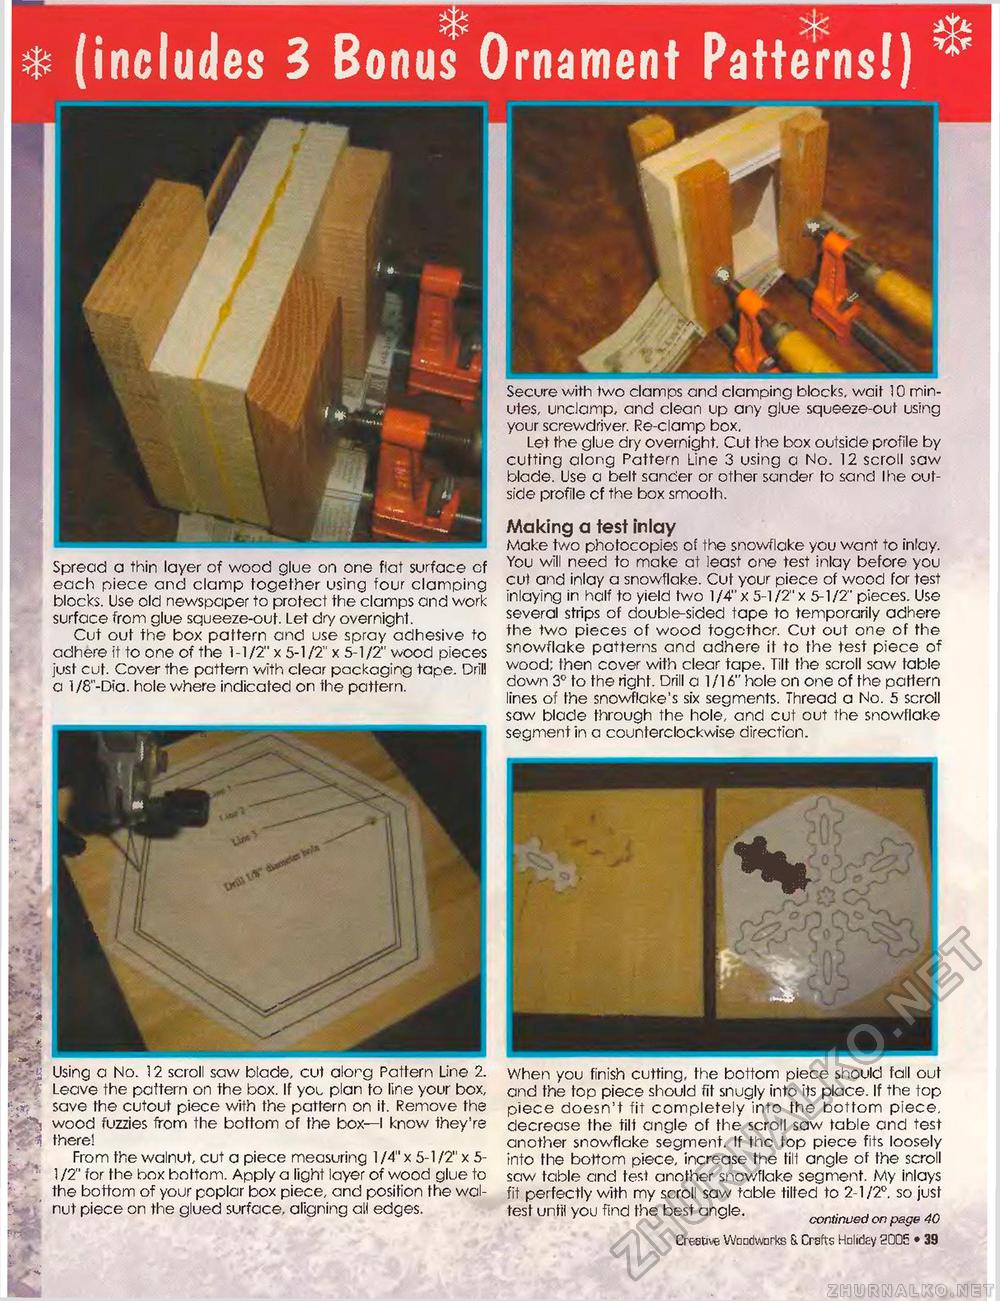
EsSElS nSDst When you finish cutting, the bottom piece should fall out and the fop piece should fit snugly into its place. If the top piece doesn't fit completely into the bottom piece, decrease the tilt angle of the scroll saw table and test another snowflake segment. If the top piece fits loosely into the bottom piece, increase the till angle of the scroll saw table and test another snowflake segment. My inlays fit perfectly with my scroll saw table tilted to 2-1/2°, so just test until you find the best angle. „ „ ^ ' ** continued on page 40 Creative Woodworks 8. Crafts Holiday 2Q05 • 75 V Using a No. 12 scroll saw blade, cut alorg Pattern Line 2. Leave the pattern on the box. If you plan to line your box, save the cutout piece with the pattern on it. Remove the vj^i wood fuzzies from the bottom of the box—I know they're A there! From the walnut, cut a piece measuring 1 /4" x 5-1/2" x 5-1 IT for the box bottom. Apply a light layer of wood glue to the bottom of your poplar box piece, and position the walnut piece on the glued surface, aligning all edges. Making a test inlay Make two photocopies of the snowflake you want to inlay. You will need to make at least one test inlay before you cut and inlay a snowflake. Cut your piece of wood for test inlaying in half to yield two 1/4" x 5-1/2" x 5-1/2" pieces. Use several strips of double-sided tape to temporarily adhere the two pieces of wood together. Cut out one of the snowflake patterns and adhere it to the test piece of wood; then cover with clear tape. Tilt the scroll saw table down 3° to the right. Drill a 1/16" hole on one of the pattern lines of the snowflake's six segments. Thread a No. 5 scroll saw blade through the hole, and cut out the snowflake segment in a counterclockwise direction. Secure with two clamps and clamping blocks, wait 10 minutes, unclamp, and clean up any glue squeeze-out using your screwdriver. Re-clamp box. Let the glue dry overnight. Cut the box outside profile by cutting along Pattern Line 3 using a No. 12 scroll saw blade. Use a belt sander or other sander to sand Ihe outside profile of the box smooth. Spread a thin layer of wood glue on one flat surface of each piece and clamp together using four clamping blocks. Use old newspaper to protect the clamps and work surface from glue squeeze-out. Let dry overnight. Cut out the box pattern and use spray adhesive to adhere it to one of the 1-1/2" x 5-1 /2" x 5-1 /2" wood pieces just cut. Cover the pattern with clear packaging tape. Drill a l/8"-Dia. hole where indicated on the pattern. |


