Popular Woodworking 2000-01 № 112, страница 36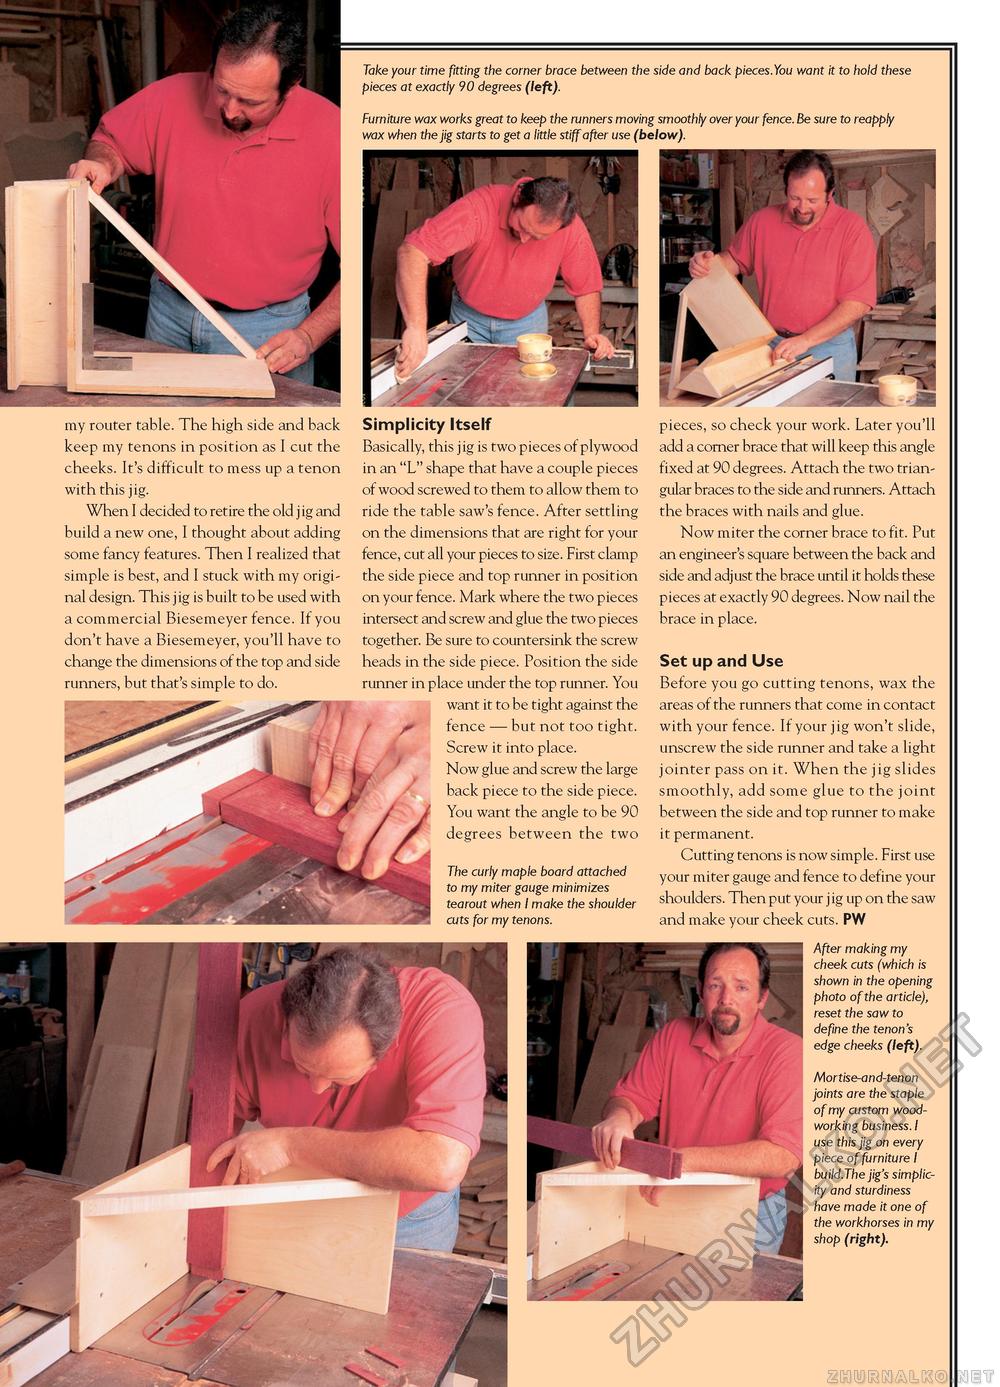
Take your time fitting the corner brace between the side and back pieces.You want it to hold these pieces at exactly 90 degrees (left). Furniture wax works great to keep the runners moving smoothly over your fence.Be sure to reapply wax when the jig starts to get a little stiff after use (below). my router table. The high side and back keep my tenons in position as I cut the cheeks. It's difficult to mess up a tenon with this jig. When I decided to retire the old jig and build a new one, I thought about adding some fancy features. Then I realized that simple is best, and I stuck with my original design. This jig is built to be used with a commercial Biesemeyer fence. If you don't have a Biesemeyer, you'll have to change the dimensions of the top and side runners, but that's simple to do. Simplicity Itself Basically, this jig is two pieces of plywood in an "L" shape that have a couple pieces of wood screwed to them to allow them to ride the table saw's fence. After settling on the dimensions that are right for your fence, cut all your pieces to size. First clamp the side piece and top runner in position on your fence. Mark where the two pieces intersect and screw and glue the two pieces together. Be sure to countersink the screw heads in the side piece. Position the side runner in place under the top runner. You want it to be tight against the fence — but not too tight. Screw it into place. Now glue and screw the large back piece to the side piece. You want the angle to be 90 degrees between the two The curly maple board attached to my miter gauge minimizes tearout when I make the shoulder cuts for my tenons. pieces, so check your work. Later you'll add a corner brace that will keep this angle fixed at 90 degrees. Attach the two triangular braces to the side and runners. Attach the braces with nails and glue. Now miter the corner brace to fit. Put an engineer's square between the back and side and adjust the brace until it holds these pieces at exactly 90 degrees. Now nail the brace in place. Set up and Use Before you go cutting tenons, wax the areas of the runners that come in contact with your fence. If your jig won't slide, unscrew the side runner and take a light jointer pass on it. When the jig slides smoothly, add some glue to the joint between the side and top runner to make it permanent. Cutting tenons is now simple. First use your miter gauge and fence to define your shoulders. Then put your jig up on the saw and make your cheek cuts. PW After making my cheek cuts (which is shown in the opening photo of the article), reset the saw to define the tenon's edge cheeks (left). Mortise-and-tenon joints are the staple of my custom woodworking business. I use this jig on every piece of furniture I build.The jig's simplicity and sturdiness have made it one of the workhorses in my shop (right). |


