Popular Woodworking 2000-04 № 114, страница 61
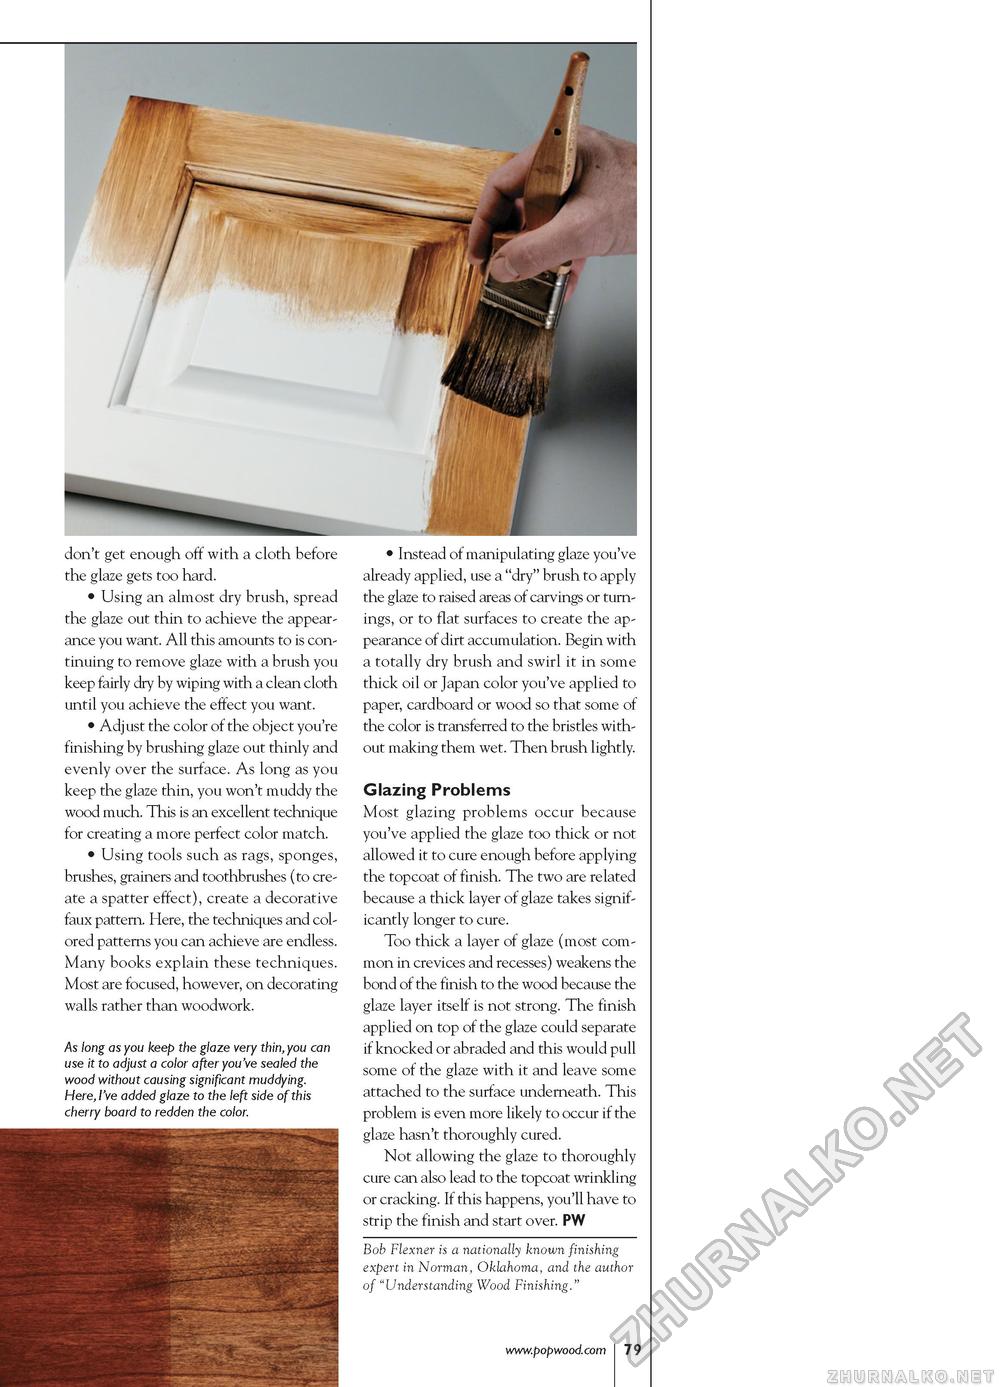
don't get enough off with a cloth before the glaze gets too hard. • Using an almost dry brush, spread the glaze out thin to achieve the appearance you want. All this amounts to is continuing to remove glaze with a brush you keep fairly dry by wiping with a clean cloth until you achieve the effect you want. • Adjust the color of the object you're finishing by brushing glaze out thinly and evenly over the surface. As long as you keep the glaze thin, you won't muddy the wood much. This is an excellent technique for creating a more perfect color match. • Using tools such as rags, sponges, brushes, grainers and toothbrushes (to create a spatter effect), create a decorative faux pattern. Here, the techniques and colored patterns you can achieve are endless. Many books explain these techniques. Most are focused, however, on decorating walls rather than woodwork. As long as you keep the glaze very thin, you can use it to adjust a color after you've sealed the wood without causing significant muddying. Here, I've added glaze to the left side of this cherry board to redden the color. • Instead of manipulating glaze you've already applied, use a "dry" brush to apply the glaze to raised areas of carvings or turnings, or to flat surfaces to create the appearance of dirt accumulation. Begin with a totally dry brush and swirl it in some thick oil or Japan color you've applied to paper, cardboard or wood so that some of the color is transferred to the bristles without making them wet. Then brush lightly. Glazing Problems Most glazing problems occur because you've applied the glaze too thick or not allowed it to cure enough before applying the topcoat of finish. The two are related because a thick layer of glaze takes significantly longer to cure. Too thick a layer of glaze (most common in crevices and recesses) weakens the bond of the finish to the wood because the glaze layer itself is not strong. The finish applied on top of the glaze could separate if knocked or abraded and this would pull some of the glaze with it and leave some attached to the surface underneath. This problem is even more likely to occur if the glaze hasn't thoroughly cured. Not allowing the glaze to thoroughly cure can also lead to the topcoat wrinkling or cracking. If this happens, you'll have to strip the finish and start over. PW Bob Flexner is a nationally known finishing expert in Norman, Oklahoma, and the author of "Understanding Wood Finishing." |


