Popular Woodworking 2001-06 № 122, страница 34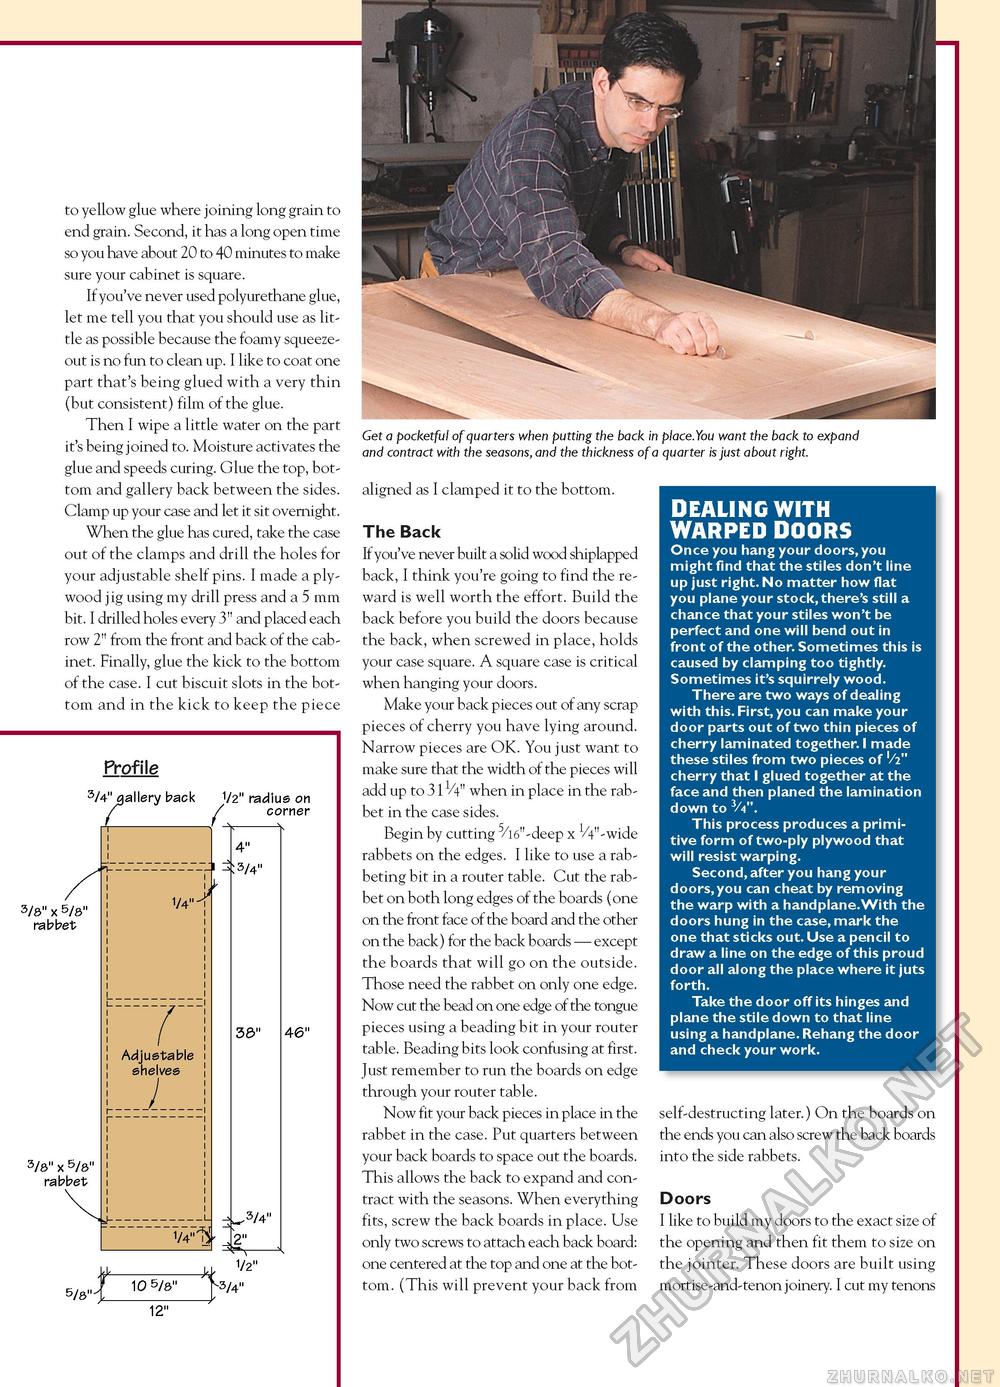
to yellow glue where joining long grain to end grain. Second, it has a long open time so you have about 20 to 40 minutes to make sure your cabinet is square. If you've never used polyurethane glue, let me tell you that you should use as little as possible because the foamy squeeze-out is no fun to clean up. I like to coat one part that's being glued with a very thin (but consistent) film of the glue. Then I wipe a little water on the part it's being joined to. Moisture activates the glue and speeds curing. Glue the top, bottom and gallery back between the sides. Clamp up your case and let it sit overnight. When the glue has cured, take the case out of the clamps and drill the holes for your adjustable shelf pins. I made a plywood jig using my drill press and a 5 mm bit. I drilled holes every 3" and placed each row 2" from the front and back of the cabinet. Finally, glue the kick to the bottom of the case. I cut biscuit slots in the bottom and in the kick to keep the piece Profile 3/4" .gallery back 1/2" radius on 3/8" x 5/8" rabbet 3/8" x 5/8" rabbet 1/41 Adjustable shelves 1. "i/4"^' 4" 3/4" 38" 5/8"- 10 5/8" 12" _.3/4" 2" ^- 1/2" 46" V 3/4" Get a pocketful of quarters when putting the back in place.You want the back to expand and contract with the seasons, and the thickness of a quarter is just about right. aligned as I clamped it to the bottom. The Back If you've never built a solid wood shiplapped back, I think you're going to find the reward is well worth the effort. Build the back before you build the doors because the back, when screwed in place, holds your case square. A square case is critical when hanging your doors. Make your back pieces out of any scrap pieces of cherry you have lying around. Narrow pieces are OK. You just want to make sure that the width of the pieces will add up to 31V4" when in place in the rabbet in the case sides. Begin by cutting 5/l6"-deep x V4"-wide rabbets on the edges. I like to use a rabbeting bit in a router table. Cut the rabbet on both long edges of the boards (one on the front face of the board and the other on the back) for the back boards — except the boards that will go on the outside. Those need the rabbet on only one edge. Now cut the bead on one edge of the tongue pieces using a beading bit in your router table. Beading bits look confusing at first. Just remember to run the boards on edge through your router table. Now fit your back pieces in place in the rabbet in the case. Put quarters between your back boards to space out the boards. This allows the back to expand and contract with the seasons. When everything fits, screw the back boards in place. Use only two screws to attach each back board: one centered at the top and one at the bottom. (This will prevent your back from DEALING WITH WARPED DOORS Once you hang your doors, you might find that the stiles don't line up just right. No matter how flat you plane your stock,there's still a chance that your stiles won't be perfect and one will bend out in front of the other. Sometimes this is caused by clamping too tightly. Sometimes it's squirrely wood. There are two ways of dealing with this. First, you can make your door parts out of two thin pieces of cherry laminated together. I made these stiles from two pieces of '/2" cherry that I glued together at the face and then planed the lamination down to V4". This process produces a primitive form of two-ply plywood that will resist warping. Second, after you hang your doors,you can cheat by removing the warp with a handplane.With the doors hung in the case, mark the one that sticks out. Use a pencil to draw a line on the edge of this proud door all along the place where it juts forth. Take the door off its hinges and plane the stile down to that line using a handplane. Rehang the door and check your work. self-destructing later.) On the boards on the ends you can also screw the back boards into the side rabbets. Doors I like to build my doors to the exact size of the opening and then fit them to size on the jointer. These doors are built using mortise-and-tenon joinery. I cut my tenons |


