Popular Woodworking 2001-08 № 123, страница 35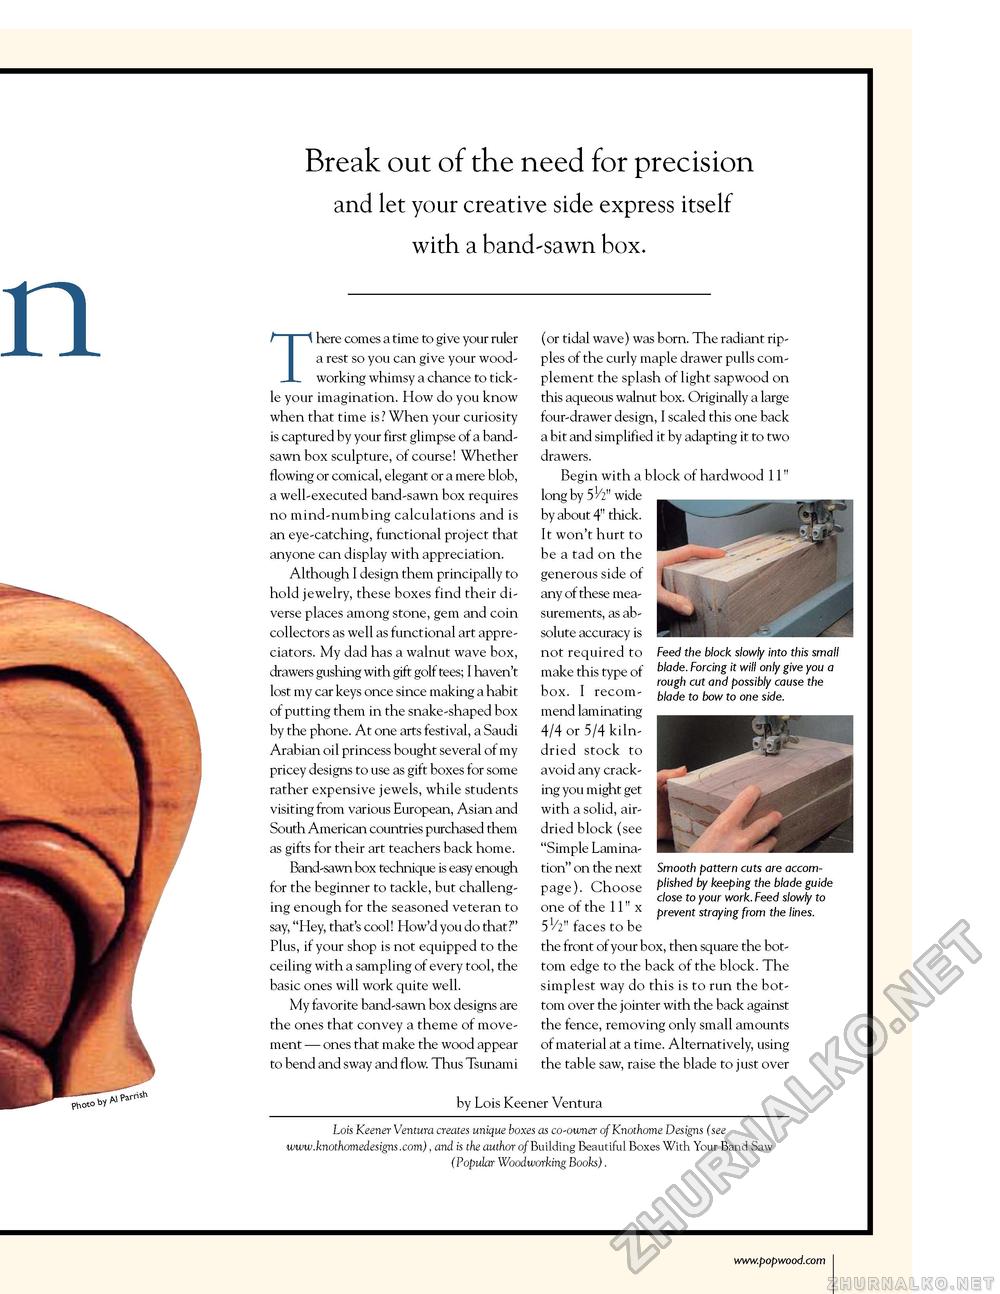
n Break out of the need for precisionand let your creative side express itself with a band-sawn box. There comes a time to give your ruler a rest so you can give your woodworking whimsy a chance to tickle your imagination. How do you know when that time is? When your curiosity is captured by your first glimpse of a band-sawn box sculpture, of course! Whether flowing or comical, elegant or a mere blob, a well-executed band-sawn box requires no mind-numbing calculations and is an eye-catching, functional project that anyone can display with appreciation. Although I design them principally to hold jewelry, these boxes find their diverse places among stone, gem and coin collectors as well as functional art appre-ciators. My dad has a walnut wave box, drawers gushing with gift golf tees; I haven't lost my car keys once since making a habit of putting them in the snake-shaped box by the phone. At one arts festival, a Saudi Arabian oil princess bought several of my pricey designs to use as gift boxes for some rather expensive jewels, while students visiting from various European, Asian and South American countries purchased them as gifts for their art teachers back home. Band-sawn box technique is easy enough for the beginner to tackle, but challenging enough for the seasoned veteran to say, "Hey, that's cool! How'd you do that?" Plus, if your shop is not equipped to the ceiling with a sampling of every tool, the basic ones will work quite well. My favorite band-sawn box designs are the ones that convey a theme of movement — ones that make the wood appear to bend and sway and flow. Thus Tsunami (or tidal wave) was born. The radiant ripples of the curly maple drawer pulls complement the splash of light sapwood on this aqueous walnut box. Originally a large four-drawer design, I scaled this one back a bit and simplified it by adapting it to two drawers. Begin with a block of hardwood 11" long by 51/2" wide by about 4" thick. It won't hurt to be a tad on the generous side of any of these measurements, as absolute accuracy is not required to make this type of box. I recommend laminating 4/4 or 5/4 kiln- dried stock to avoid any cracking you might get with a solid, air-dried block (see "Simple Lamination" on the next page). Choose one of the 11" x 51/2" faces to be the front of your box, then square the bottom edge to the back of the block. The simplest way do this is to run the bottom over the jointer with the back against the fence, removing only small amounts of material at a time. Alternatively, using the table saw, raise the blade to just over Feed the block slowly into this small blade. Forcing it will only give you a rough cut and possibly cause the blade to bow to one side. Smooth pattern cuts are accomplished by keeping the blade guide close to your work. Feed slowly to prevent straying from the lines. by Lois Keener Ventura Lois Keener Ventura creates unique boxes as co-owner of Knothome Designs (see www.knothomedesigns.com), and is the author of Building Beautiful Boxes With Your Band Saw (Popular Woodworking Books). |


