Popular Woodworking 2001-08 № 123, страница 36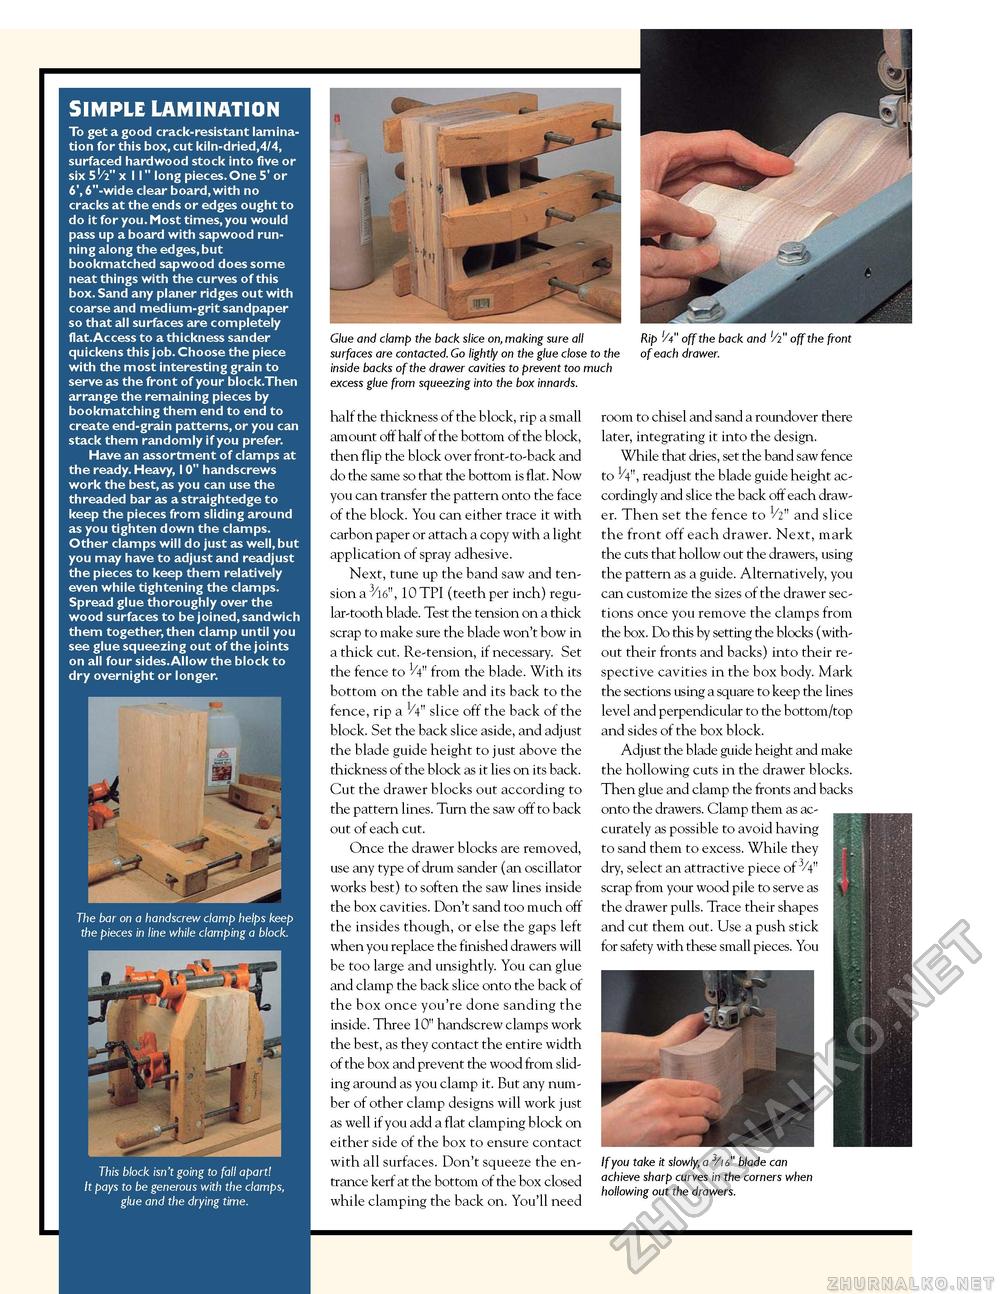
SIMPLE LAMINATION To get a good crack-resistant lamination for this box, cut kiln-dried,4/4, surfaced hardwood stock into five or six 5'/2" x II" long pieces. One 5' or 6', 6"-wide clear board,with no cracks at the ends or edges ought to do it for you.Most times, you would pass up a board with sapwood running along the edges, but bookmatched sapwood does some neat things with the curves of this box. Sand any planer ridges out with coarse and medium-grit sandpaper so that all surfaces are completely flat.Access to a thickness sander quickens this job. Choose the piece with the most interesting grain to serve as the front of your block.Then arrange the remaining pieces by bookmatching them end to end to create end-grain patterns, or you can stack them randomly if you prefer. Have an assortment of clamps at the ready. Heavy, I0" handscrews work the best, as you can use the threaded bar as a straightedge to keep the pieces from sliding around as you tighten down the clamps. Other clamps will do just as well, but you may have to adjust and readjust the pieces to keep them relatively even while tightening the clamps. Spread glue thoroughly over the wood surfaces to be joined,sandwich them together,then clamp until you see glue squeezing out of the joints on all four sides.Allow the block to dry overnight or longer. This block isn't going to fall apart! It pays to be generous with the clamps, glue and the drying time. Glue and clamp the back slice on, making sure all surfaces are contacted. Go lightly on the glue close to the inside backs of the drawer cavities to prevent too much excess glue from squeezing into the box innards. Rip 'A" off the back and '/2" off the front of each drawer. half the thickness of the block, rip a small amount off half of the bottom of the block, then flip the block over front-to-back and do the same so that the bottom is flat. Now you can transfer the pattern onto the face of the block. You can either trace it with carbon paper or attach a copy with a light application of spray adhesive. Next, tune up the band saw and tension a 10 TPI (teeth per inch) regular-tooth blade. Test the tension on a thick scrap to make sure the blade won't bow in a thick cut. Re-tension, if necessary. Set the fence to 1/4n from the blade. With its bottom on the table and its back to the fence, rip a 1/4n slice off the back of the block. Set the back slice aside, and adjust the blade guide height to just above the thickness of the block as it lies on its back. Cut the drawer blocks out according to the pattern lines. Turn the saw off to back out of each cut. Once the drawer blocks are removed, use any type of drum sander (an oscillator works best) to soften the saw lines inside the box cavities. Don't sand too much off the insides though, or else the gaps left when you replace the finished drawers will be too large and unsightly. You can glue and clamp the back slice onto the back of the box once you're done sanding the inside. Three 10" handscrew clamps work the best, as they contact the entire width of the box and prevent the wood from sliding around as you clamp it. But any number of other clamp designs will work just as well if you add a flat clamping block on either side of the box to ensure contact with all surfaces. Don't squeeze the entrance kerf at the bottom of the box closed while clamping the back on. You'll need room to chisel and sand a roundover there later, integrating it into the design. While that dries, set the band saw fence to V4", readjust the blade guide height accordingly and slice the back off each drawer. Then set the fence to 1/2" and slice the front off each drawer. Next, mark the cuts that hollow out the drawers, using the pattern as a guide. Alternatively, you can customize the sizes of the drawer sections once you remove the clamps from the box. Do this by setting the blocks (without their fronts and backs) into their respective cavities in the box body. Mark the sections using a square to keep the lines level and perpendicular to the bottom/top and sides of the box block. Adjust the blade guide height and make the hollowing cuts in the drawer blocks. Then glue and clamp the fronts and backs onto the drawers. Clamp them as accurately as possible to avoid having to sand them to excess. While they dry, select an attractive piece of 3/4" scrap from your wood pile to serve as the drawer pulls. Trace their shapes and cut them out. Use a push stick for safety with these small pieces. You 'ill if ■ If you take it slowly, a 3/ta" blade can achieve sharp curves in the corners when hollowing out the drawers. |


