Popular Woodworking 2001-08 № 123, страница 52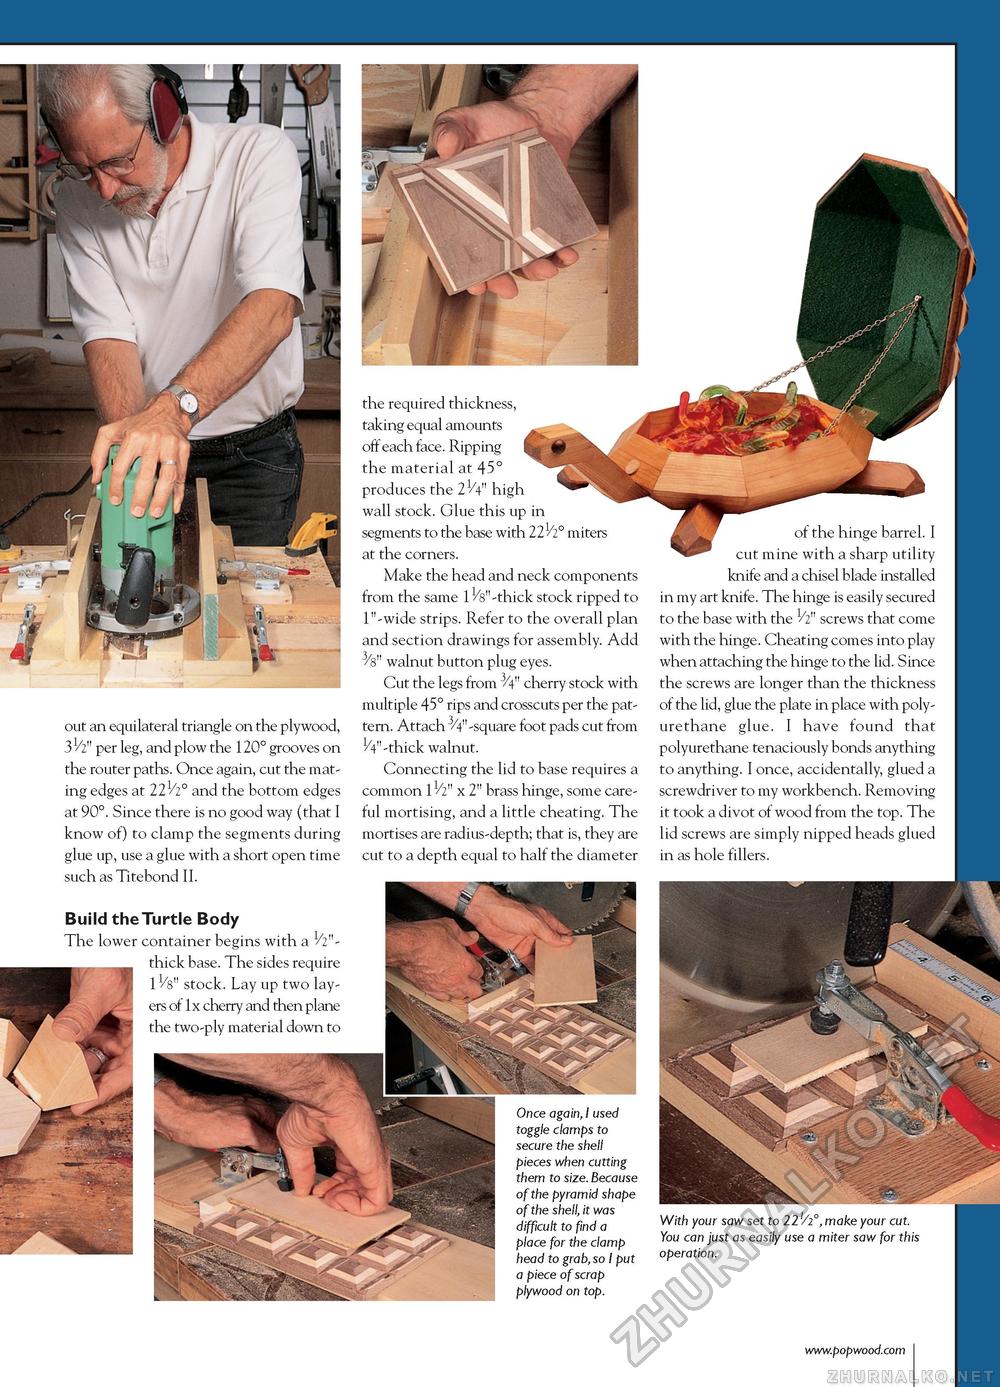
out an equilateral triangle on the plywood, 31/2" per leg, and plow the 120° grooves on the router paths. Once again, cut the mating edges at 221/2° and the bottom edges at 90°. Since there is no good way (that I know of) to clamp the segments during glue up, use a glue with a short open time such as Titebond II. Build the Turtle Body The lower container begins with a 1/2"-thick base. The sides require 11/8" stock. Lay up two layers of 1x cherry and then plane the two-ply material down to the required thickness, taking equal amounts off each face. Ripping the material at 45° produces the 21A" high wall stock. Glue this up in segments to the base with 22^1° miters at the corners. Make the head and neck components from the same -thick stock ripped to 1"-wide strips. Refer to the overall plan and section drawings for assembly. Add 3/8" walnut button plug eyes. Cut the legs from 3/4" cherry stock with multiple 45° rips and crosscuts per the pattern. Attach 3/4"-square foot pads cut from 1/4"-thick walnut. Connecting the lid to base requires a common x 2" brass hinge, some careful mortising, and a little cheating. The mortises are radius-depth; that is, they are cut to a depth equal to half the diameter of the hinge barrel. I cut mine with a sharp utility knife and a chisel blade installed in my art knife. The hinge is easily secured to the base with the 1/2" screws that come with the hinge. Cheating comes into play when attaching the hinge to the lid. Since the screws are longer than the thickness of the lid, glue the plate in place with poly-urethane glue. I have found that polyurethane tenaciously bonds anything to anything. I once, accidentally, glued a screwdriver to my workbench. Removing it took a divot of wood from the top. The lid screws are simply nipped heads glued in as hole fillers. Once again, I used toggle clamps to secure the shell pieces when cutting them to size. Because of the pyramid shape of the shell, it was difficult to find a place for the clamp head to grab, so I put a piece of scrap plywood on top. With your saw set to 22'/2make your cut. You can just as easily use a miter saw for this operation. |


