Popular Woodworking 2001-12 № 125, страница 51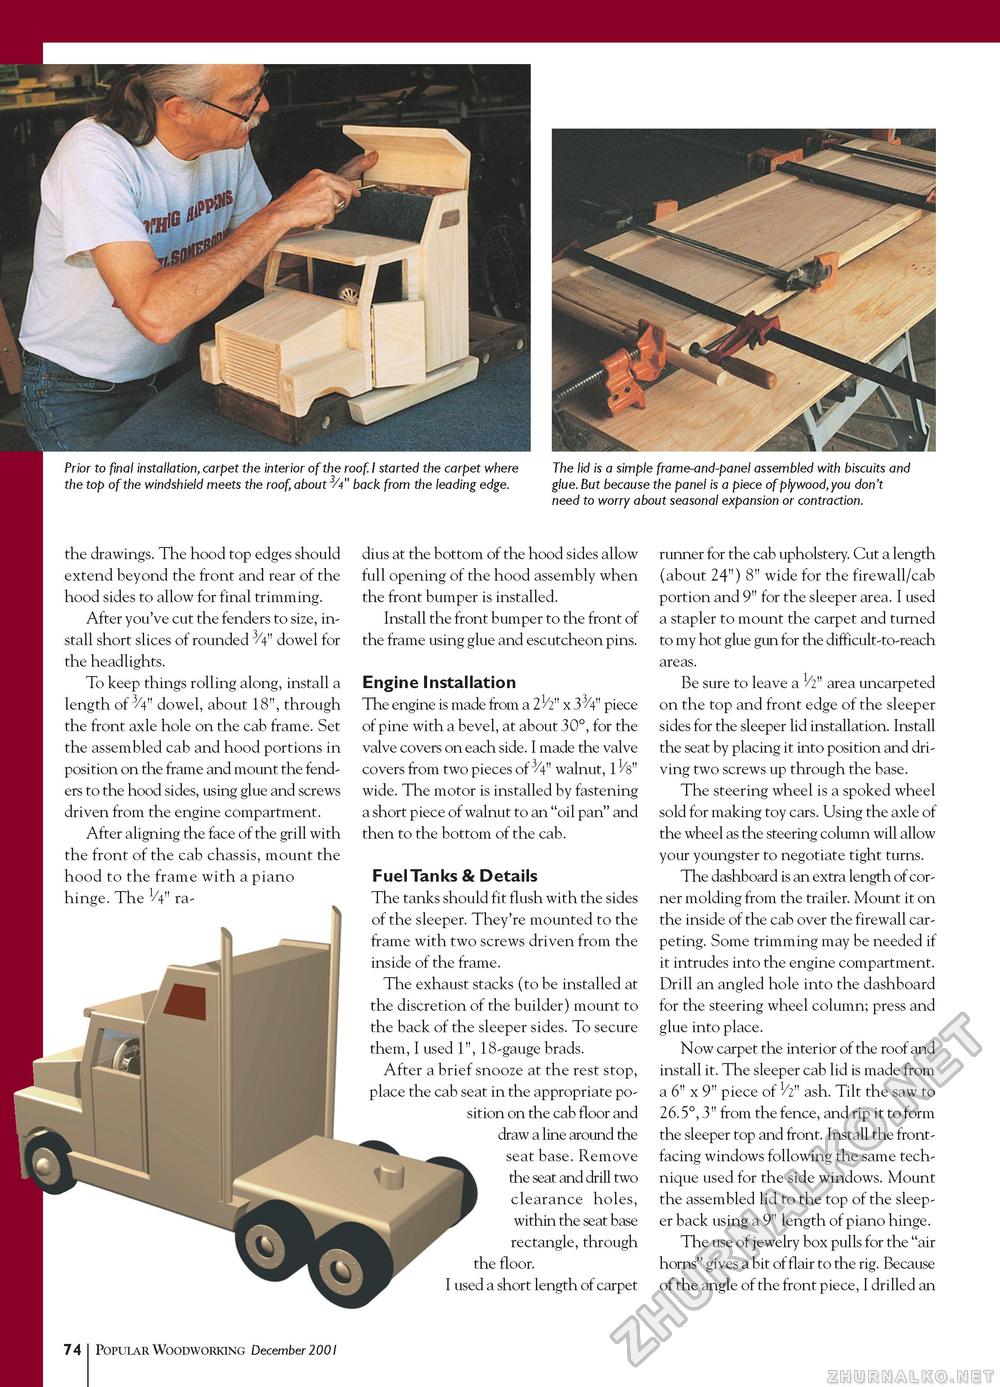
Prior to final installation, carpet the interior of the roof. I started the carpet where the top of the windshield meets the roof, about 3A" back from the leading edge. The lid is a simple frame-and-panel assembled with biscuits and glue. But because the panel is a piece of plywood,you don't need to worry about seasonal expansion or contraction. the drawings. The hood top edges should extend beyond the front and rear of the hood sides to allow for final trimming. After you've cut the fenders to size, install short slices of rounded 3/4" dowel for the headlights. To keep things rolling along, install a length of 3/4" dowel, about 18", through the front axle hole on the cab frame. Set the assembled cab and hood portions in position on the frame and mount the fenders to the hood sides, using glue and screws driven from the engine compartment. After aligning the face of the grill with the front of the cab chassis, mount the hood to the frame with a piano hinge. The Vy ra dius at the bottom of the hood sides allow full opening of the hood assembly when the front bumper is installed. Install the front bumper to the front of the frame using glue and escutcheon pins. Engine Installation The engine is made from a 21/z" x 33/4" piece of pine with a bevel, at about 30°, for the valve covers on each side. I made the valve covers from two pieces of 3/4" walnut, 11/8" wide. The motor is installed by fastening a short piece of walnut to an "oil pan" and then to the bottom of the cab. Fuel Tanks & Details The tanks should fit flush with the sides of the sleeper. They're mounted to the frame with two screws driven from the inside of the frame. The exhaust stacks (to be installed at the discretion of the builder) mount to the back of the sleeper sides. To secure them, I used 1", 18-gauge brads. After a brief snooze at the rest stop, place the cab seat in the appropriate position on the cab floor and draw a line around the seat base. Remove the seat and drill two clearance holes, within the seat base rectangle, through the floor. I used a short length of carpet runner for the cab upholstery. Cut a length (about 24") 8" wide for the firewall/cab portion and 9" for the sleeper area. I used a stapler to mount the carpet and turned to my hot glue gun for the difficult-to-reach areas. Be sure to leave a 1/2" area uncarpeted on the top and front edge of the sleeper sides for the sleeper lid installation. Install the seat by placing it into position and driving two screws up through the base. The steering wheel is a spoked wheel sold for making toy cars. Using the axle of the wheel as the steering column will allow your youngster to negotiate tight turns. The dashboard is an extra length of corner molding from the trailer. Mount it on the inside of the cab over the firewall carpeting. Some trimming may be needed if it intrudes into the engine compartment. Drill an angled hole into the dashboard for the steering wheel column; press and glue into place. Now carpet the interior of the roof and install it. The sleeper cab lid is made from a 6" x 9" piece of 1/2" ash. Tilt the saw to 26.5°, 3" from the fence, and rip it to form the sleeper top and front. Install the front-facing windows following the same technique used for the side windows. Mount the assembled lid to the top of the sleeper back using a 9" length of piano hinge. The use of jewelry box pulls for the "air horns" gives a bit of flair to the rig. Because of the angle of the front piece, I drilled an 74 Popular Woodworking December 2001 |


