Popular Woodworking 2002-02 № 126, страница 19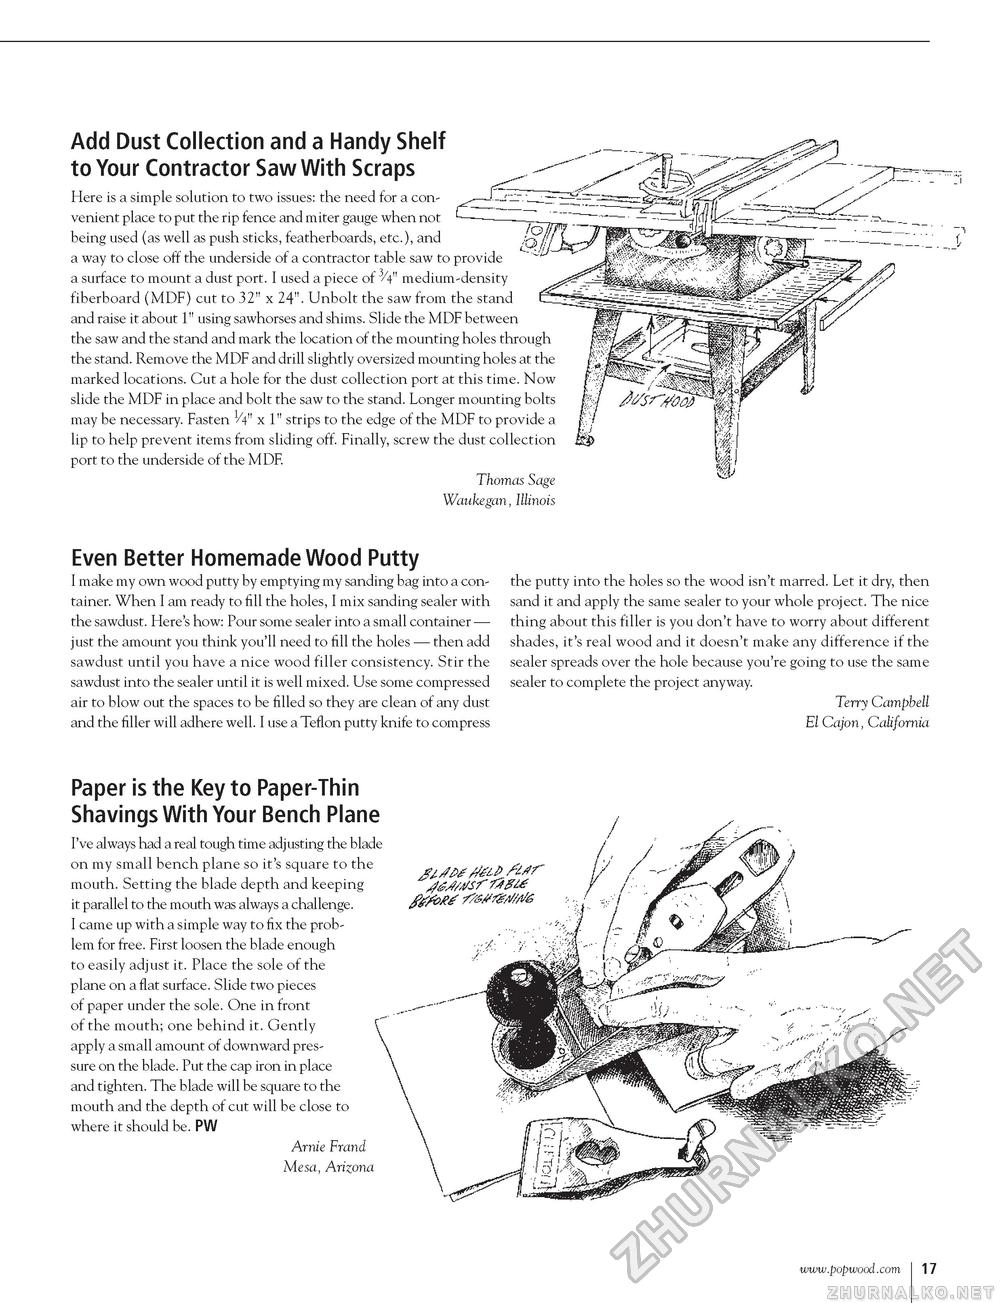
Add Dust Collection and a Handy Shelf to Your Contractor Saw With Scraps Here is a simple solution to two issues: the need for a convenient place to put the rip fence and miter gauge when not being used (as well as push sticks, featherboards, etc.), and a way to close off the underside of a contractor table saw to provide a surface to mount a dust port. I used a piece of 3/4" medium-density fiberboard (MDF) cut to 32" x 24". Unbolt the saw from the stand and raise it about 1" using sawhorses and shims. Slide the MDF between the saw and the stand and mark the location of the mounting holes through the stand. Remove the MDF and drill slightly oversized mounting holes at the marked locations. Cut a hole for the dust collection port at this time. Now slide the MDF in place and bolt the saw to the stand. Longer mounting bolts may be necessary. Fasten x 1" strips to the edge of the MDF to provide a lip to help prevent items from sliding off. Finally, screw the dust collection port to the underside of the MDF. Thomas Sage Waukegan, Illinois Even Better Homemade Wood Putty I make my own wood putty by emptying my sanding bag into a container. When I am ready to fill the holes, I mix sanding sealer with the sawdust. Here's how: Pour some sealer into a small container — just the amount you think you'll need to fill the holes — then add sawdust until you have a nice wood filler consistency. Stir the sawdust into the sealer until it is well mixed. Use some compressed air to blow out the spaces to be filled so they are clean of any dust and the filler will adhere well. I use a Teflon putty knife to compress the putty into the holes so the wood isn't marred. Let it dry, then sand it and apply the same sealer to your whole project. The nice thing about this filler is you don't have to worry about different shades, it's real wood and it doesn't make any difference if the sealer spreads over the hole because you're going to use the same sealer to complete the project anyway. Terry Campbell El Cajon, California Paper is the Key to Paper-Thin Shavings With Your Bench Plane I've always had a real tough time adjusting the blade on my small bench plane so it's square to the mouth. Setting the blade depth and keeping it parallel to the mouth was always a challenge. I came up with a simple way to fix the problem for free. First loosen the blade enough to easily adjust it. Place the sole of the plane on a flat surface. Slide two pieces of paper under the sole. One in front of the mouth; one behind it. Gently apply a small amount of downward pressure on the blade. Put the cap iron in place and tighten. The blade will be square to the mouth and the depth of cut will be close to where it should be. PW Arnie Frand Mesa, Arizona www.popwood.com I 17 |


