Popular Woodworking 2002-04 № 127, страница 32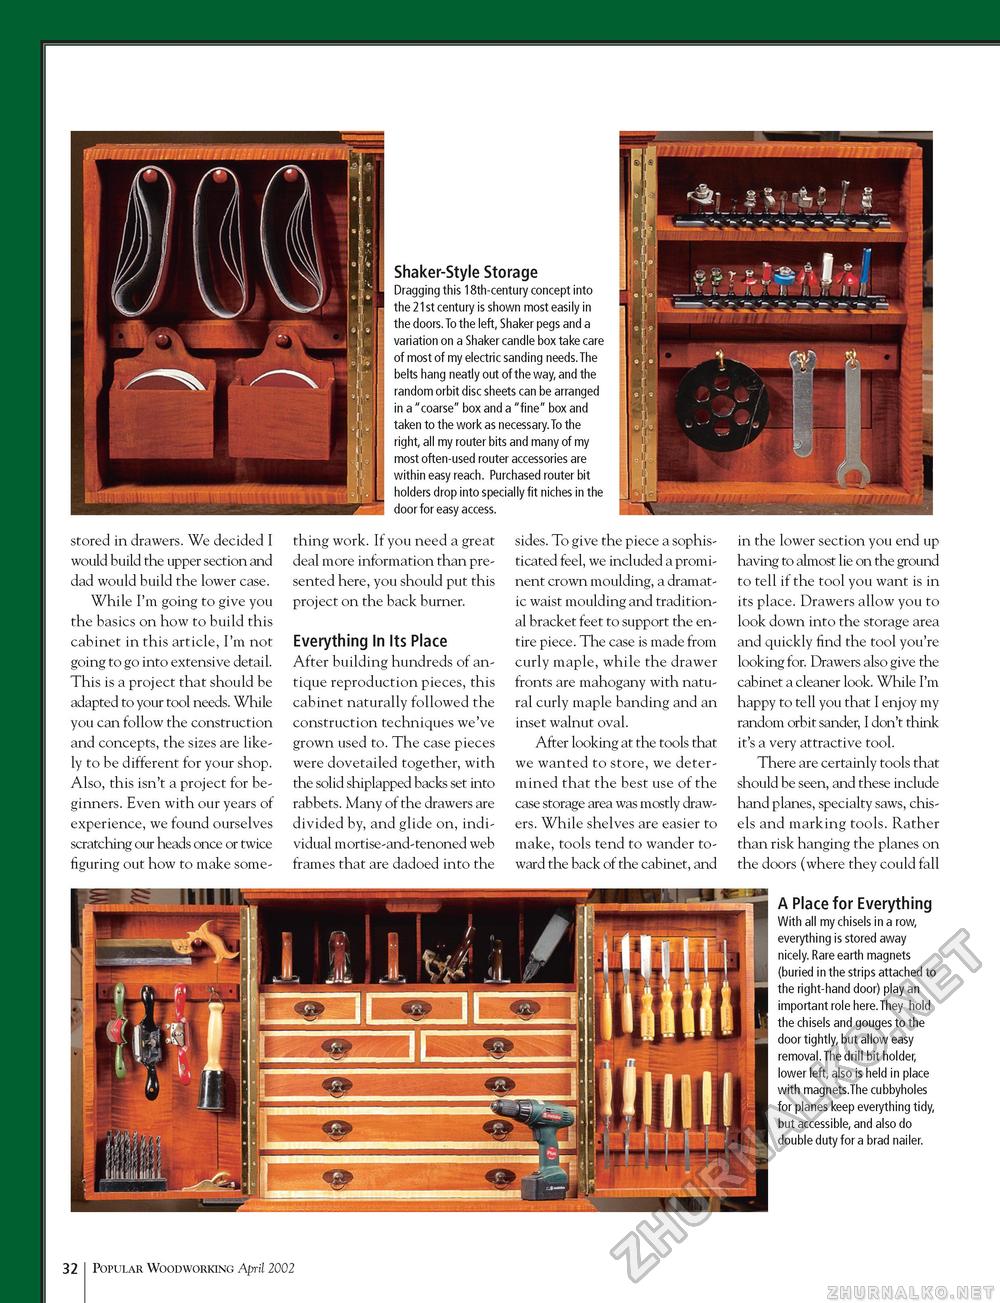
Shaker-Style Storage Dragging this 18th-century concept into the 21st century is shown most easily in the doors. To the left, Shaker pegs and a variation on a Shaker candle box take care of most of my electric sanding needs. The belts hang neatly out of the way, and the random orbit disc sheets can be arranged in a "coarse" box and a "fine" box and taken to the work as necessary. To the right, all my router bits and many of my most often-used router accessories are within easy reach. Purchased router bit holders drop into specially fit niches in the door for easy access. stored in drawers. We decided I would build the upper section and dad would build the lower case. While I'm going to give you the basics on how to build this cabinet in this article, I'm not going to go into extensive detail. This is a project that should be adapted to your tool needs. While you can follow the construction and concepts, the sizes are likely to be different for your shop. Also, this isn't a project for beginners. Even with our years of experience, we found ourselves scratching our heads once or twice figuring out how to make some thing work. If you need a great deal more information than presented here, you should put this project on the back burner. Everything In Its Place After building hundreds of antique reproduction pieces, this cabinet naturally followed the construction techniques we've grown used to. The case pieces were dovetailed together, with the solid shiplapped backs set into rabbets. Many of the drawers are divided by, and glide on, individual mortise-and-tenoned web frames that are dadoed into the sides. To give the piece a sophisticated feel, we included a prominent crown moulding, a dramatic waist moulding and traditional bracket feet to support the entire piece. The case is made from curly maple, while the drawer fronts are mahogany with natural curly maple banding and an inset walnut oval. After looking at the tools that we wanted to store, we determined that the best use of the case storage area was mostly drawers. While shelves are easier to make, tools tend to wander toward the back of the cabinet, and in the lower section you end up having to almost lie on the ground to tell if the tool you want is in its place. Drawers allow you to look down into the storage area and quickly find the tool you're looking for. Drawers also give the cabinet a cleaner look. While I'm happy to tell you that I enjoy my random orbit sander, I don't think it's a very attractive tool. There are certainly tools that should be seen, and these include hand planes, specialty saws, chisels and marking tools. Rather than risk hanging the planes on the doors (where they could fall A Place for Everything With all my chisels in a row, everything is stored away nicely. Rare earth magnets (buried in the strips attached to the right-hand door) play an important role here.They hold the chisels and gouges to the door tightly, but allow easy removal.The drill bit holder, lower left, also is held in place with magnets.The cubbyholes for planes keep everything tidy, but accessible, and also do double duty for a brad nailer. 32 Popular Woodworking April 2002 |


