Popular Woodworking 2002-06 № 128, страница 59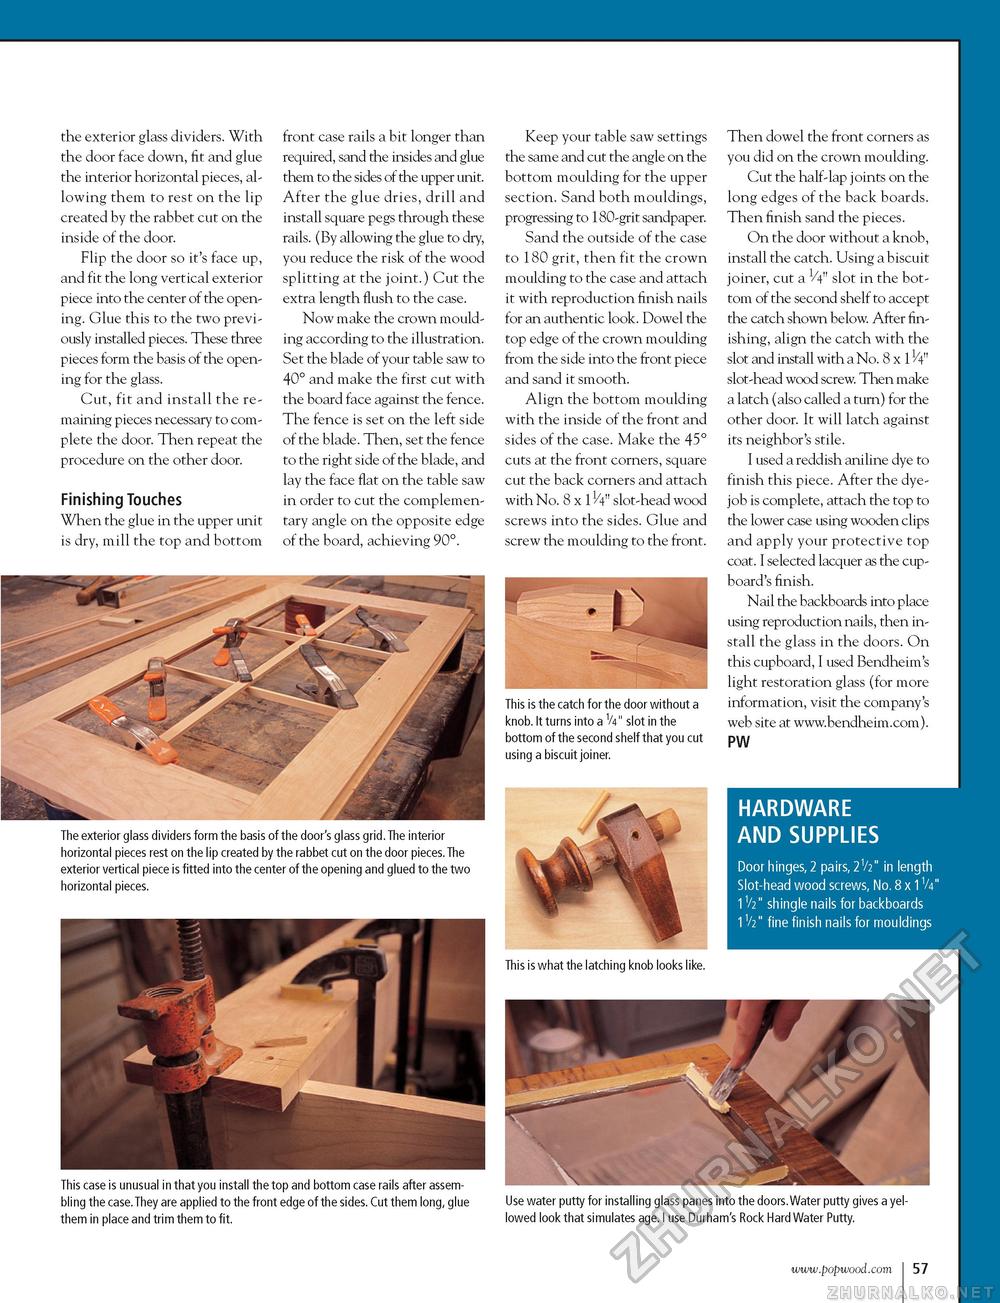
the exterior glass dividers. With the door face down, fit and glue the interior horizontal pieces, allowing them to rest on the lip created by the rabbet cut on the inside of the door. Flip the door so it's face up, and fit the long vertical exterior piece into the center of the opening. Glue this to the two previously installed pieces. These three pieces form the basis of the opening for the glass. Cut, fit and install the remaining pieces necessary to complete the door. Then repeat the procedure on the other door. Finishing Touches When the glue in the upper unit is dry, mill the top and bottom front case rails a bit longer than required, sand the insides and glue them to the sides of the upper unit. After the glue dries, drill and install square pegs through these rails. (By allowing the glue to dry, you reduce the risk of the wood splitting at the joint.) Cut the extra length flush to the case. Now make the crown moulding according to the illustration. Set the blade of your table saw to 40° and make the first cut with the board face against the fence. The fence is set on the left side of the blade. Then, set the fence to the right side of the blade, and lay the face flat on the table saw in order to cut the complementary angle on the opposite edge of the board, achieving 90°. Keep your table saw settings the same and cut the angle on the bottom moulding for the upper section. Sand both mouldings, progressing to 180-grit sandpaper. Sand the outside of the case to 180 grit, then fit the crown moulding to the case and attach it with reproduction finish nails for an authentic look. Dowel the top edge of the crown moulding from the side into the front piece and sand it smooth. Align the bottom moulding with the inside of the front and sides of the case. Make the 45° cuts at the front corners, square cut the back corners and attach with No. 8 x 11/4" slot-head wood screws into the sides. Glue and screw the moulding to the front. Thisis the catch for the door without a knob. Itturns into a V4" slot in the bottom ofthesecond shelfthatyou cut using a biscuitjoiner. Theexteriorglass dividersform the basis ofthe door's glass grid.The interior horizontal pieces rest on the lip created by the rabbet cut on the door pieces. The exteriorvertical piece is fitted intothecenteroftheopening and glued tothetwo horizontal pieces. Then dowel the front corners as you did on the crown moulding. Cut the half-lap joints on the long edges of the back boards. Then finish sand the pieces. On the door without a knob, install the catch. Using a biscuit joiner, cut a V4" slot in the bottom of the second shelf to accept the catch shown below. After finishing, align the catch with the slot and install with a No. 8 x slot-head wood screw. Then make a latch (also called a turn) for the other door. It will latch against its neighbor's stile. I used a reddish aniline dye to finish this piece. After the dye-job is complete, attach the top to the lower case using wooden clips and apply your protective top coat. I selected lacquer as the cupboard's finish. Nail the backboards into place using reproduction nails, then install the glass in the doors. On this cupboard, I used Bendheim's light restoration glass (for more information, visit the company's web site at www.bendheim.com). PW HARDWARE AND SUPPLIES Doorhinges, 2 pairs, 2V2" in length Slot-head wood screws, No. 8x1 V4" 1V2" shinglenailsforbackboards 1V2" fine finish nails for mouldings This case is unusual inthatyou install thetop and bottom case rails afterassem-bling thecase.Theyare applied tothefront edgeofthesides. Cut them long, glue them in place and trim them to fit. Use water putty for installing glass panes into the doors.Water putty gives a yellowed look that simulates age. I use Durham's Rock Hard Water Putty. 57 |


