Popular Woodworking 2002-06 № 128, страница 73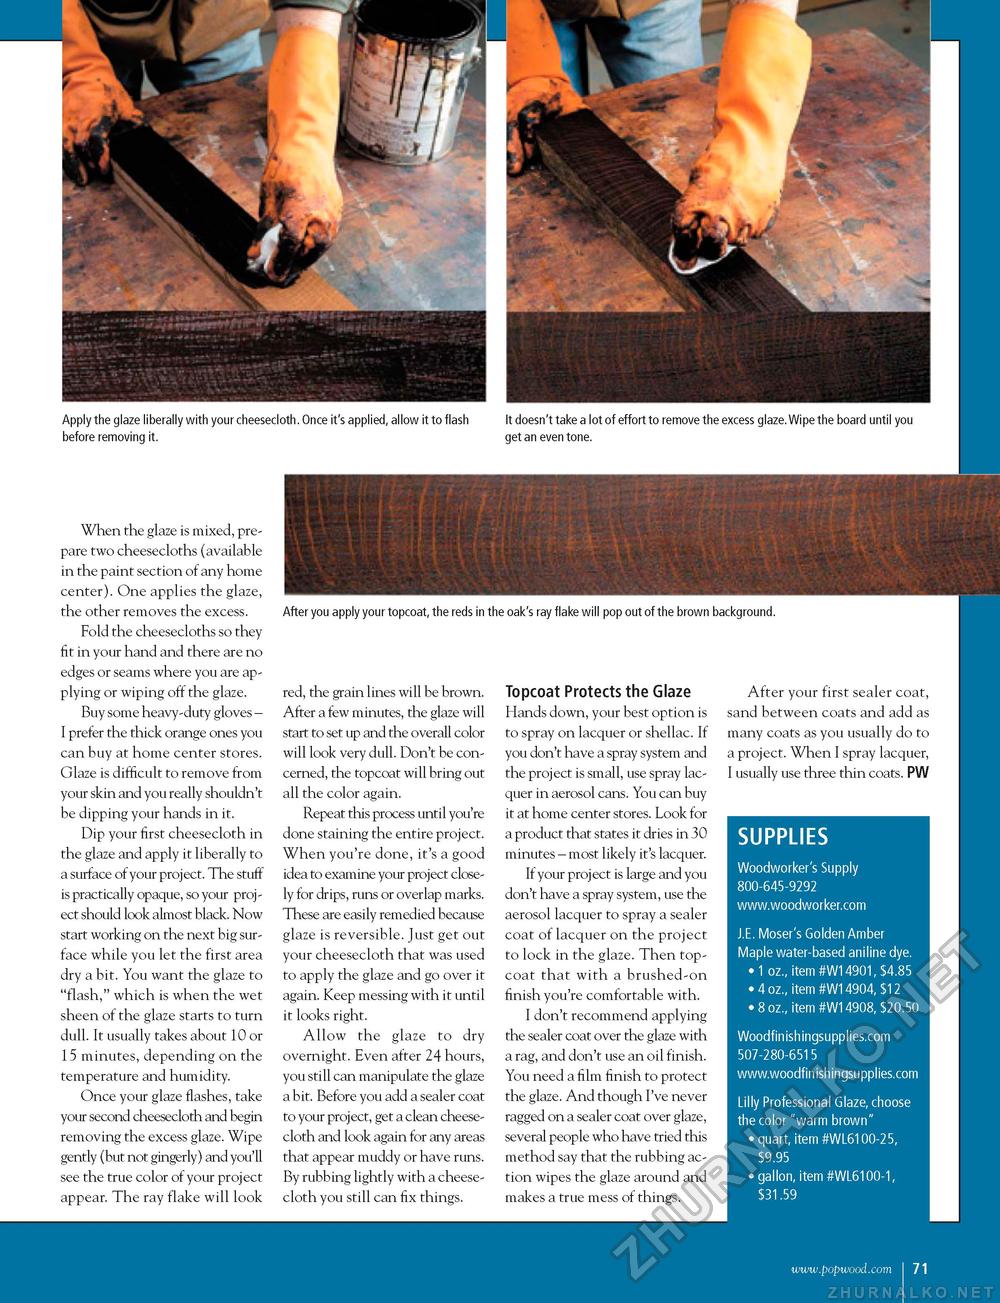
Apply the glaze liberally with your cheesecloth. Once it's applied, allow it to flash before removing it. It doesn't take a lot of effort to remove the excess glaze.Wipe the board until you get an even tone. When the glaze is mixed, prepare two cheesecloths (available in the paint section of any home center). One applies the glaze, the other removes the excess. Fold the cheesecloths so they fit in your hand and there are no edges or seams where you are applying or wiping off the glaze. Buy some heavy-duty gloves -I prefer the thick orange ones you can buy at home center stores. Glaze is difficult to remove from your skin and you really shouldn't be dipping your hands in it. Dip your first cheesecloth in the glaze and apply it liberally to a surface of your project. The stuff is practically opaque, so your project should look almost black. Now start working on the next big surface while you let the first area dry a bit. You want the glaze to "flash," which is when the wet sheen of the glaze starts to turn dull. It usually takes about 10 or 15 minutes, depending on the temperature and humidity. Once your glaze flashes, take your second cheesecloth and begin removing the excess glaze. Wipe gently (but not gingerly) and you'll see the true color of your project appear. The ray flake will look After you apply your topcoat, the reds in the oak's ray flake will pop out of the brown background. red, the grain lines will be brown. After a few minutes, the glaze will start to set up and the overall color will look very dull. Don't be concerned, the topcoat will bring out all the color again. Repeat this process until you're done staining the entire project. When you're done, it's a good idea to examine your project closely for drips, runs or overlap marks. These are easily remedied because glaze is reversible. Just get out your cheesecloth that was used to apply the glaze and go over it again. Keep messing with it until it looks right. Allow the glaze to dry overnight. Even after 24 hours, you still can manipulate the glaze a bit. Before you add a sealer coat to your project, get a clean cheesecloth and look again for any areas that appear muddy or have runs. By rubbing lightly with a cheesecloth you still can fix things. Topcoat Protects the Glaze Hands down, your best option is to spray on lacquer or shellac. If you don't have a spray system and the project is small, use spray lacquer in aerosol cans. You can buy it at home center stores. Look for a product that states it dries in 30 minutes - most likely it's lacquer. If your project is large and you don't have a spray system, use the aerosol lacquer to spray a sealer coat of lacquer on the project to lock in the glaze. Then topcoat that with a brushed-on finish you're comfortable with. I don't recommend applying the sealer coat over the glaze with a rag, and don't use an oil finish. You need a film finish to protect the glaze. And though I've never ragged on a sealer coat over glaze, several people who have tried this method say that the rubbing action wipes the glaze around and makes a true mess of things. After your first sealer coat, sand between coats and add as many coats as you usually do to a project. When I spray lacquer, I usually use three thin coats. PW SUPPLIES Woodworker's Supply 800-645-9292 J.E. Moser's Golden Amber Maple water-based aniline dye. • 1 oz., item #W14901, $4.85 • 4 oz., item #W14904,$12 • 8 oz., item #W14908, $20.50 Woodfinishingsupplies.com 507-280-6515 Lilly Professional Glaze, choose the color "warm brown" • quart, item #WL6100-25, $9.95 • gallon, item #WL6100-1, $31.59 www.popwood.com I 71 |


