Popular Woodworking 2002-06 № 128, страница 71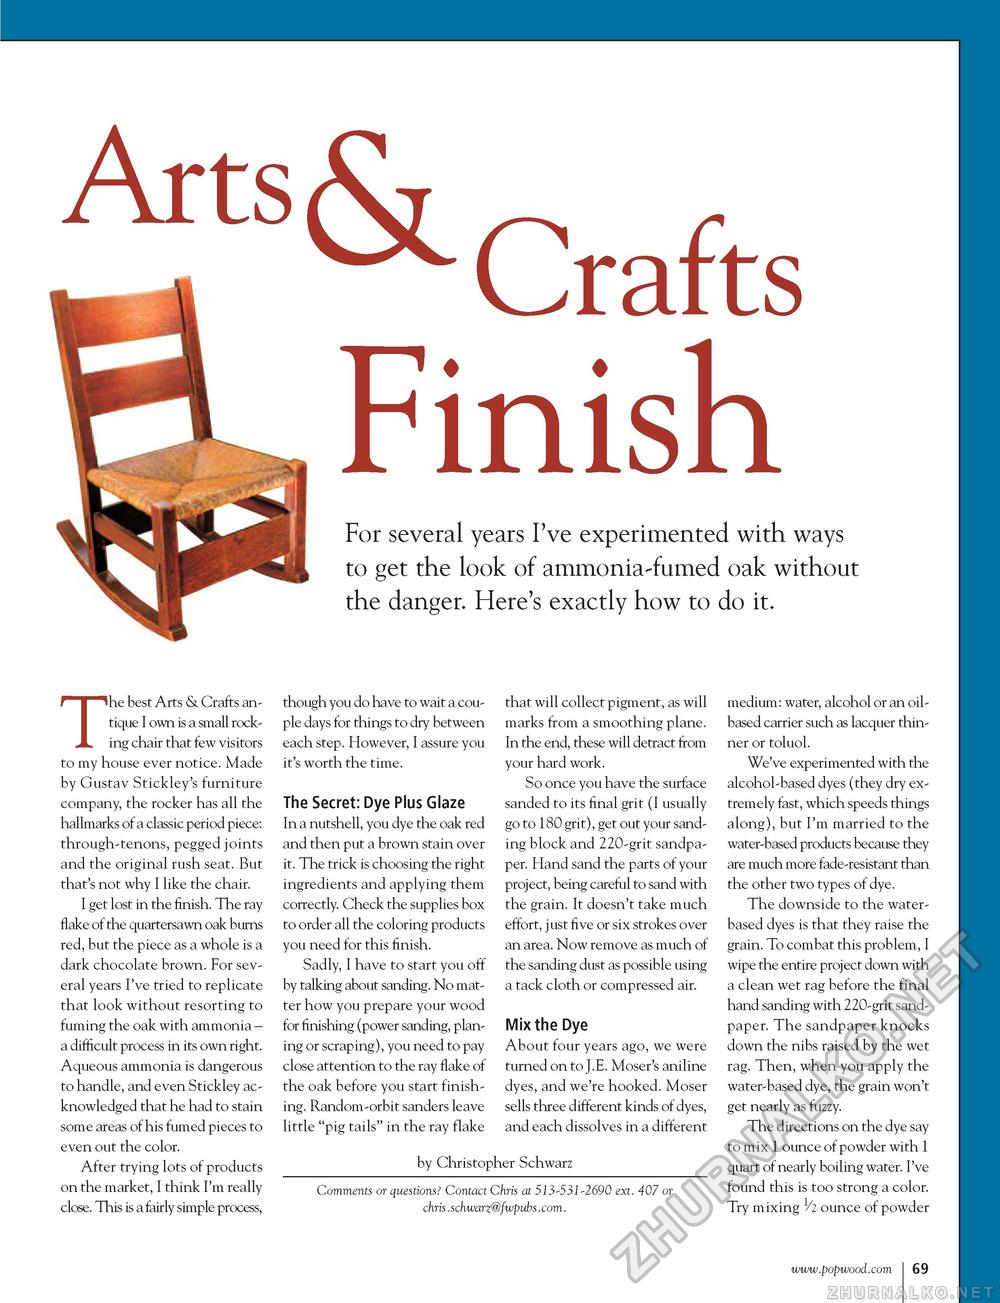
Arts& Crafts FinishFor several years I've experimented with ways to get the look of ammonia-fumed oak without the danger. Here's exactly how to do it. The best Arts & Crafts antique I own is a small rocking chair that few visitors to my house ever notice. Made by Gustav Stickley's furniture company, the rocker has all the hallmarks of a classic period piece: through-tenons, pegged joints and the original rush seat. But that's not why I like the chair. I get lost in the finish. The ray flake of the quartersawn oak burns red, but the piece as a whole is a dark chocolate brown. For several years I've tried to replicate that look without resorting to fuming the oak with ammonia -a difficult process in its own right. Aqueous ammonia is dangerous to handle, and even Stickley acknowledged that he had to stain some areas of his fumed pieces to even out the color. After trying lots of products on the market, I think I'm really close. This is a fairly simple process, though you do have to wait a couple days for things to dry between each step. However, I assure you it's worth the time. The Secret: Dye Plus Glaze In a nutshell, you dye the oak red and then put a brown stain over it. The trick is choosing the right ingredients and applying them correctly. Check the supplies box to order all the coloring products you need for this finish. Sadly, I have to start you off by talking about sanding. No matter how you prepare your wood for finishing (power sanding, planing or scraping), you need to pay close attention to the ray flake of the oak before you start finishing. Random-orbit sanders leave little "pig tails" in the ray flake that will collect pigment, as will marks from a smoothing plane. In the end, these will detract from your hard work. So once you have the surface sanded to its final grit (I usually go to 180 grit), get out your sanding block and 220-grit sandpaper. Hand sand the parts of your project, being careful to sand with the grain. It doesn't take much effort, just five or six strokes over an area. Now remove as much of the sanding dust as possible using a tack cloth or compressed air. Mix the Dye About four years ago, we were turned on to J.E. Moser's aniline dyes, and we're hooked. Moser sells three different kinds of dyes, and each dissolves in a different by Christopher Schwarz Comments or questions? Contact Chris at 513-531-2690 ext. 407 or chris.schwarz@fwpubs.com. medium: water, alcohol or an oil-based carrier such as lacquer thinner or toluol. We've experimented with the alcohol-based dyes (they dry extremely fast, which speeds things along), but I'm married to the water-based products because they are much more fade-resistant than the other two types of dye. The downside to the water-based dyes is that they raise the grain. To combat this problem, I wipe the entire project down with a clean wet rag before the final hand sanding with 220-grit sandpaper. The sandpaper knocks down the nibs raised by the wet rag. Then, when you apply the water-based dye, the grain won't get nearly as fuzzy. The directions on the dye say to mix 1 ounce of powder with 1 quart of nearly boiling water. I've found this is too strong a color. Try mixing 1/2 ounce of powder 69 |


