Popular Woodworking 2002-10 № 130, страница 20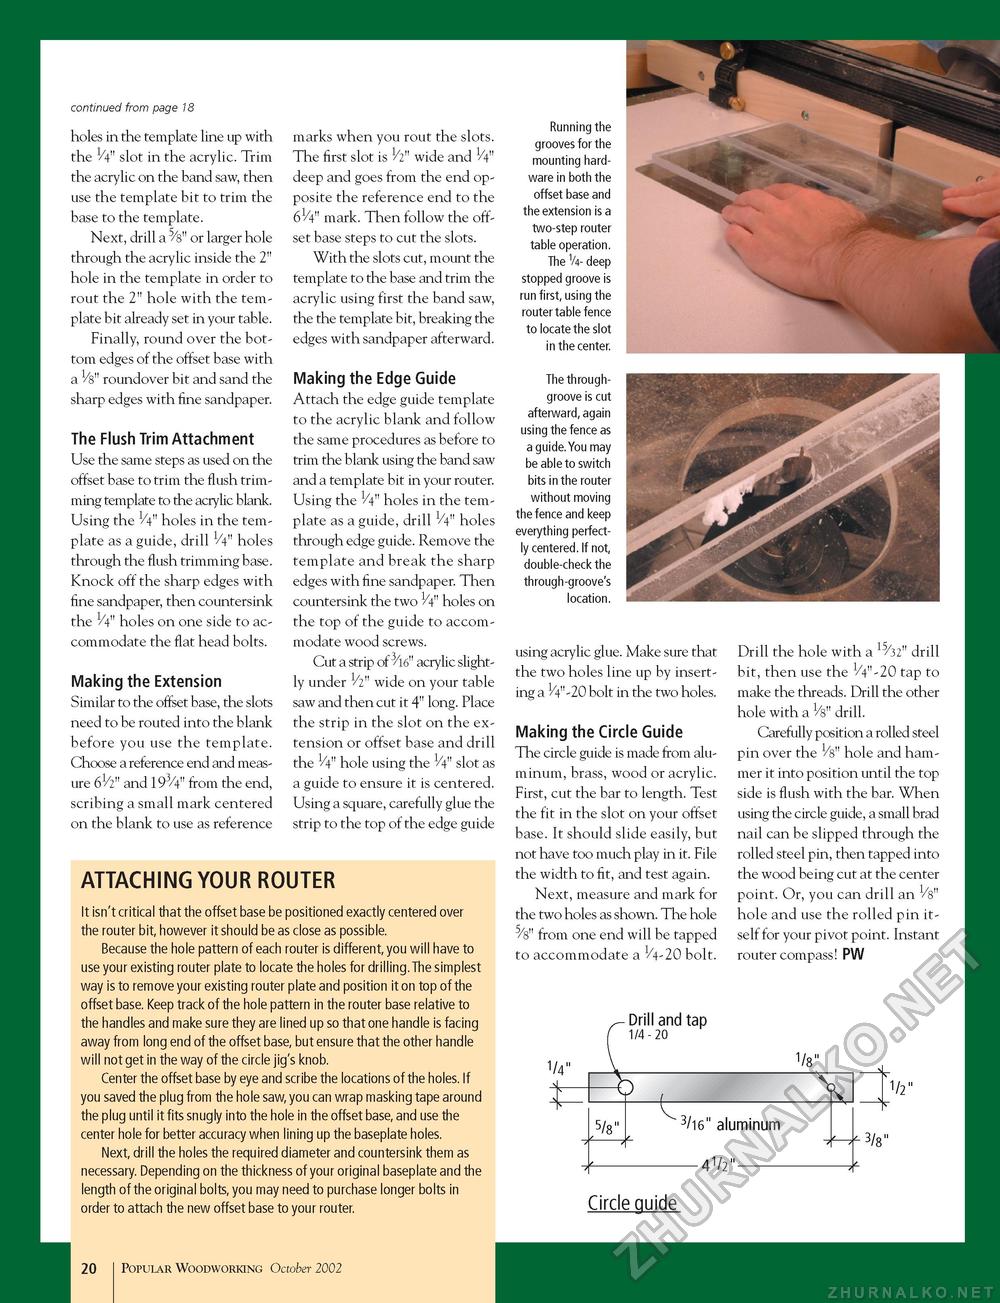
continued from page 18 holes in the template line up with the 1/4" slot in the acrylic. Trim the acrylic on the band saw, then use the template bit to trim the base to the template. Next, drill a 5/8" or larger hole through the acrylic inside the 2" hole in the template in order to rout the 2" hole with the template bit already set in your table. Finally, round over the bottom edges of the offset base with a 1/8" roundover bit and sand the sharp edges with fine sandpaper. The Flush Trim Attachment Use the same steps as used on the offset base to trim the flush trimming template to the acrylic blank. Using the 1/4" holes in the template as a guide, drill 1/4" holes through the flush trimming base. Knock off the sharp edges with fine sandpaper, then countersink the 1/4" holes on one side to accommodate the flat head bolts. Making the Extension Similar to the offset base, the slots need to be routed into the blank before you use the template. Choose a reference end and measure 61/2" and 193/4" from the end, scribing a small mark centered on the blank to use as reference marks when you rout the slots. The first slot is 1/2" wide and V4" deep and goes from the end opposite the reference end to the mark. Then follow the offset base steps to cut the slots. With the slots cut, mount the template to the base and trim the acrylic using first the band saw, the the template bit, breaking the edges with sandpaper afterward. Making the Edge Guide Attach the edge guide template to the acrylic blank and follow the same procedures as before to trim the blank using the band saw and a template bit in your router. Using the 1/4" holes in the template as a guide, drill 1/4" holes through edge guide. Remove the template and break the sharp edges with fine sandpaper. Then countersink the two 1/4" holes on the top of the guide to accommodate wood screws. Cut a strip of 3/16" acrylic slightly under 1/2" wide on your table saw and then cut it 4" long. Place the strip in the slot on the extension or offset base and drill the 1/4" hole using the 1/4" slot as a guide to ensure it is centered. Using a square, carefully glue the strip to the top of the edge guide ATTACHING YOUR ROUTER It isn't critical that the offset base be positioned exactly centered over the router bit, however it should be as close as possible. Because the hole pattern of each router is different, you will have to use your existing router plate to locate the holes for drilling. The simplest way is to remove your existing router plate and position it on top of the offset base. Keep track of the hole pattern in the router base relative to the handles and make sure they are lined up so that one handle is facing away from long end of the offset base, but ensure that the other handle will not get in the way of the circle jig's knob. Center the offset base by eye and scribe the locations of the holes. If you saved the plug from the hole saw, you can wrap masking tape around the plug until it fits snugly into the hole in the offset base, and use the center hole for better accuracy when lining up the baseplate holes. Next, drill the holes the required diameter and countersink them as necessary. Depending on the thickness of your original baseplate and the length of the original bolts, you may need to purchase longer bolts in order to attach the new offset base to your router. Running the grooves for the mounting hardware in both the offset base and the extension is a two-step router table operation. The V4- deep stopped groove is run first, using the router table fence to locate the slot in the center. The through-groove is cut afterward, again using the fence as a guide.You may be able to switch bits in the router without moving the fence and keep everything perfectly centered. If not, double-check the through-groove's location. using acrylic glue. Make sure that the two holes line up by inserting a 1/4"-20 bolt in the two holes. Making the Circle Guide The circle guide is made from aluminum, brass, wood or acrylic. First, cut the bar to length. Test the fit in the slot on your offset base. It should slide easily, but not have too much play in it. File the width to fit, and test again. Next, measure and mark for the two holes as shown. The hole 5/8" from one end will be tapped to accommodate a V4-20 bolt. Drill the hole with a 15/32" drill bit, then use the 1/4"-20 tap to make the threads. Drill the other hole with a V8" drill. Carefully position a rolled steel pin over the 1/8" hole and hammer it into position until the top side is flush with the bar. When using the circle guide, a small brad nail can be slipped through the rolled steel pin, then tapped into the wood being cut at the center point. Or, you can drill an Vs" hole and use the rolled pin itself for your pivot point. Instant router compass! PW Drill and tap 1/4 - 20
3/8" 1/2" 3/8" Circle guide 20 Popular Woodworking October 2002 |


