Popular Woodworking 2002-12 № 131, страница 62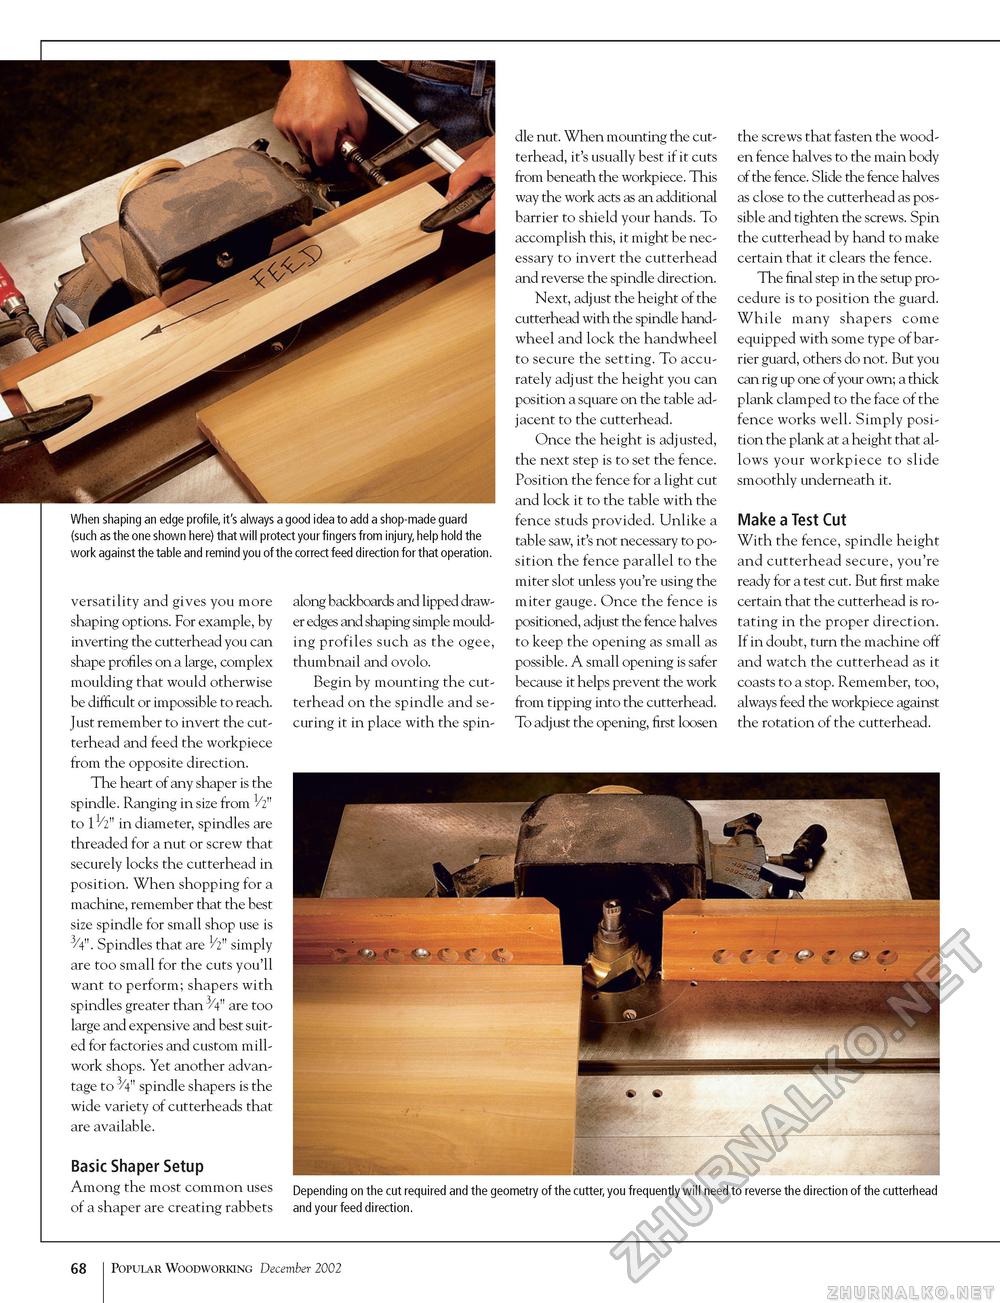
When shaping an edge profile, it's always a good idea to add a shop-made guard (such as the one shown here) that will protect your fingers from injury, help hold the work against the table and remind you of the correct feed direction for that operation. versatility and gives you more shaping options. For example, by inverting the cutterhead you can shape profiles on a large, complex moulding that would otherwise be difficult or impossible to reach. Just remember to invert the cut-terhead and feed the workpiece from the opposite direction. The heart of any shaper is the spindle. Ranging in size from V2" to 11/2" in diameter, spindles are threaded for a nut or screw that securely locks the cutterhead in position. When shopping for a machine, remember that the best size spindle for small shop use is 3/4". Spindles that are 1/2" simply are too small for the cuts you'll want to perform; shapers with spindles greater than 3/4" are too large and expensive and best suited for factories and custom mill-work shops. Yet another advantage to 3/4" spindle shapers is the wide variety of cutterheads that are available. Basic Shaper Setup Among the most common uses of a shaper are creating rabbets along backboards and lipped drawer edges and shaping simple moulding profiles such as the ogee, thumbnail and ovolo. Begin by mounting the cut-terhead on the spindle and securing it in place with the spin- dle nut. When mounting the cut-terhead, it's usually best if it cuts from beneath the workpiece. This way the work acts as an additional barrier to shield your hands. To accomplish this, it might be necessary to invert the cutterhead and reverse the spindle direction. Next, adjust the height of the cutterhead with the spindle hand-wheel and lock the handwheel to secure the setting. To accurately adjust the height you can position a square on the table adjacent to the cutterhead. Once the height is adjusted, the next step is to set the fence. Position the fence for a light cut and lock it to the table with the fence studs provided. Unlike a table saw, it's not necessary to position the fence parallel to the miter slot unless you're using the miter gauge. Once the fence is positioned, adjust the fence halves to keep the opening as small as possible. A small opening is safer because it helps prevent the work from tipping into the cutterhead. To adjust the opening, first loosen the screws that fasten the wooden fence halves to the main body of the fence. Slide the fence halves as close to the cutterhead as possible and tighten the screws. Spin the cutterhead by hand to make certain that it clears the fence. The final step in the setup procedure is to position the guard. While many shapers come equipped with some type of barrier guard, others do not. But you can rig up one of your own; a thick plank clamped to the face of the fence works well. Simply position the plank at a height that allows your workpiece to slide smoothly underneath it. Make a Test Cut With the fence, spindle height and cutterhead secure, you're ready for a test cut. But first make certain that the cutterhead is rotating in the proper direction. If in doubt, turn the machine off and watch the cutterhead as it coasts to a stop. Remember, too, always feed the workpiece against the rotation of the cutterhead. Depending on the cut required and the geometry of the cutter, you frequently will need to reverse the direction of the cutterhead and your feed direction. 68 Popular Woodworking December 2002 |


