Popular Woodworking 2002-12 № 131, страница 83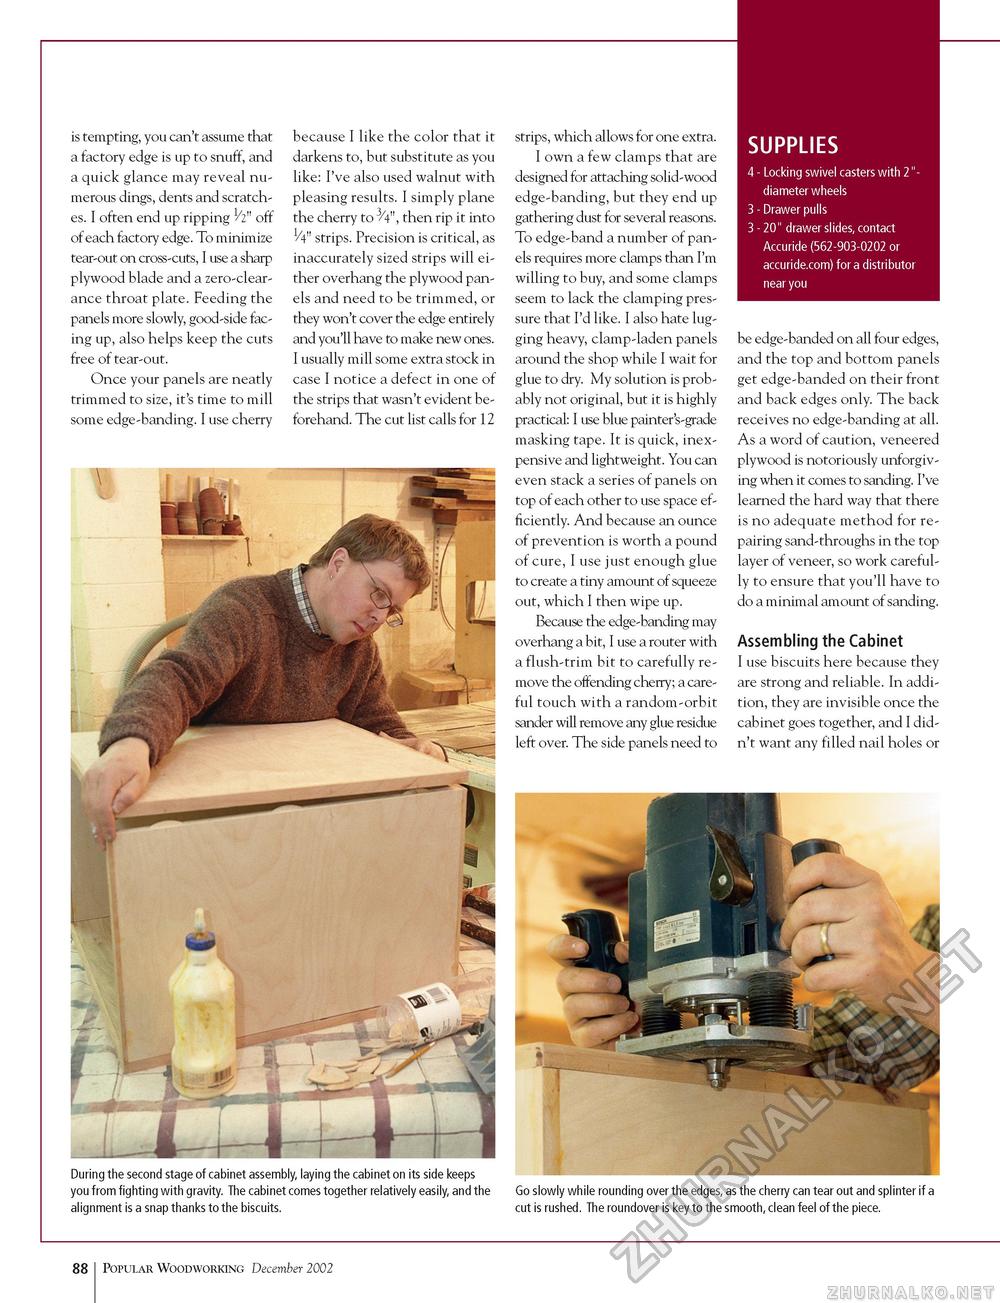
SUPPLIES 4 - Locking swivel casters with 2"- diameter wheels 3 - Drawer pulls 3 - 20" drawer slides, contact Accuride (562-903-0202 or accuride.com) for a distributor near you is tempting, you can't assume that a factory edge is up to snuff, and a quick glance may reveal numerous dings, dents and scratches. I often end up ripping V2" off of each factory edge. To minimize tear-out on cross-cuts, I use a sharp plywood blade and a zero-clearance throat plate. Feeding the panels more slowly, good-side facing up, also helps keep the cuts free of tear-out. Once your panels are neatly trimmed to size, it's time to mill some edge-banding. I use cherry because I like the color that it darkens to, but substitute as you like: I've also used walnut with pleasing results. I simply plane the cherry to 3/4", then rip it into 1/4" strips. Precision is critical, as inaccurately sized strips will either overhang the plywood panels and need to be trimmed, or they won't cover the edge entirely and you'll have to make new ones. I usually mill some extra stock in case I notice a defect in one of the strips that wasn't evident beforehand. The cut list calls for 12 strips, which allows for one extra. I own a few clamps that are designed for attaching solid-wood edge-banding, but they end up gathering dust for several reasons. To edge-band a number of panels requires more clamps than I'm willing to buy, and some clamps seem to lack the clamping pressure that I'd like. I also hate lugging heavy, clamp-laden panels around the shop while I wait for glue to dry. My solution is probably not original, but it is highly practical: I use blue painter's-grade masking tape. It is quick, inexpensive and lightweight. You can even stack a series of panels on top of each other to use space efficiently. And because an ounce of prevention is worth a pound of cure, I use just enough glue to create a tiny amount of squeeze out, which I then wipe up. Because the edge-banding may overhang a bit, I use a router with a flush-trim bit to carefully remove the offending cherry; a careful touch with a random-orbit sander will remove any glue residue left over. The side panels need to be edge-banded on all four edges, and the top and bottom panels get edge-banded on their front and back edges only. The back receives no edge-banding at all. As a word of caution, veneered plywood is notoriously unforgiving when it comes to sanding. I've learned the hard way that there is no adequate method for repairing sand-throughs in the top layer of veneer, so work carefully to ensure that you'll have to do a minimal amount of sanding. Assembling the Cabinet I use biscuits here because they are strong and reliable. In addition, they are invisible once the cabinet goes together, and I didn't want any filled nail holes or During the second stage of cabinet assembly, laying the cabinet on its side keeps you from fighting with gravity. The cabinet comes together relatively easily, and the alignment is a snap thanks to the biscuits. Go slowly while rounding over the edges, as the cherry can tear out and splinter if a cut is rushed. The roundover is key to the smooth, clean feel of the piece. 88 Popular Woodworking December 2002 |


