Popular Woodworking 2002-12 № 131, страница 86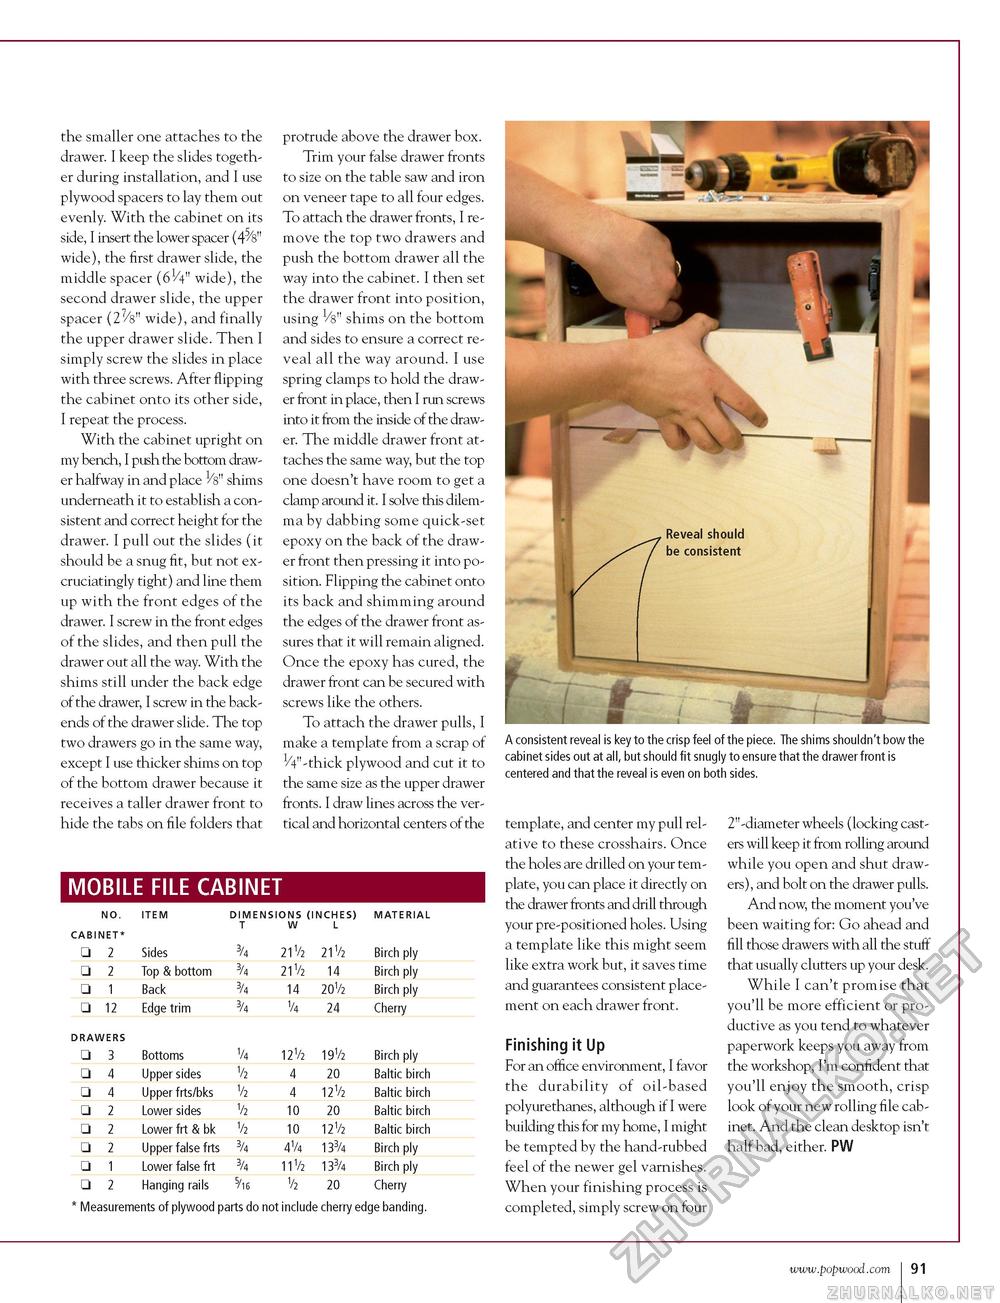
the smaller one attaches to the drawer. I keep the slides together during installation, and I use plywood spacers to lay them out evenly. With the cabinet on its side, I insert the lower spacer (4'/b" wide), the first drawer slide, the middle spacer wide), the second drawer slide, the upper spacer wide), and finally the upper drawer slide. Then I simply screw the slides in place with three screws. After flipping the cabinet onto its other side, I repeat the process. With the cabinet upright on my bench, I push the bottom drawer halfway in and place Vs" shims underneath it to establish a consistent and correct height for the drawer. I pull out the slides (it should be a snug fit, but not excruciatingly tight) and line them up with the front edges of the drawer. I screw in the front edges of the slides, and then pull the drawer out all the way. With the shims still under the back edge of the drawer, I screw in the back-ends of the drawer slide. The top two drawers go in the same way, except I use thicker shims on top of the bottom drawer because it receives a taller drawer front to hide the tabs on file folders that protrude above the drawer box. Trim your false drawer fronts to size on the table saw and iron on veneer tape to all four edges. To attach the drawer fronts, I remove the top two drawers and push the bottom drawer all the way into the cabinet. I then set the drawer front into position, using V8" shims on the bottom and sides to ensure a correct reveal all the way around. I use spring clamps to hold the drawer front in place, then I run screws into it from the inside of the drawer. The middle drawer front attaches the same way, but the top one doesn't have room to get a clamp around it. I solve this dilemma by dabbing some quick-set epoxy on the back of the drawer front then pressing it into position. Flipping the cabinet onto its back and shimming around the edges of the drawer front assures that it will remain aligned. Once the epoxy has cured, the drawer front can be secured with screws like the others. To attach the drawer pulls, I make a template from a scrap of 1/4"-thick plywood and cut it to the same size as the upper drawer fronts. I draw lines across the vertical and horizontal centers of the MOBILE FILE CABINET
* Measurements of plywood parts do not include cherry edge banding. A consistent reveal is key to the crisp feel of the piece. The shims shouldn't bow the cabinet sides out at all, but should fit snugly to ensure that the drawer front is centered and that the reveal is even on both sides. * Measurements of plywood parts do not include cherry edge banding. template, and center my pull relative to these crosshairs. Once the holes are drilled on your template, you can place it directly on the drawer fronts and drill through your pre-positioned holes. Using a template like this might seem like extra work but, it saves time and guarantees consistent placement on each drawer front. Finishing it Up For an office environment, I favor the durability of oil-based polyurethanes, although if I were building this for my home, I might be tempted by the hand-rubbed feel of the newer gel varnishes. When your finishing process is completed, simply screw on four 2"-diameter wheels (locking casters will keep it from rolling around while you open and shut drawers), and bolt on the drawer pulls. And now, the moment you've been waiting for: Go ahead and fill those drawers with all the stuff that usually clutters up your desk. While I can't promise that you'll be more efficient or productive as you tend to whatever paperwork keeps you away from the workshop, I'm confident that you'll enjoy the smooth, crisp look of your new rolling file cabinet. And the clean desktop isn't half bad, either. PW |
||||||||||||||||||||||||||||||||||||||||||||||||||||||||||||||||||||||||||||||||||||||||||||||||||


