Popular Woodworking 2003-02 № 132, страница 80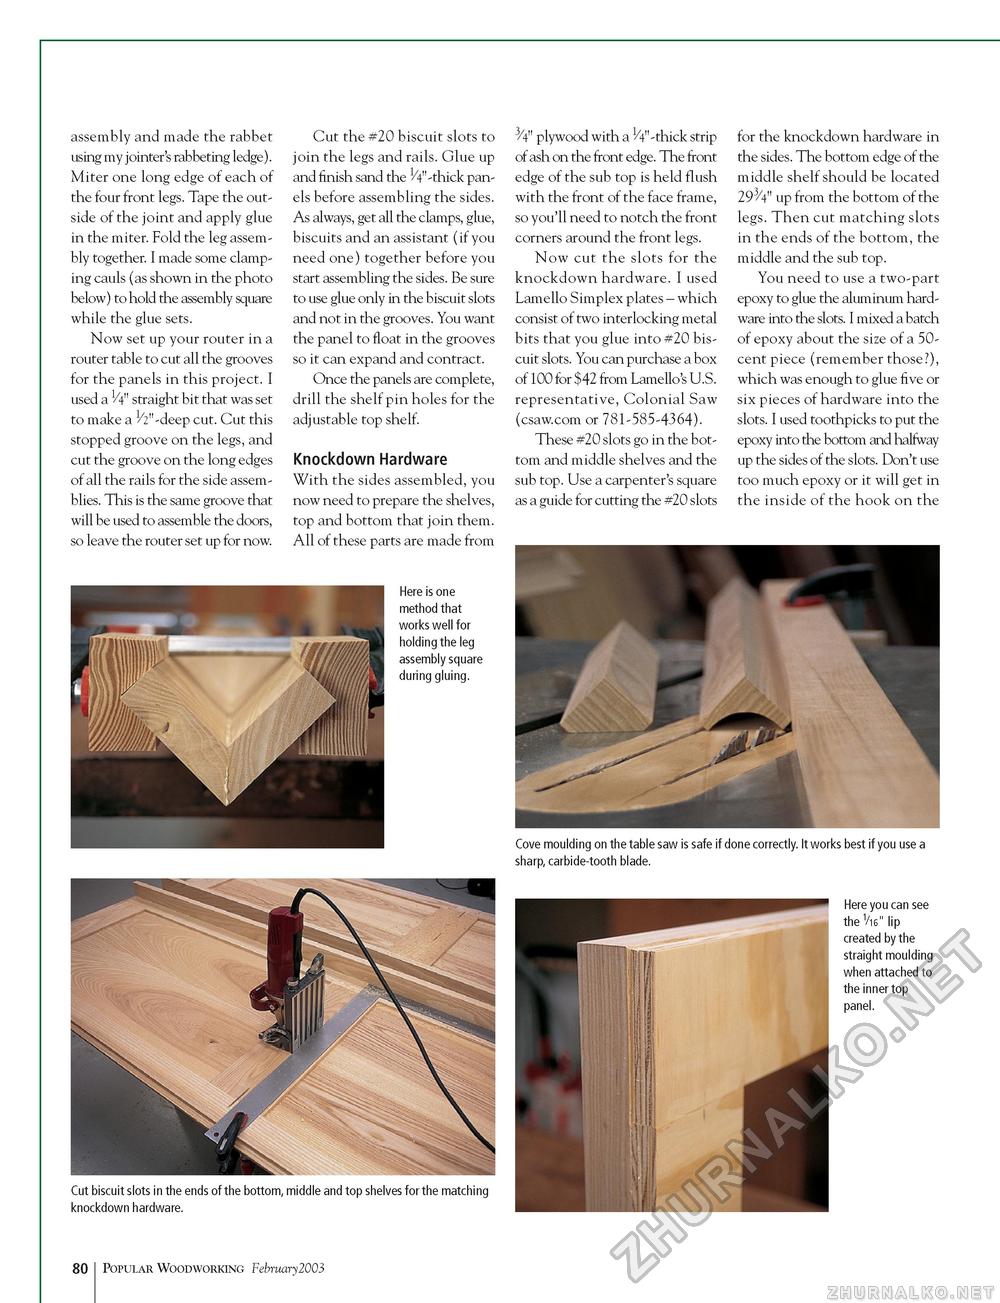
assembly and made the rabbet using my jointer's rabbeting ledge). Miter one long edge of each of the four front legs. Tape the outside of the joint and apply glue in the miter. Fold the leg assembly together. I made some clamping cauls (as shown in the photo below) to hold the assembly square while the glue sets. Now set up your router in a router table to cut all the grooves for the panels in this project. I used a V4" straight bit that was set to make a 1/2"-deep cut. Cut this stopped groove on the legs, and cut the groove on the long edges of all the rails for the side assemblies. This is the same groove that will be used to assemble the doors, so leave the router set up for now. Cut the #20 biscuit slots to join the legs and rails. Glue up and finish sand the H'-thick panels before assembling the sides. As always, get all the clamps, glue, biscuits and an assistant (if you need one) together before you start assembling the sides. Be sure to use glue only in the biscuit slots and not in the grooves. You want the panel to float in the grooves so it can expand and contract. Once the panels are complete, drill the shelf pin holes for the adjustable top shelf. Knockdown Hardware With the sides assembled, you now need to prepare the shelves, top and bottom that join them. All of these parts are made from 3/4" plywood with a ty'-thick strip of ash on the front edge. The front edge of the sub top is held flush with the front of the face frame, so you'll need to notch the front corners around the front legs. Now cut the slots for the knockdown hardware. I used Lamello Simplex plates - which consist of two interlocking metal bits that you glue into #20 biscuit slots. You can purchase a box of 100 for $42 from Lamello's U.S. representative, Colonial Saw (csaw.com or 781-585-4364). These #20 slots go in the bottom and middle shelves and the sub top. Use a carpenter's square as a guide for cutting the #20 slots for the knockdown hardware in the sides. The bottom edge of the middle shelf should be located 293/4" up from the bottom of the legs. Then cut matching slots in the ends of the bottom, the middle and the sub top. You need to use a two-part epoxy to glue the aluminum hardware into the slots. I mixed a batch of epoxy about the size of a 50-cent piece (remember those?), which was enough to glue five or six pieces of hardware into the slots. I used toothpicks to put the epoxy into the bottom and halfway up the sides of the slots. Don't use too much epoxy or it will get in the inside of the hook on the Cove moulding on the table saw is safe if done correctly. It works best if you use a sharp, carbide-tooth blade. Here you can see the 1/i6" lip created by the straight moulding when attached to the inner top panel. 80 Popular Woodworking February 2003 |


