Popular Woodworking 2003-02 № 132, страница 81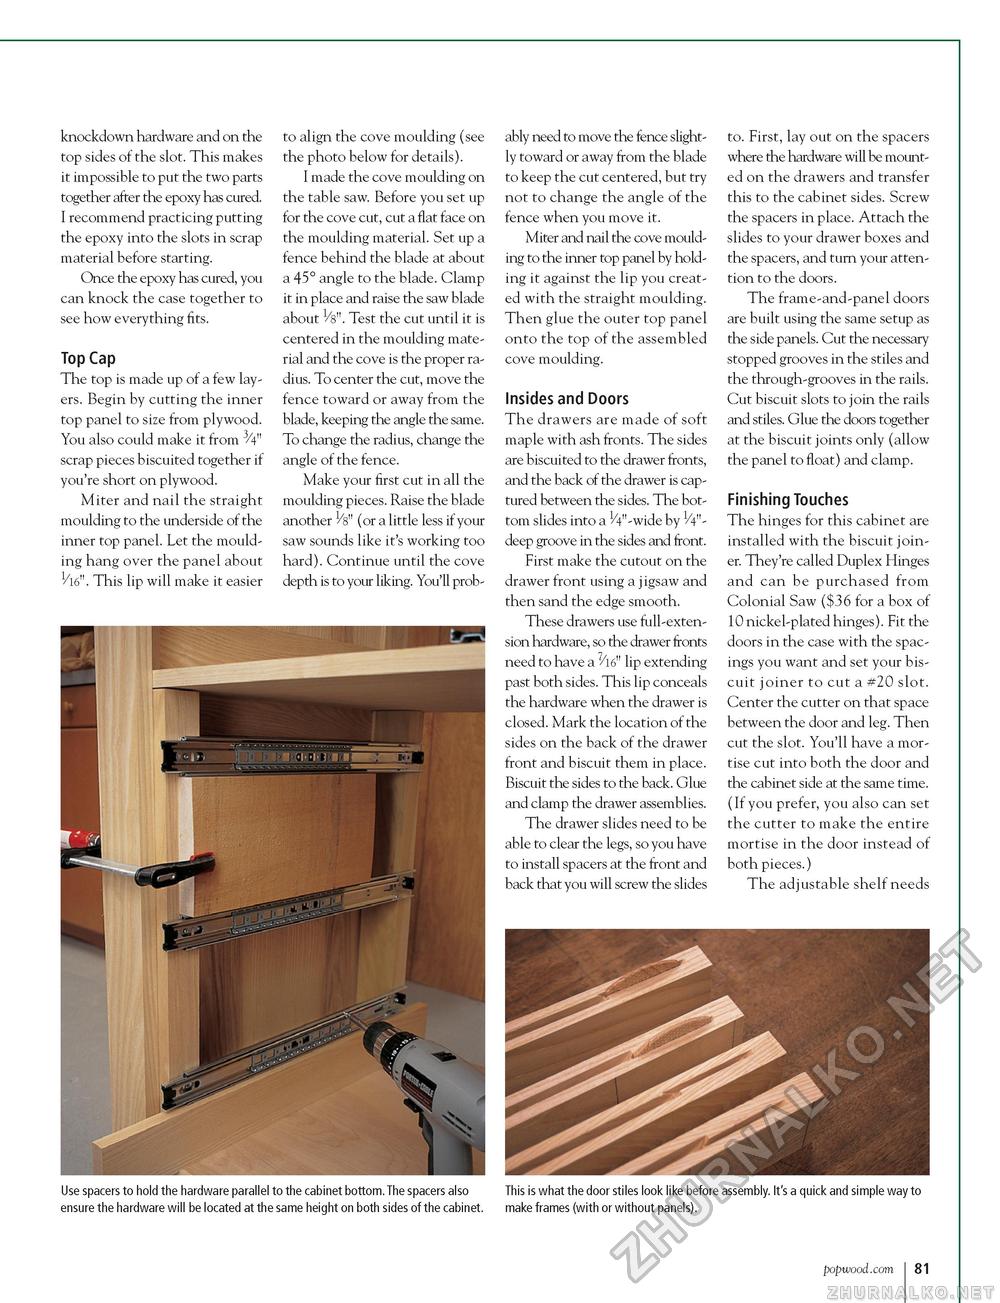
knockdown hardware and on the top sides of the slot. This makes it impossible to put the two parts together after the epoxy has cured. I recommend practicing putting the epoxy into the slots in scrap material before starting. Once the epoxy has cured, you can knock the case together to see how everything fits. Top Cap The top is made up of a few layers. Begin by cutting the inner top panel to size from plywood. You also could make it from 3/4" scrap pieces biscuited together if you're short on plywood. Miter and nail the straight moulding to the underside of the inner top panel. Let the moulding hang over the panel about 1/l6". This lip will make it easier to align the cove moulding (see the photo below for details). I made the cove moulding on the table saw. Before you set up for the cove cut, cut a flat face on the moulding material. Set up a fence behind the blade at about a 45° angle to the blade. Clamp it in place and raise the saw blade about 1/8". Test the cut until it is centered in the moulding material and the cove is the proper radius. To center the cut, move the fence toward or away from the blade, keeping the angle the same. To change the radius, change the angle of the fence. Make your first cut in all the moulding pieces. Raise the blade another 1/8" (or a little less if your saw sounds like it's working too hard). Continue until the cove depth is to your liking. You'll prob ably need to move the fence slightly toward or away from the blade to keep the cut centered, but try not to change the angle of the fence when you move it. Miter and nail the cove moulding to the inner top panel by holding it against the lip you created with the straight moulding. Then glue the outer top panel onto the top of the assembled cove moulding. Insides and Doors The drawers are made of soft maple with ash fronts. The sides are biscuited to the drawer fronts, and the back of the drawer is captured between the sides. The bottom slides into a 1/4"-wide by 1/4"-deep groove in the sides and front. First make the cutout on the drawer front using a jigsaw and then sand the edge smooth. These drawers use full-extension hardware, so the drawer fronts need to have a V lip extending past both sides. This lip conceals the hardware when the drawer is closed. Mark the location of the sides on the back of the drawer front and biscuit them in place. Biscuit the sides to the back. Glue and clamp the drawer assemblies. The drawer slides need to be able to clear the legs, so you have to install spacers at the front and back that you will screw the slides to. First, lay out on the spacers where the hardware will be mounted on the drawers and transfer this to the cabinet sides. Screw the spacers in place. Attach the slides to your drawer boxes and the spacers, and turn your attention to the doors. The frame-and-panel doors are built using the same setup as the side panels. Cut the necessary stopped grooves in the stiles and the through-grooves in the rails. Cut biscuit slots to join the rails and stiles. Glue the doors together at the biscuit joints only (allow the panel to float) and clamp. Finishing Touches The hinges for this cabinet are installed with the biscuit joiner. They're called Duplex Hinges and can be purchased from Colonial Saw ($36 for a box of 10 nickel-plated hinges). Fit the doors in the case with the spac-ings you want and set your biscuit joiner to cut a #20 slot. Center the cutter on that space between the door and leg. Then cut the slot. You'll have a mortise cut into both the door and the cabinet side at the same time. (If you prefer, you also can set the cutter to make the entire mortise in the door instead of both pieces.) The adjustable shelf needs Use spacers to hold the hardware parallel to the cabinet bottom. The spacers also ensure the hardware will be located at the same height on both sides of the cabinet. This is what the door stiles look like before assembly. It's a quick and simple way to make frames (with or without panels). popwood.com 81 |


