Popular Woodworking 2003-04 № 133, страница 47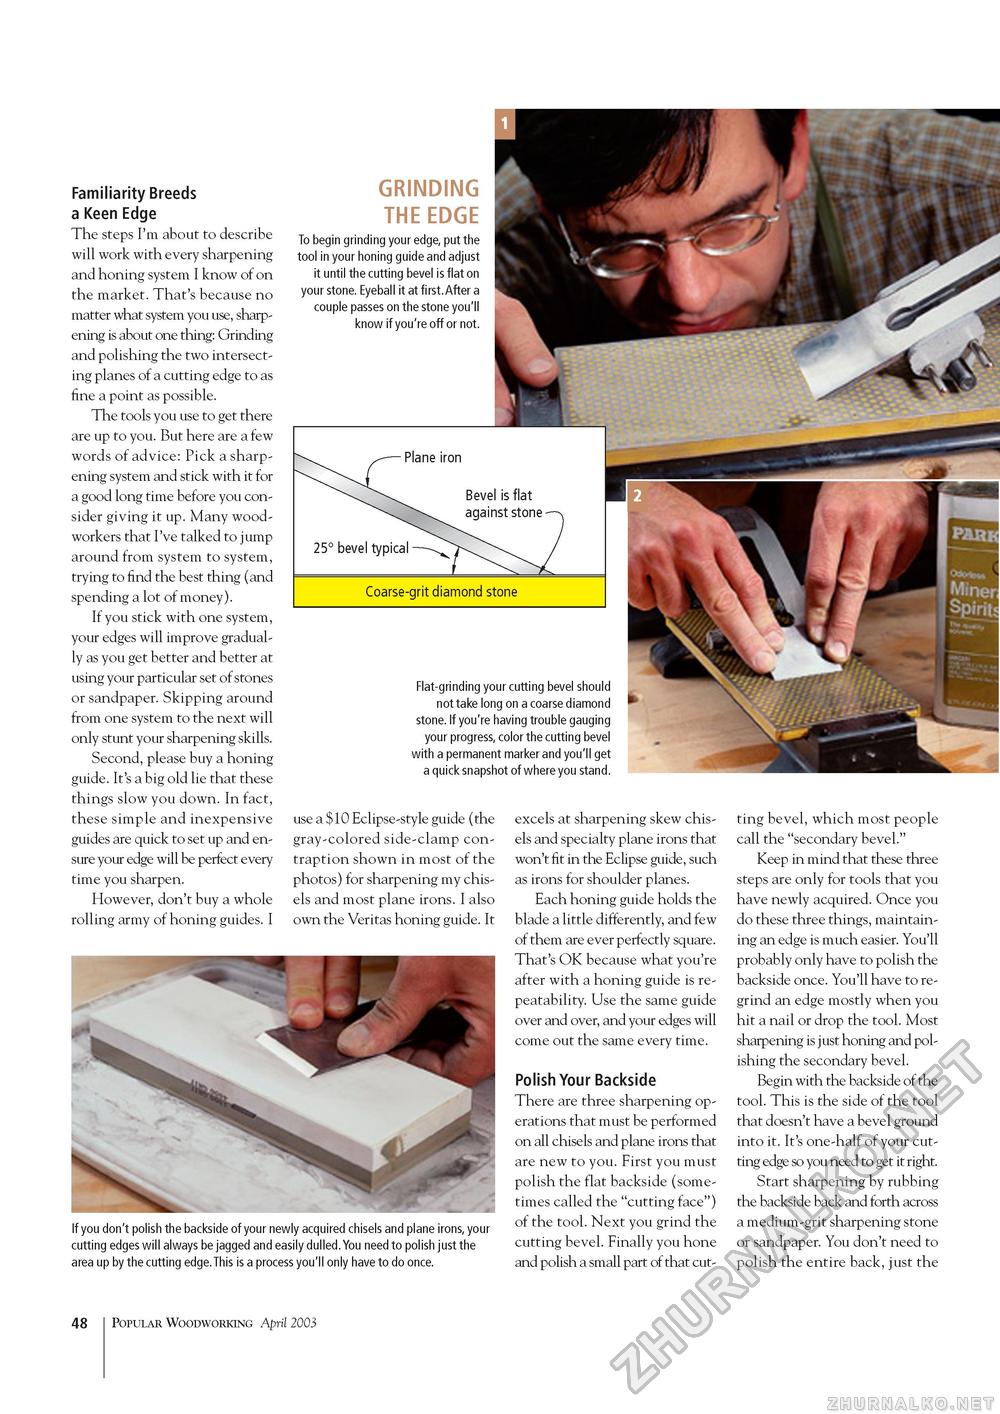
Familiarity Breeds a Keen Edge The steps I'm about to describe will work with every sharpening and honing system I know of on the market. That's because no matter what system you use, sharpening is about one thing: Grinding and polishing the two intersecting planes of a cutting edge to as fine a point as possible. The tools you use to get there are up to you. But here are a few words of advice: Pick a sharpening system and stick with it for a good long time before you consider giving it up. Many woodworkers that I've talked to jump around from system to system, trying to find the best thing (and spending a lot of money). If you stick with one system, your edges will improve gradually as you get better and better at using your particular set of stones or sandpaper. Skipping around from one system to the next will only stunt your sharpening skills. Second, please buy a honing guide. It's a big old lie that these things slow you down. In fact, these simple and inexpensive guides are quick to set up and ensure your edge will be perfect every time you sharpen. However, don't buy a whole rolling army of honing guides. I GRINDING THE EDGE To begin grinding your edge, put the tool in your honing guide and adjust it until the cutting bevel is flat on your stone. Eyeball it at first.After a couple passes on the stone you'll know if you're off or not. Flat-grinding your cutting bevel should not take long on a coarse diamond stone. If you're having trouble gauging your progress, color the cutting bevel with a permanent marker and you'll get a quick snapshot of where you stand. fl I use a $10 Eclipse-style guide (the gray-colored side-clamp contraption shown in most of the photos) for sharpening my chisels and most plane irons. I also own the Veritas honing guide. It If you don't polish the backside of your newly acquired chisels and plane irons, your cutting edges will always be jagged and easily dulled.You need to polish just the area up by the cutting edge.This is a process you'll only have to do once. excels at sharpening skew chisels and specialty plane irons that won't fit in the Eclipse guide, such as irons for shoulder planes. Each honing guide holds the blade a little differently, and few of them are ever perfectly square. That's OK because what you're after with a honing guide is repeatability. Use the same guide over and over, and your edges will come out the same every time. Polish Your Backside There are three sharpening operations that must be performed on all chisels and plane irons that are new to you. First you must polish the flat backside (sometimes called the "cutting face") of the tool. Next you grind the cutting bevel. Finally you hone and polish a small part of that cut- ting bevel, which most people call the "secondary bevel." Keep in mind that these three steps are only for tools that you have newly acquired. Once you do these three things, maintaining an edge is much easier. You'll probably only have to polish the backside once. You'll have to re-grind an edge mostly when you hit a nail or drop the tool. Most sharpening is just honing and polishing the secondary bevel. Begin with the backside of the tool. This is the side of the tool that doesn't have a bevel ground into it. It's one-half of your cutting edge so you need to get it right. Start sharpening by rubbing the backside back and forth across a medium-grit sharpening stone or sandpaper. You don't need to polish the entire back, just the 48 Popular Woodworking April 2003 |


