Popular Woodworking 2003-04 № 133, страница 72
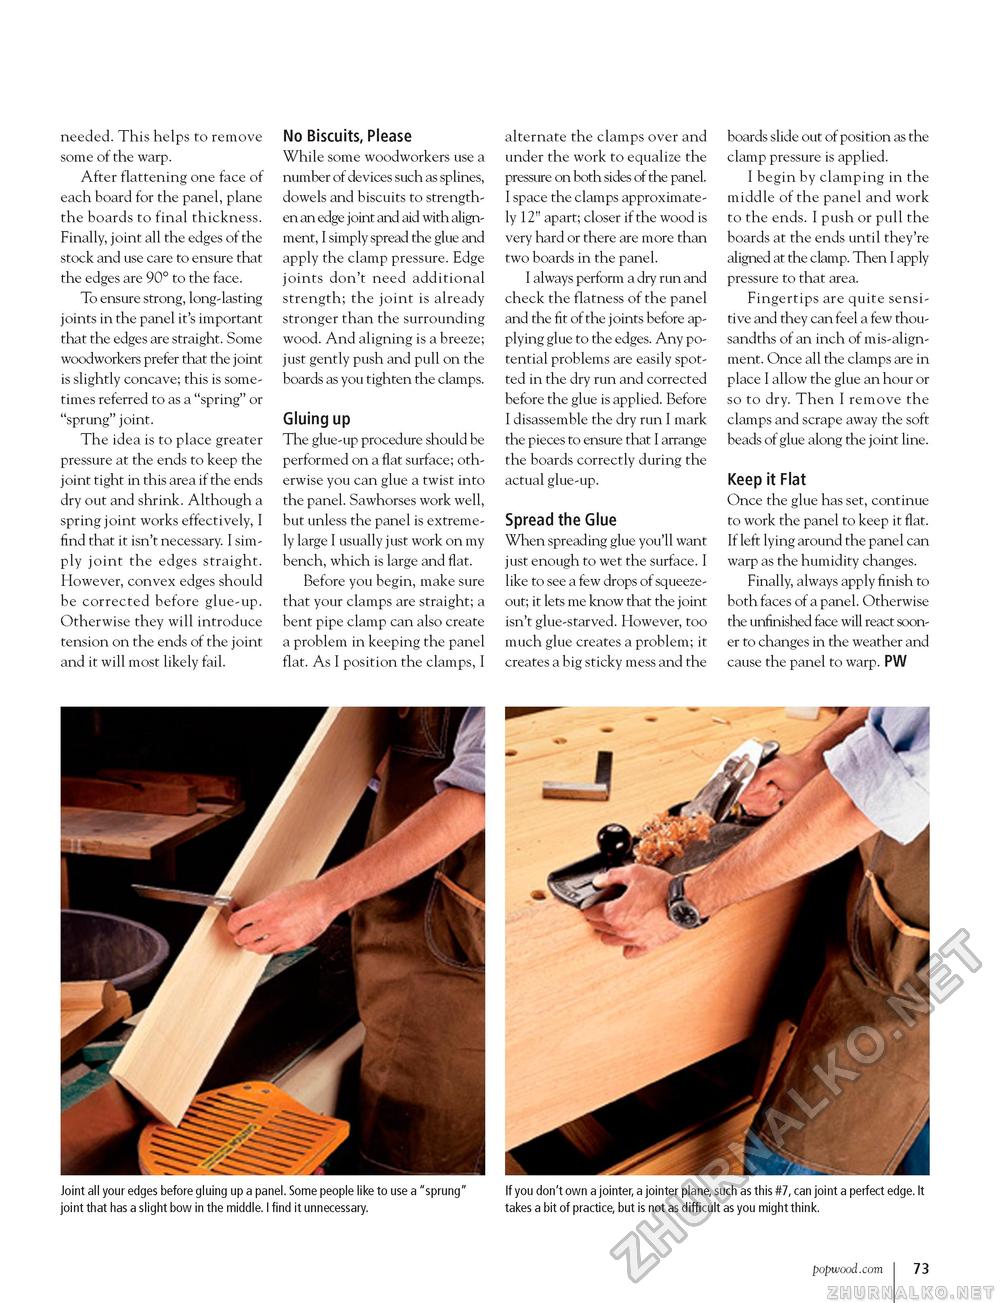
needed. This helps to remove some of the warp. After flattening one face of each board for the panel, plane the boards to final thickness. Finally, joint all the edges of the stock and use care to ensure that the edges are 90° to the face. To ensure strong, long-lasting joints in the panel it's important that the edges are straight. Some woodworkers prefer that the joint is slightly concave; this is sometimes referred to as a "spring" or "sprung" joint. The idea is to place greater pressure at the ends to keep the joint tight in this area if the ends dry out and shrink. Although a spring joint works effectively, I find that it isn't necessary. I simply joint the edges straight. However, convex edges should be corrected before glue-up. Otherwise they will introduce tension on the ends of the joint and it will most likely fail. No Biscuits, Please While some woodworkers use a number of devices such as splines, dowels and biscuits to strengthen an edge joint and aid with alignment, I simply spread the glue and apply the clamp pressure. Edge joints don't need additional strength; the joint is already stronger than the surrounding wood. And aligning is a breeze; just gently push and pull on the boards as you tighten the clamps. Gluing up The glue-up procedure should be performed on a flat surface; otherwise you can glue a twist into the panel. Sawhorses work well, but unless the panel is extremely large I usually just work on my bench, which is large and flat. Before you begin, make sure that your clamps are straight; a bent pipe clamp can also create a problem in keeping the panel flat. As I position the clamps, I alternate the clamps over and under the work to equalize the pressure on both sides of the panel. I space the clamps approximately 12" apart; closer if the wood is very hard or there are more than two boards in the panel. I always perform a dry run and check the flatness of the panel and the fit of the joints before applying glue to the edges. Any potential problems are easily spotted in the dry run and corrected before the glue is applied. Before I disassemble the dry run I mark the pieces to ensure that I arrange the boards correctly during the actual glue-up. Spread the Glue When spreading glue you'll want just enough to wet the surface. I like to see a few drops of squeeze-out; it lets me know that the joint isn't glue-starved. However, too much glue creates a problem; it creates a big sticky mess and the boards slide out of position as the clamp pressure is applied. I begin by clamping in the middle of the panel and work to the ends. I push or pull the boards at the ends until they're aligned at the clamp. Then I apply pressure to that area. Fingertips are quite sensitive and they can feel a few thousandths of an inch of mis-alignment. Once all the clamps are in place I allow the glue an hour or so to dry. Then I remove the clamps and scrape away the soft beads of glue along the joint line. Keep it Flat Once the glue has set, continue to work the panel to keep it flat. If left lying around the panel can warp as the humidity changes. Finally, always apply finish to both faces of a panel. Otherwise the unfinished face will react sooner to changes in the weather and cause the panel to warp. PW Joint all your edges before gluing up a panel. Some people like to use a "sprung" If you don't own a jointer, a jointer plane, such as this #7, can joint a perfect edge. It joint that has a slight bow in the middle. I find it unnecessary. takes a bit of practice, but is not as difficult as you might think. popwood.com 73 |


