Popular Woodworking 2003-11 № 137, страница 37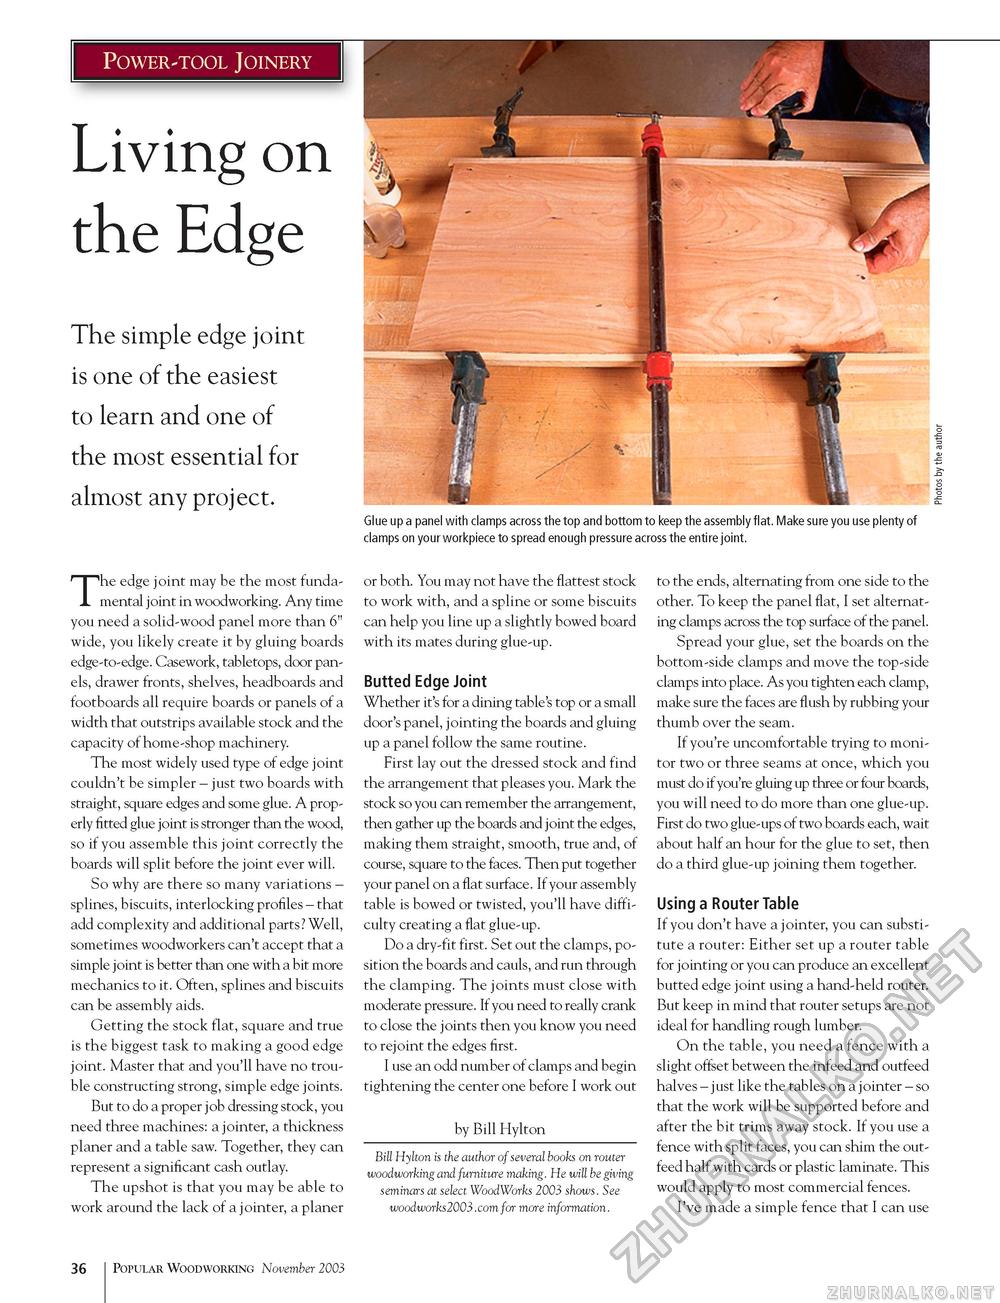
Power-tool Joinery Living on the Edge The simple edge joint is one of the easiest to learn and one of the most essential for almost any project. The edge joint may be the most fundamental joint in woodworking. Any time you need a solid-wood panel more than 6" wide, you likely create it by gluing boards edge-to-edge. Casework, tabletops, door panels, drawer fronts, shelves, headboards and footboards all require boards or panels of a width that outstrips available stock and the capacity of home-shop machinery. The most widely used type of edge joint couldn't be simpler - just two boards with straight, square edges and some glue. A properly fitted glue joint is stronger than the wood, so if you assemble this joint correctly the boards will split before the joint ever will. So why are there so many variations -splines, biscuits, interlocking profiles - that add complexity and additional parts? Well, sometimes woodworkers can't accept that a simple joint is better than one with a bit more mechanics to it. Often, splines and biscuits can be assembly aids. Getting the stock flat, square and true is the biggest task to making a good edge joint. Master that and you'll have no trouble constructing strong, simple edge joints. But to do a proper job dressing stock, you need three machines: a jointer, a thickness planer and a table saw. Together, they can represent a significant cash outlay. The upshot is that you may be able to work around the lack of a jointer, a planer Glue up a panel with clamps across the top and bottom to keep the assembly flat. Make sure you use plenty of clamps on your workpiece to spread enough pressure across the entire joint. or both. You may not have the flattest stock to work with, and a spline or some biscuits can help you line up a slightly bowed board with its mates during glue-up. Butted Edge Joint Whether it's for a dining table's top or a small door's panel, jointing the boards and gluing up a panel follow the same routine. First lay out the dressed stock and find the arrangement that pleases you. Mark the stock so you can remember the arrangement, then gather up the boards and joint the edges, making them straight, smooth, true and, of course, square to the faces. Then put together your panel on a flat surface. If your assembly table is bowed or twisted, you'll have difficulty creating a flat glue-up. Do a dry-fit first. Set out the clamps, position the boards and cauls, and run through the clamping. The joints must close with moderate pressure. If you need to really crank to close the joints then you know you need to rejoint the edges first. I use an odd number of clamps and begin tightening the center one before I work out by Bill Hylton Bill Hylton is the author of several books on router woodworking and furniture making. He will be giving seminars at select WoodWorks 2003 shows. See woodworks2003.com for more information. to the ends, alternating from one side to the other. To keep the panel flat, I set alternating clamps across the top surface of the panel. Spread your glue, set the boards on the bottom-side clamps and move the top-side clamps into place. As you tighten each clamp, make sure the faces are flush by rubbing your thumb over the seam. If you're uncomfortable trying to monitor two or three seams at once, which you must do if you're gluing up three or four boards, you will need to do more than one glue-up. First do two glue-ups of two boards each, wait about half an hour for the glue to set, then do a third glue-up joining them together. Using a Router Table If you don't have a jointer, you can substitute a router: Either set up a router table for jointing or you can produce an excellent butted edge joint using a hand-held router. But keep in mind that router setups are not ideal for handling rough lumber. On the table, you need a fence with a slight offset between the infeed and outfeed halves - just like the tables on a jointer - so that the work will be supported before and after the bit trims away stock. If you use a fence with split faces, you can shim the out-feed half with cards or plastic laminate. This would apply to most commercial fences. I've made a simple fence that I can use 36 Popular Woodworking November 2003 |


