Popular Woodworking 2003-12 № 138, страница 67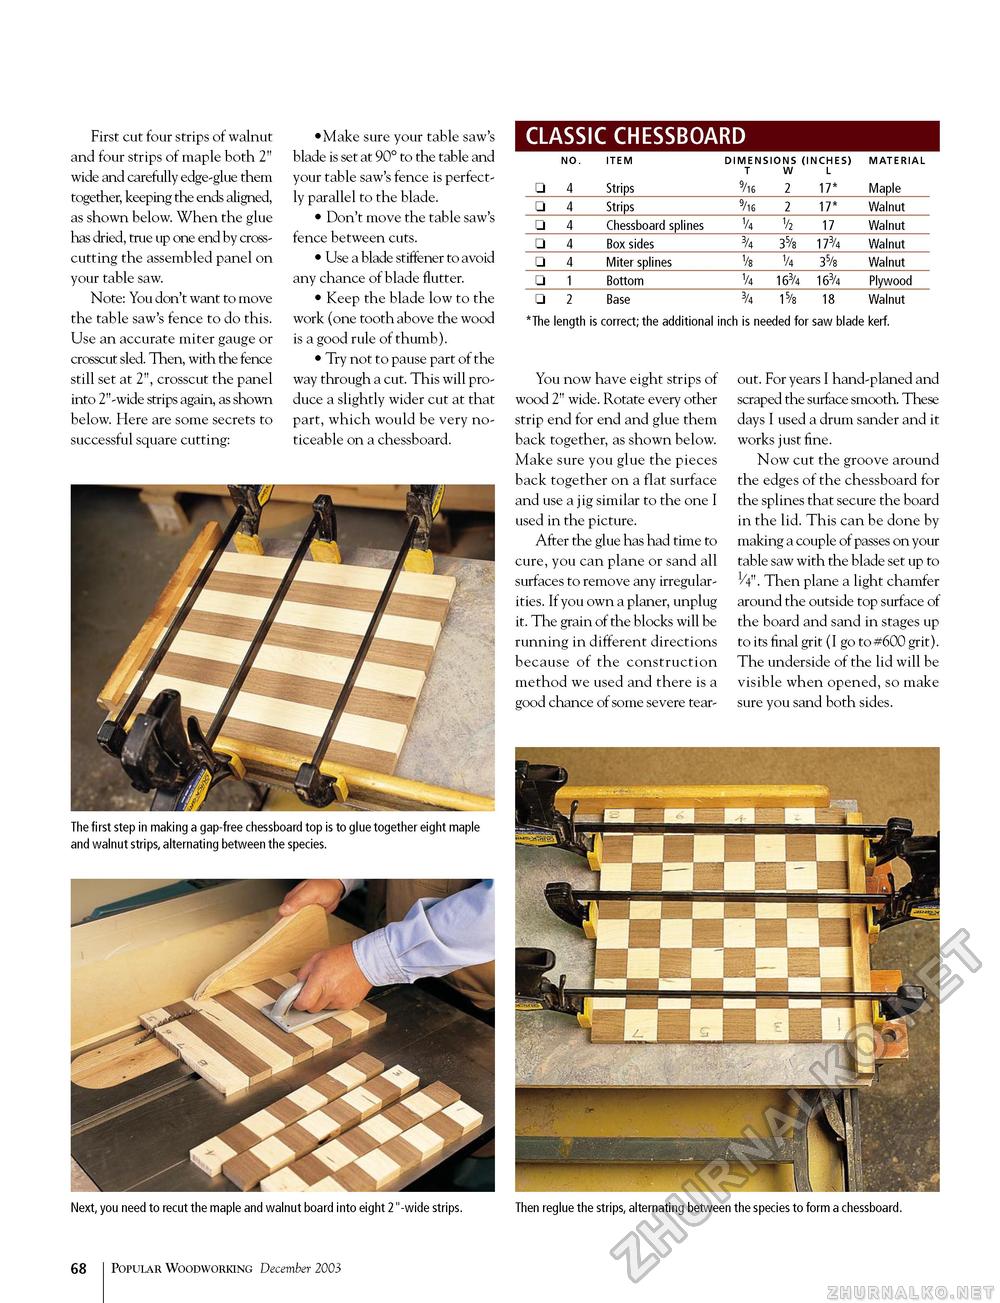
First cut four strips of walnut and four strips of maple both 2" wide and carefully edge-glue them together, keeping the ends aligned, as shown below. When the glue has dried, true up one end by cross-cutting the assembled panel on your table saw. Note: You don't want to move the table saw's fence to do this. Use an accurate miter gauge or crosscut sled. Then, with the fence still set at 2", crosscut the panel into 2"-wide strips again, as shown below. Here are some secrets to successful square cutting: •Make sure your table saw's blade is set at 90° to the table and your table saw's fence is perfectly parallel to the blade. • Don't move the table saw's fence between cuts. • Use a blade stiffener to avoid any chance of blade flutter. • Keep the blade low to the work (one tooth above the wood is a good rule of thumb). • Try not to pause part of the way through a cut. This will produce a slightly wider cut at that part, which would be very noticeable on a chessboard. CLASSIC CHESSBOARD The first step in making a gap-free chessboard top is to glue together eight maple and walnut strips, alternating between the species.
*The length is correct; the additional inch is needed for saw blade kerf. *The length is correct; the additional inch is needed for saw blade kerf. You now have eight strips of wood 2" wide. Rotate every other strip end for end and glue them back together, as shown below. Make sure you glue the pieces back together on a flat surface and use a jig similar to the one I used in the picture. After the glue has had time to cure, you can plane or sand all surfaces to remove any irregularities. If you own a planer, unplug it. The grain of the blocks will be running in different directions because of the construction method we used and there is a good chance of some severe tear- out. For years I hand-planed and scraped the surface smooth. These days I used a drum sander and it works just fine. Now cut the groove around the edges of the chessboard for the splines that secure the board in the lid. This can be done by making a couple of passes on your table saw with the blade set up to 1/4". Then plane a light chamfer around the outside top surface of the board and sand in stages up to its final grit (I go to #600 grit). The underside of the lid will be visible when opened, so make sure you sand both sides. Next, you need to recut the maple and walnut board into eight 2"-wide strips. Then reglue the strips, alternating between the species to form a chessboard. 72 Popular Woodworking December 2003 |
||||||||||||||||||||||||||||||||||||||||||||||||||||||||


