Popular Woodworking 2003-12 № 138, страница 70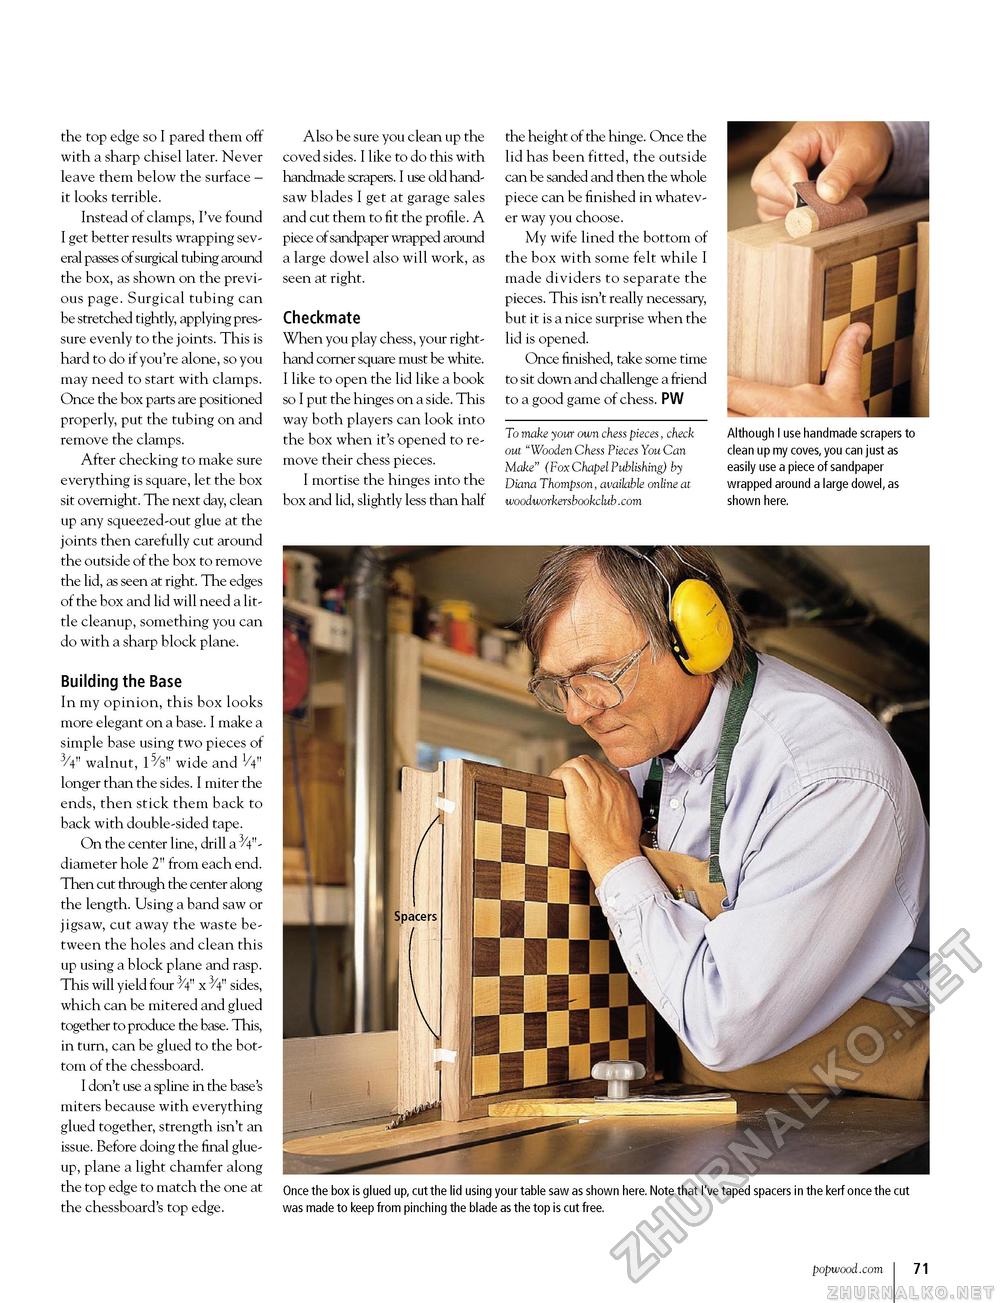
the top edge so I pared them off with a sharp chisel later. Never leave them below the surface -it looks terrible. Instead of clamps, I've found I get better results wrapping several passes of surgical tubing around the box, as shown on the previous page. Surgical tubing can be stretched tightly, applying pressure evenly to the joints. This is hard to do if you're alone, so you may need to start with clamps. Once the box parts are positioned properly, put the tubing on and remove the clamps. After checking to make sure everything is square, let the box sit overnight. The next day, clean up any squeezed-out glue at the joints then carefully cut around the outside of the box to remove the lid, as seen at right. The edges of the box and lid will need a little cleanup, something you can do with a sharp block plane. Building the Base In my opinion, this box looks more elegant on a base. I make a simple base using two pieces of 3/4" walnut, 15/8" wide and 1/4" longer than the sides. I miter the ends, then stick them back to back with double-sided tape. On the center line, drill a 3/4"-diameter hole 2" from each end. Then cut through the center along the length. Using a band saw or jigsaw, cut away the waste between the holes and clean this up using a block plane and rasp. This will yield four 3/4" x 3/4" sides, which can be mitered and glued together to produce the base. This, in turn, can be glued to the bottom of the chessboard. I don't use a spline in the base's miters because with everything glued together, strength isn't an issue. Before doing the final glue-up, plane a light chamfer along the top edge to match the one at the chessboard's top edge. Also be sure you clean up the coved sides. I like to do this with handmade scrapers. I use old handsaw blades I get at garage sales and cut them to fit the profile. A piece of sandpaper wrapped around a large dowel also will work, as seen at right. Checkmate When you play chess, your right-hand corner square must be white. I like to open the lid like a book so I put the hinges on a side. This way both players can look into the box when it's opened to remove their chess pieces. I mortise the hinges into the box and lid, slightly less than half the height of the hinge. Once the lid has been fitted, the outside can be sanded and then the whole piece can be finished in whatever way you choose. My wife lined the bottom of the box with some felt while I made dividers to separate the pieces. This isn't really necessary, but it is a nice surprise when the lid is opened. Once finished, take some time to sit down and challenge a friend to a good game of chess. PW To make your own chess pieces, check out"Wooden Chess Pieces You Can Make" (Fox Chapel Publishing) by Diana Thompson, available online at woodworkersbookclub.com Although I use handmade scrapers to clean up my coves, you can just as easily use a piece of sandpaper wrapped around a large dowel, as shown here. Once the box is glued up, cut the lid using your table saw as shown here. Note that I've taped spacers in the kerf once the cut was made to keep from pinching the blade as the top is cut free. popwood.com 73 |


