Popular Woodworking 2003-12 № 138, страница 85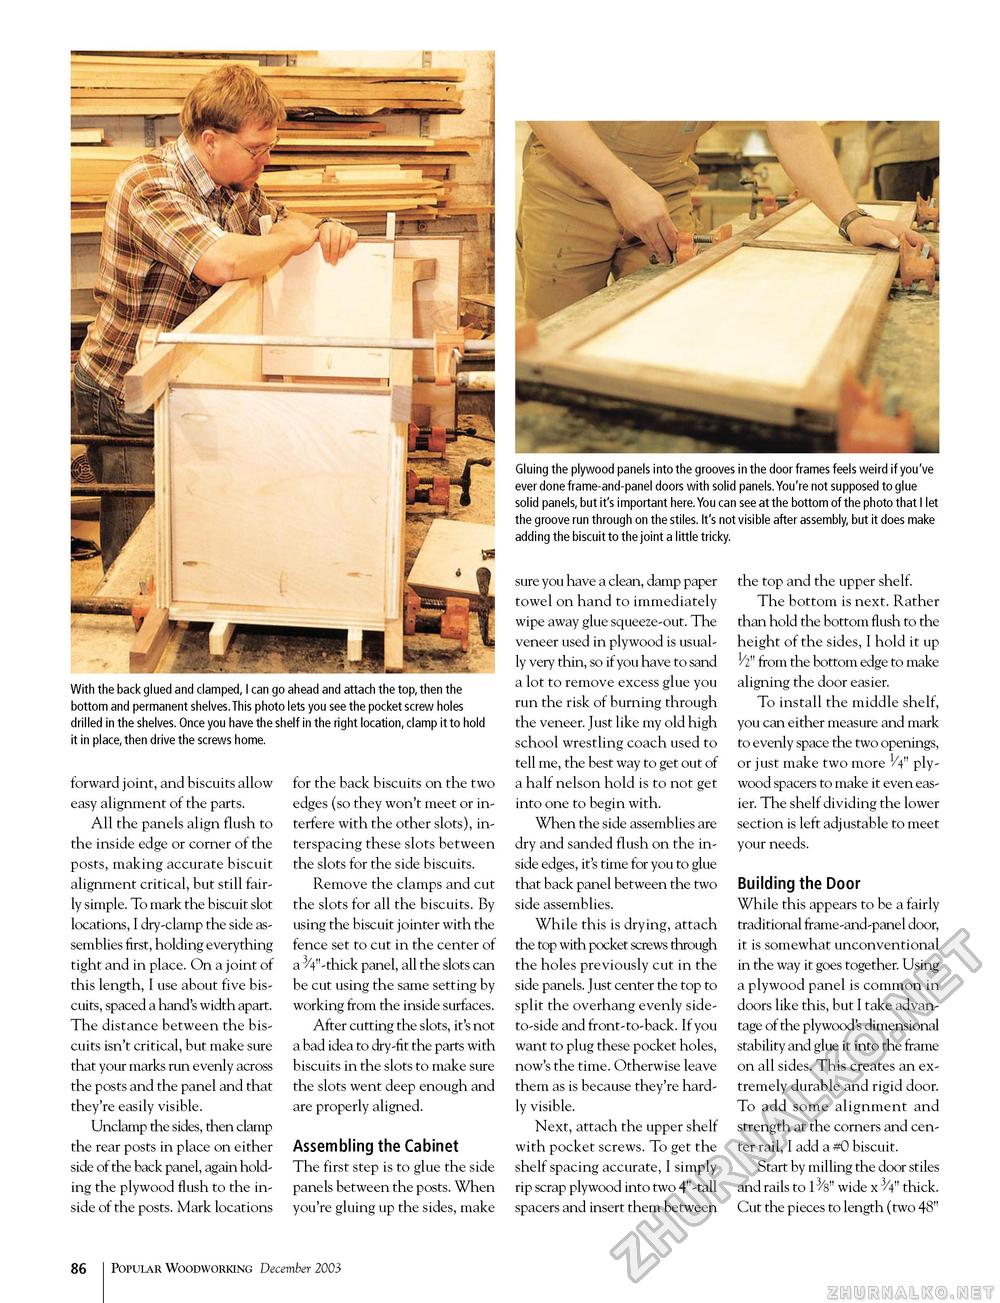
With the back glued and clamped, I can go ahead and attach the top, then the bottom and permanent shelves.This photo lets you see the pocket screw holes drilled in the shelves. Once you have the shelf in the right location, clamp it to hold it in place, then drive the screws home. forward joint, and biscuits allow easy alignment of the parts. All the panels align flush to the inside edge or corner of the posts, making accurate biscuit alignment critical, but still fairly simple. To mark the biscuit slot locations, I dry-clamp the side assemblies first, holding everything tight and in place. On a joint of this length, I use about five biscuits, spaced a hand's width apart. The distance between the biscuits isn't critical, but make sure that your marks run evenly across the posts and the panel and that they're easily visible. Unclamp the sides, then clamp the rear posts in place on either side of the back panel, again holding the plywood flush to the inside of the posts. Mark locations Gluing the plywood panels into the grooves in the door frames feels weird if you've ever done frame-and-panel doors with solid panels.You're not supposed to glue solid panels, but it's important here.You can see at the bottom of the photo that I let the groove run through on the stiles. It's not visible after assembly, but it does make adding the biscuit to the joint a little tricky. for the back biscuits on the two edges (so they won't meet or interfere with the other slots), interspacing these slots between the slots for the side biscuits. Remove the clamps and cut the slots for all the biscuits. By using the biscuit jointer with the fence set to cut in the center of a3/4"-thick panel, all the slots can be cut using the same setting by working from the inside surfaces. After cutting the slots, it's not a bad idea to dry-fit the parts with biscuits in the slots to make sure the slots went deep enough and are properly aligned. Assembling the Cabinet The first step is to glue the side panels between the posts. When you're gluing up the sides, make sure you have a clean, damp paper towel on hand to immediately wipe away glue squeeze-out. The veneer used in plywood is usually very thin, so if you have to sand a lot to remove excess glue you run the risk of burning through the veneer. Just like my old high school wrestling coach used to tell me, the best way to get out of a half nelson hold is to not get into one to begin with. When the side assemblies are dry and sanded flush on the inside edges, it's time for you to glue that back panel between the two side assemblies. While this is drying, attach the top with pocket screws through the holes previously cut in the side panels. Just center the top to split the overhang evenly side-to-side and front-to-back. If you want to plug these pocket holes, now's the time. Otherwise leave them as is because they're hardly visible. Next, attach the upper shelf with pocket screws. To get the shelf spacing accurate, I simply rip scrap plywood into two 4"-tall spacers and insert them between the top and the upper shelf. The bottom is next. Rather than hold the bottom flush to the height of the sides, I hold it up 1/2" from the bottom edge to make aligning the door easier. To install the middle shelf, you can either measure and mark to evenly space the two openings, or just make two more V4" plywood spacers to make it even easier. The shelf dividing the lower section is left adjustable to meet your needs. Building the Door While this appears to be a fairly traditional frame-and-panel door, it is somewhat unconventional in the way it goes together. Using a plywood panel is common in doors like this, but I take advantage of the plywood's dimensional stability and glue it into the frame on all sides. This creates an extremely durable and rigid door. To add some alignment and strength at the corners and center rail, I add a #0 biscuit. Start by milling the door stiles and rails to 13/s" wide x 3/4" thick. Cut the pieces to length (two 48" 108 Popular Woodworking December 2003 |


