Popular Woodworking 2004-02 № 139, страница 82
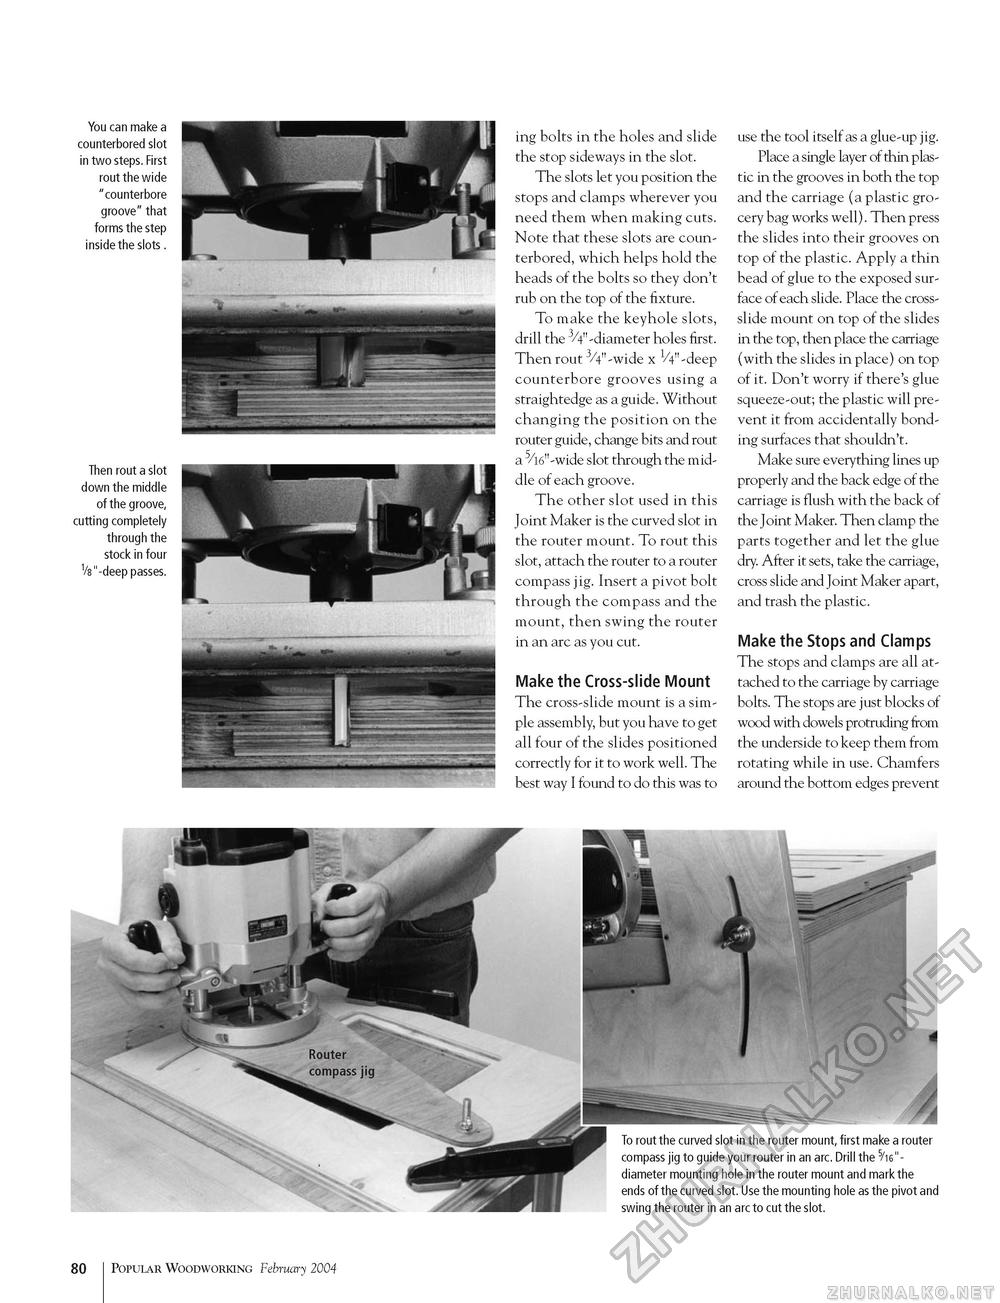
You can make a counterbored slot in two steps. First rout the wide "counterbore groove" that forms the step inside the slots . Then rout a slot down the middle of the groove, cutting completely through the stock in four V8"-deep passes. ing bolts in the holes and slide the stop sideways in the slot. The slots let you position the stops and clamps wherever you need them when making cuts. Note that these slots are coun-terbored, which helps hold the heads of the bolts so they don't rub on the top of the fixture. To make the keyhole slots, drill the 3/4"-diameter holes first. Then rout 3/4"-wide x V4"-deep counterbore grooves using a straightedge as a guide. Without changing the position on the router guide, change bits and rout a 5/l6"-wide slot through the middle of each groove. The other slot used in this Joint Maker is the curved slot in the router mount. To rout this slot, attach the router to a router compass jig. Insert a pivot bolt through the compass and the mount, then swing the router in an arc as you cut. Make the Cross-slide Mount The cross-slide mount is a simple assembly, but you have to get all four of the slides positioned correctly for it to work well. The best way I found to do this was to use the tool itself as a glue-up jig. Place a single layer of thin plastic in the grooves in both the top and the carriage (a plastic grocery bag works well). Then press the slides into their grooves on top of the plastic. Apply a thin bead of glue to the exposed surface of each slide. Place the cross-slide mount on top of the slides in the top, then place the carriage (with the slides in place) on top of it. Don't worry if there's glue squeeze-out; the plastic will prevent it from accidentally bonding surfaces that shouldn't. Make sure everything lines up properly and the back edge of the carriage is flush with the back of the Joint Maker. Then clamp the parts together and let the glue dry. After it sets, take the carriage, cross slide and Joint Maker apart, and trash the plastic. Make the Stops and Clamps The stops and clamps are all attached to the carriage by carriage bolts. The stops are just blocks of wood with dowels protruding from the underside to keep them from rotating while in use. Chamfers around the bottom edges prevent 80 Popular Woodworking February 2004 |


