Popular Woodworking 2004-04 № 140, страница 38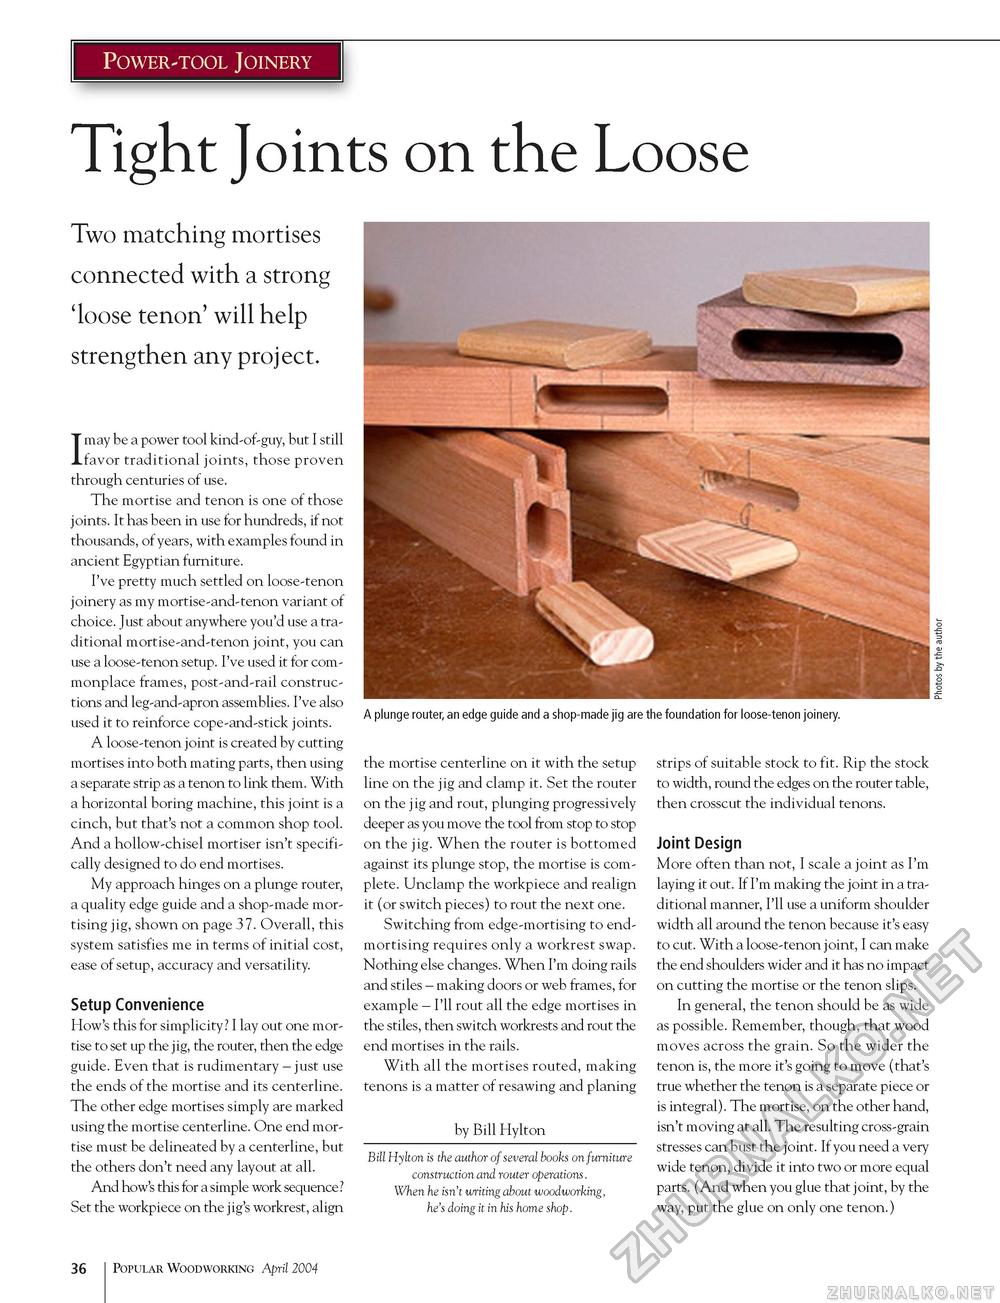
Power-tool Joinery Tight Joints on the Loose Two matching mortises connected with a strong 'loose tenon' will help strengthen any project. I may be a power tool kind-of-guy, but I still favor traditional joints, those proven through centuries of use. The mortise and tenon is one of those joints. It has been in use for hundreds, if not thousands, of years, with examples found in ancient Egyptian furniture. I've pretty much settled on loose-tenon joinery as my mortise-and-tenon variant of choice. Just about anywhere you'd use a traditional mortise-and-tenon joint, you can use a loose-tenon setup. I've used it for commonplace frames, post-and-rail constructions and leg-and-apron assemblies. I've also used it to reinforce cope-and-stick joints. A loose-tenon joint is created by cutting mortises into both mating parts, then using a separate strip as a tenon to link them. With a horizontal boring machine, this joint is a cinch, but that's not a common shop tool. And a hollow-chisel mortiser isn't specifically designed to do end mortises. My approach hinges on a plunge router, a quality edge guide and a shop-made mortising jig, shown on page 37. Overall, this system satisfies me in terms of initial cost, ease of setup, accuracy and versatility. Setup Convenience How's this for simplicity? I lay out one mortise to set up the jig, the router, then the edge guide. Even that is rudimentary - just use the ends of the mortise and its centerline. The other edge mortises simply are marked using the mortise centerline. One end mortise must be delineated by a centerline, but the others don't need any layout at all. And how's this for a simple work sequence? Set the workpiece on the jig's workrest, align A plunge router, an edge guide and a shop-made jig are the foundation for loose-tenon joinery. the mortise centerline on it with the setup line on the jig and clamp it. Set the router on the jig and rout, plunging progressively deeper as you move the tool from stop to stop on the jig. When the router is bottomed against its plunge stop, the mortise is complete. Unclamp the workpiece and realign it (or switch pieces) to rout the next one. Switching from edge-mortising to end-mortising requires only a workrest swap. Nothing else changes. When I'm doing rails and stiles - making doors or web frames, for example - I'll rout all the edge mortises in the stiles, then switch workrests and rout the end mortises in the rails. With all the mortises routed, making tenons is a matter of resawing and planing by Bill Hylton Bill Hylton is the author of several books on furniture construction and router operations. When he isn't writing about woodworking, he's doing it in his home shop. strips of suitable stock to fit. Rip the stock to width, round the edges on the router table, then crosscut the individual tenons. Joint Design More often than not, I scale a joint as I'm laying it out. If I'm making the joint in a traditional manner, I'll use a uniform shoulder width all around the tenon because it's easy to cut. With a loose-tenon joint, I can make the end shoulders wider and it has no impact on cutting the mortise or the tenon slips. In general, the tenon should be as wide as possible. Remember, though, that wood moves across the grain. So the wider the tenon is, the more it's going to move (that's true whether the tenon is a separate piece or is integral). The mortise, on the other hand, isn't moving at all. The resulting cross-grain stresses can bust the joint. If you need a very wide tenon, divide it into two or more equal parts. (And when you glue that joint, by the way, put the glue on only one tenon.) 36 Popular Woodworking April 2004 |


