Popular Woodworking 2004-06 № 141, страница 76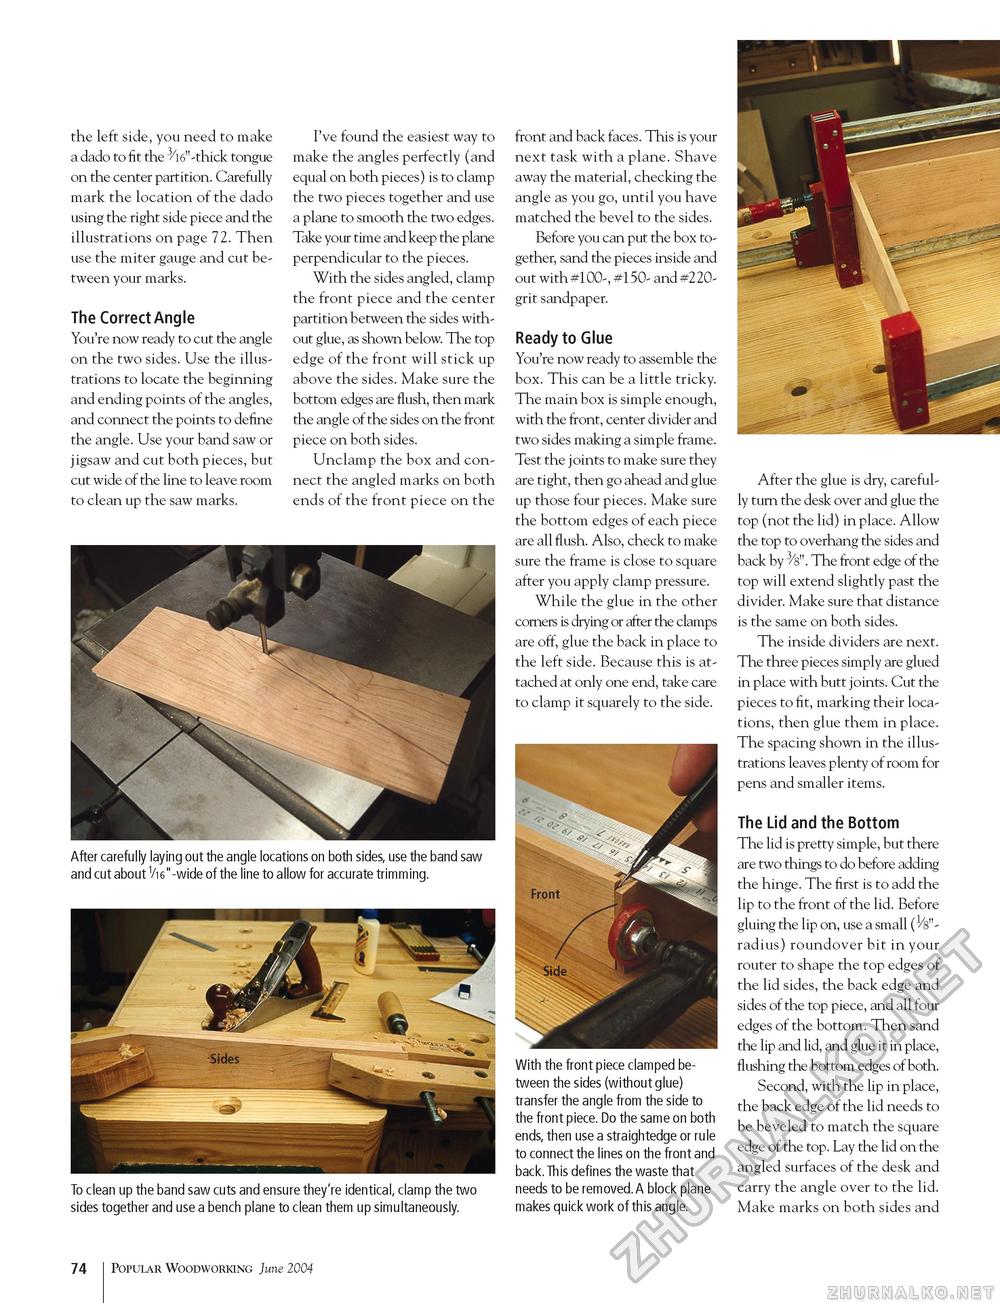
the left side, you need to make a dado to fit the 3/l6"-thick tongue on the center partition. Carefully mark the location of the dado using the right side piece and the illustrations on page 72. Then use the miter gauge and cut between your marks. The Correct Angle You're now ready to cut the angle on the two sides. Use the illustrations to locate the beginning and ending points of the angles, and connect the points to define the angle. Use your band saw or jigsaw and cut both pieces, but cut wide of the line to leave room to clean up the saw marks. I've found the easiest way to make the angles perfectly (and equal on both pieces) is to clamp the two pieces together and use a plane to smooth the two edges. Take your time and keep the plane perpendicular to the pieces. With the sides angled, clamp the front piece and the center partition between the sides without glue, as shown below. The top edge of the front will stick up above the sides. Make sure the bottom edges are flush, then mark the angle of the sides on the front piece on both sides. Unclamp the box and connect the angled marks on both ends of the front piece on the After carefully laying out the angle locations on both sides, use the band saw and cut about W-wide of the line to allow for accurate trimming. To clean up the band saw cuts and ensure they're identical, clamp the two sides together and use a bench plane to clean them up simultaneously. front and back faces. This is your next task with a plane. Shave away the material, checking the angle as you go, until you have matched the bevel to the sides. Before you can put the box together, sand the pieces inside and out with #100-, #150- and #220-grit sandpaper. Ready to Glue You're now ready to assemble the box. This can be a little tricky. The main box is simple enough, with the front, center divider and two sides making a simple frame. Test the joints to make sure they are tight, then go ahead and glue up those four pieces. Make sure the bottom edges of each piece are all flush. Also, check to make sure the frame is close to square after you apply clamp pressure. While the glue in the other corners is drying or after the clamps are off, glue the back in place to the left side. Because this is attached at only one end, take care to clamp it squarely to the side. With the front piece clamped between the sides (without glue) transfer the angle from the side to the front piece. Do the same on both ends, then use a straightedge or rule to connect the lines on the front and back. This defines the waste that needs to be removed.A block plane makes quick work of this angle. 74 Popular Woodworking June 2004 After the glue is dry, carefully turn the desk over and glue the top (not the lid) in place. Allow the top to overhang the sides and back by 3/8". The front edge of the top will extend slightly past the divider. Make sure that distance is the same on both sides. The inside dividers are next. The three pieces simply are glued in place with butt joints. Cut the pieces to fit, marking their locations, then glue them in place. The spacing shown in the illustrations leaves plenty of room for pens and smaller items. The Lid and the Bottom The lid is pretty simple, but there are two things to do before adding the hinge. The first is to add the lip to the front of the lid. Before gluing the lip on, use a small (1/8"-radius) roundover bit in your router to shape the top edges of the lid sides, the back edge and sides of the top piece, and all four edges of the bottom. Then sand the lip and lid, and glue it in place, flushing the bottom edges of both. Second, with the lip in place, the back edge of the lid needs to be beveled to match the square edge of the top. Lay the lid on the angled surfaces of the desk and carry the angle over to the lid. Make marks on both sides and |


