Popular Woodworking 2004-11 № 144, страница 103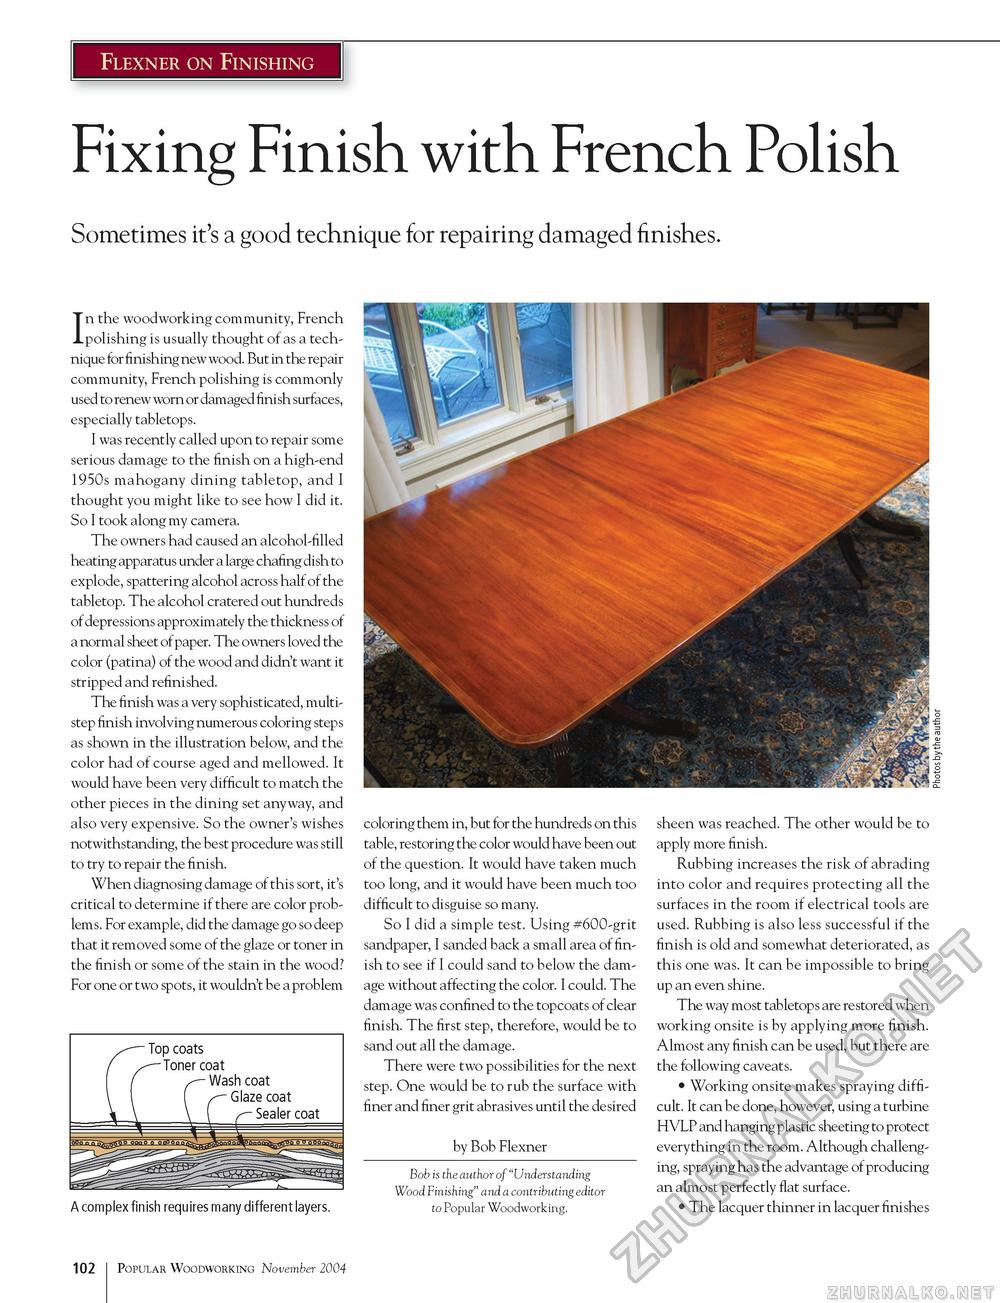
Flexner on Finishing Fixing Finish with French Polish Sometimes it's a good technique for repairing damaged finishes. In the woodworking community, French polishing is usually thought of as a technique for finishing new wood. But in the repair community, French polishing is commonly used to renew worn or damaged finish surfaces, especially tabletops. I was recently called upon to repair some serious damage to the finish on a high-end 1950s mahogany dining tabletop, and I thought you might like to see how I did it. So I took along my camera. The owners had caused an alcohol-filled heating apparatus under a large chafing dish to explode, spattering alcohol across half of the tabletop. The alcohol cratered out hundreds of depressions approximately the thickness of a normal sheet of paper. The owners loved the color (patina) of the wood and didn't want it stripped and refinished. The finish was a very sophisticated, multi-step finish involving numerous coloring steps as shown in the illustration below, and the color had of course aged and mellowed. It would have been very difficult to match the other pieces in the dining set anyway, and also very expensive. So the owner's wishes notwithstanding, the best procedure was still to try to repair the finish. When diagnosing damage of this sort, it's critical to determine if there are color problems. For example, did the damage go so deep that it removed some of the glaze or toner in the finish or some of the stain in the wood? For one or two spots, it wouldn't be a problem A complex finish requires many different layers. coloring them in, but for the hundreds on this table, restoring the color would have been out of the question. It would have taken much too long, and it would have been much too difficult to disguise so many. So I did a simple test. Using #600-grit sandpaper, I sanded back a small area of finish to see if I could sand to below the damage without affecting the color. I could. The damage was confined to the topcoats of clear finish. The first step, therefore, would be to sand out all the damage. There were two possibilities for the next step. One would be to rub the surface with finer and finer grit abrasives until the desired by Bob Flexner Bob is the author of "Understanding Wood Finishing" and a contributing editor to Popular Woodworking. sheen was reached. The other would be to apply more finish. Rubbing increases the risk of abrading into color and requires protecting all the surfaces in the room if electrical tools are used. Rubbing is also less successful if the finish is old and somewhat deteriorated, as this one was. It can be impossible to bring up an even shine. The way most tabletops are restored when working onsite is by applying more finish. Almost any finish can be used, but there are the following caveats. • Working onsite makes spraying difficult. It can be done, however, using a turbine HVLP and hanging plastic sheeting to protect everything in the room. Although challenging, spraying has the advantage of producing an almost perfectly flat surface. • The lacquer thinner in lacquer finishes ■ Top coats -Toner coat - Wash coat ■ Glaze coat 102 Popular Woodworking November 2004 |


