Popular Woodworking 2004-12 № 145, страница 44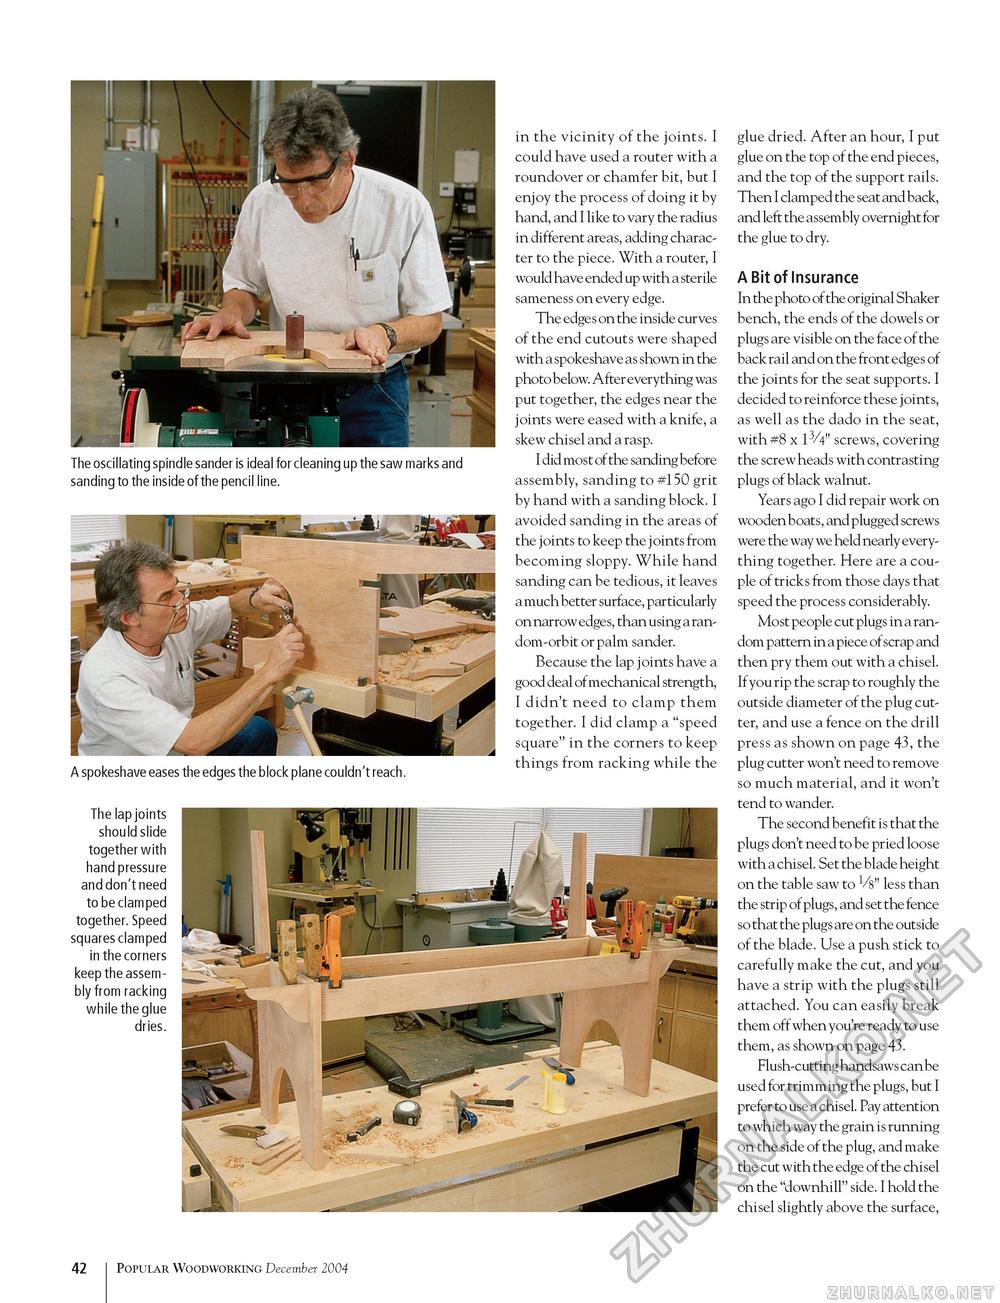
The oscillating spindle sander is ideal for cleaning up the saw marks and sanding to the inside of the pencil line. A spokeshave eases the edges the block plane couldn't reach. The lap joints should slide together with hand pressure and don't need to be clamped together. Speed squares clamped in the corners keep the assembly from racking while the glue dries. in the vicinity of the joints. I could have used a router with a roundover or chamfer bit, but I enjoy the process of doing it by hand, and I like to vary the radius in different areas, adding character to the piece. With a router, I would have ended up with a sterile sameness on every edge. The edges on the inside curves of the end cutouts were shaped with a spokeshave as shown in the photo below. After everything was put together, the edges near the joints were eased with a knife, a skew chisel and a rasp. I did most of the sanding before assembly, sanding to #150 grit by hand with a sanding block. I avoided sanding in the areas of the joints to keep the joints from becoming sloppy. While hand sanding can be tedious, it leaves a much better surface, particularly on narrow edges, than using a random-orbit or palm sander. Because the lap joints have a good deal of mechanical strength, I didn't need to clamp them together. I did clamp a "speed square" in the corners to keep things from racking while the glue dried. After an hour, I put glue on the top of the end pieces, and the top of the support rails. Then I clamped the seat and back, and left the assembly overnight for the glue to dry. A Bit of Insurance In the photo of the original Shaker bench, the ends of the dowels or plugs are visible on the face of the back rail and on the front edges of the joints for the seat supports. I decided to reinforce these joints, as well as the dado in the seat, with #8 x 13/4" screws, covering the screw heads with contrasting plugs of black walnut. Years ago I did repair work on wooden boats, and plugged screws were the way we held nearly everything together. Here are a couple of tricks from those days that speed the process considerably. Most people cut plugs in a random pattern in a piece of scrap and then pry them out with a chisel. If you rip the scrap to roughly the outside diameter of the plug cutter, and use a fence on the drill press as shown on page 43, the plug cutter won't need to remove so much material, and it won't tend to wander. The second benefit is that the plugs don't need to be pried loose with a chisel. Set the blade height on the table saw to V8" less than the strip of plugs, and set the fence so that the plugs are on the outside of the blade. Use a push stick to carefully make the cut, and you have a strip with the plugs still attached. You can easily break them off when you're ready to use them, as shown on page 43. Flush-cutting handsaws can be used for trimming the plugs, but I prefer to use a chisel. Pay attention to which way the grain is running on the side of the plug, and make the cut with the edge of the chisel on the "downhill" side. I hold the chisel slightly above the surface, 42 100 Popular Woodworking December 2004 |


