Popular Woodworking 2005-04 № 147, страница 96
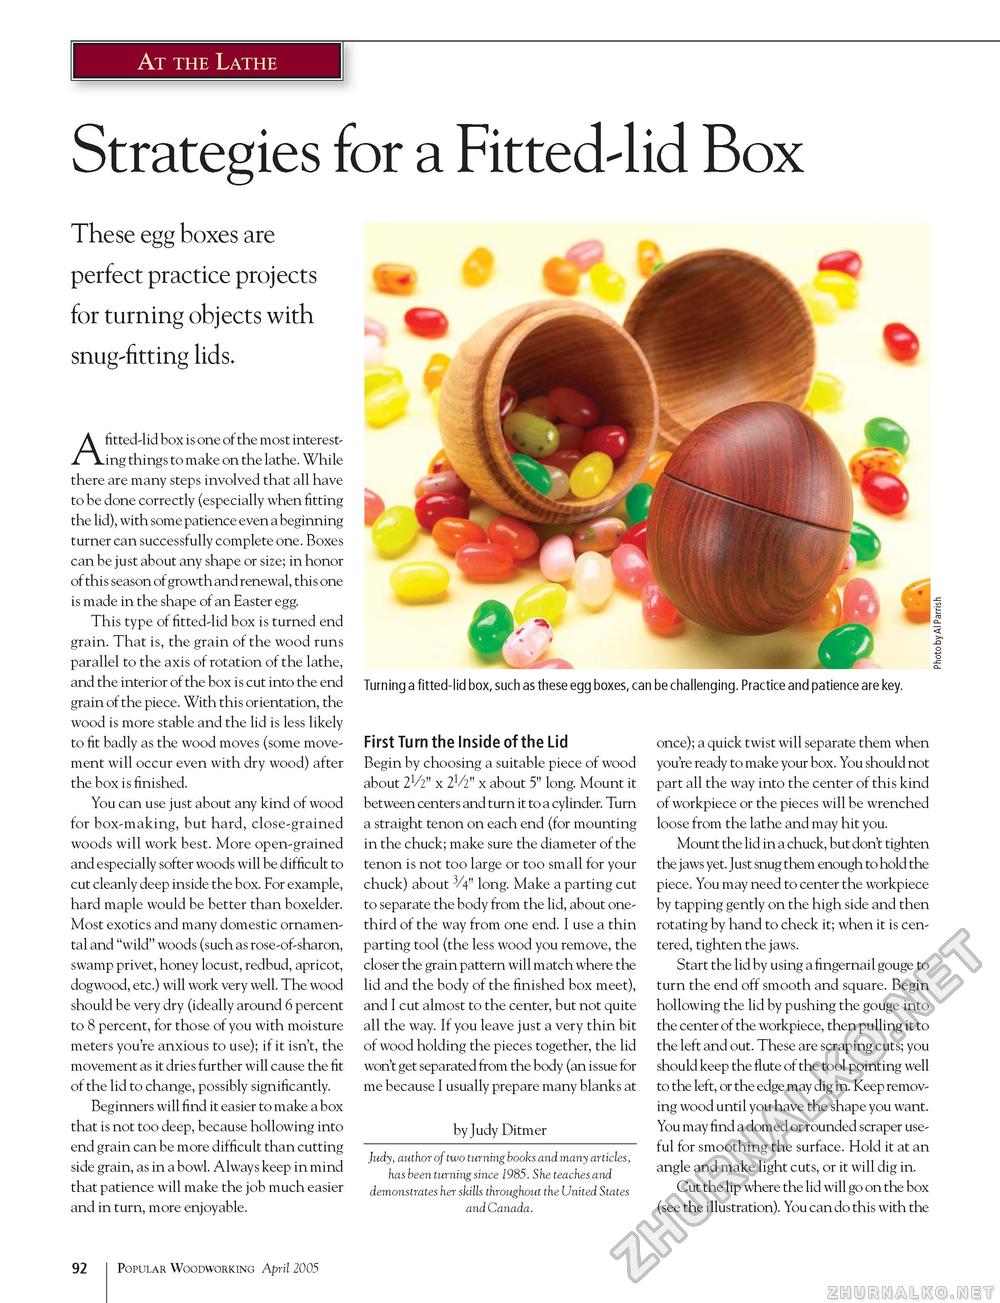
At the Lathe Strategies for a These egg boxes are perfect practice projects for turning objects with snug-fitting lids. FittecUid Box Turning a fitted-lid box, such as these egg boxes, can be challenging. Practice and patience are key. A fitted-lid box is one of the most interesting things to make on the lathe. While there are many steps involved that all have to be done correctly (especially when fitting the lid), with some patience even a beginning turner can successfully complete one. Boxes can be just about any shape or size; in honor of this season of growth and renewal, this one is made in the shape of an Easter egg. This type of fitted-lid box is turned end grain. That is, the grain of the wood runs parallel to the axis of rotation of the lathe, and the interior of the box is cut into the end grain of the piece. With this orientation, the wood is more stable and the lid is less likely to fit badly as the wood moves (some movement will occur even with dry wood) after the box is finished. You can use just about any kind of wood for box-making, but hard, close-grained woods will work best. More open-grained and especially softer woods will be difficult to cut cleanly deep inside the box. For example, hard maple would be better than boxelder. Most exotics and many domestic ornamental and "wild" woods (such as rose-of-sharon, swamp privet, honey locust, redbud, apricot, dogwood, etc.) will work very well. The wood should be very dry (ideally around 6 percent to 8 percent, for those of you with moisture meters you're anxious to use); if it isn't, the movement as it dries further will cause the fit of the lid to change, possibly significantly. Beginners will find it easier to make a box that is not too deep, because hollowing into end grain can be more difficult than cutting side grain, as in a bowl. Always keep in mind that patience will make the job much easier and in turn, more enjoyable. First Turn the Inside of the Lid Begin by choosing a suitable piece of wood about 2V2" x 2V2" x about 5" long. Mount it between centers and turn it to a cylinder. Turn a straight tenon on each end (for mounting in the chuck; make sure the diameter of the tenon is not too large or too small for your chuck) about 3/4" long. Make a parting cut to separate the body from the lid, about one-third of the way from one end. I use a thin parting tool (the less wood you remove, the closer the grain pattern will match where the lid and the body of the finished box meet), and I cut almost to the center, but not quite all the way. If you leave just a very thin bit of wood holding the pieces together, the lid won't get separated from the body (an issue for me because I usually prepare many blanks at by Judy Ditmer Judy, author of two turning books and many articles, has been turning since 1985. She teaches and demonstrates her skills throughout the United States and Canada. once); a quick twist will separate them when you're ready to make your box. You should not part all the way into the center of this kind of workpiece or the pieces will be wrenched loose from the lathe and may hit you. Mount the lid in a chuck, but don't tighten the jaws yet. Just snug them enough to hold the piece. You may need to center the workpiece by tapping gently on the high side and then rotating by hand to check it; when it is centered, tighten the jaws. Start the lid by using a fingernail gouge to turn the end off smooth and square. Begin hollowing the lid by pushing the gouge into the center of the workpiece, then pulling it to the left and out. These are scraping cuts; you should keep the flute of the tool pointing well to the left, or the edge may dig in. Keep removing wood until you have the shape you want. You may find a domed or rounded scraper useful for smoothing the surface. Hold it at an angle and make light cuts, or it will dig in. Cut the lip where the lid will go on the box (see the illustration). You can do this with the 92 Popular Woodworking April 2005 |


