Popular Woodworking 2005-06 № 148, страница 69
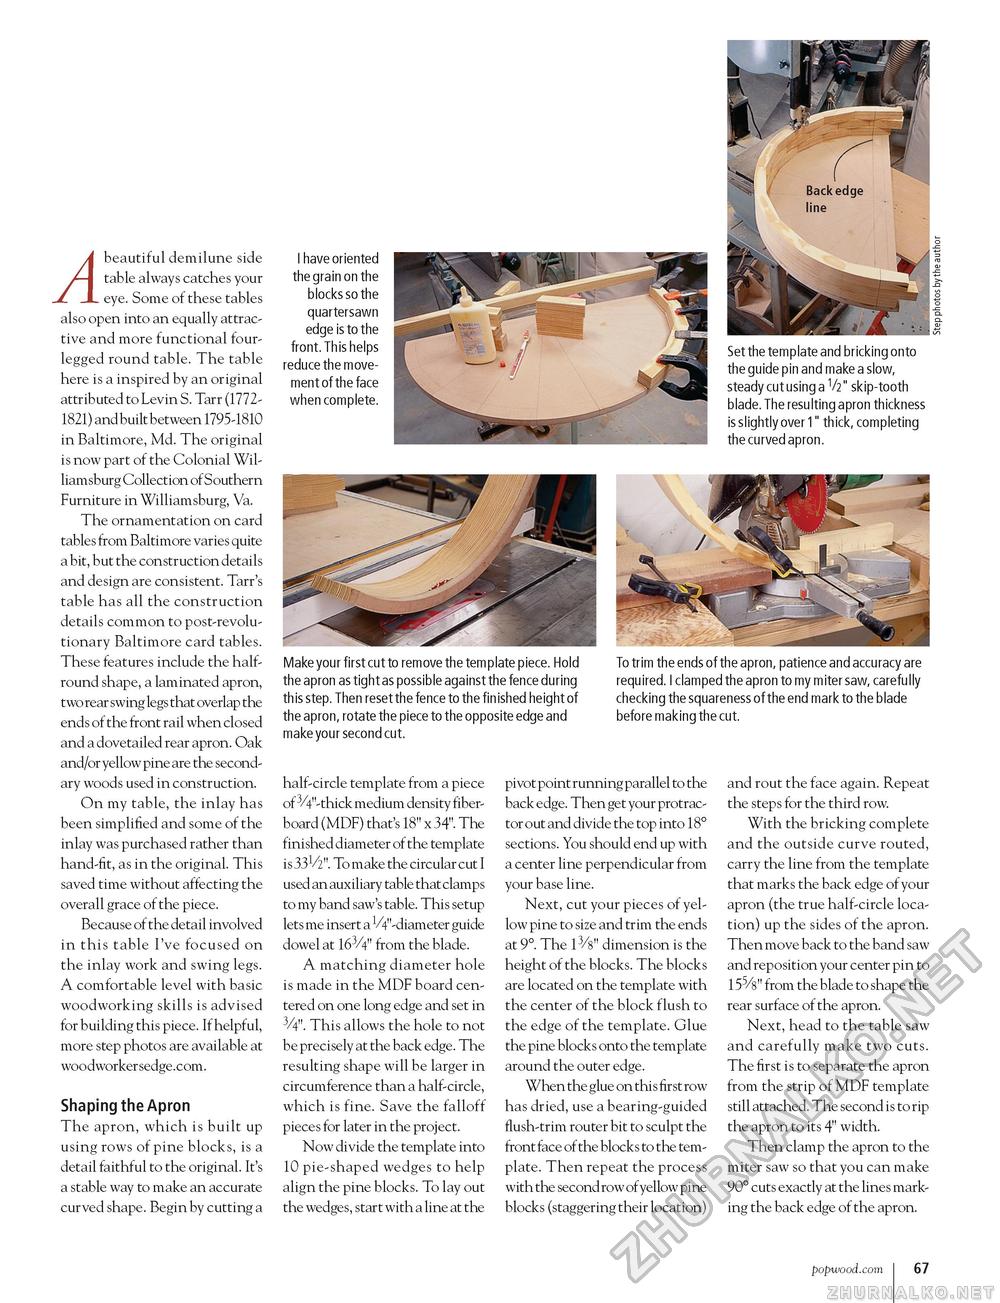
beautiful demilune side table always catches your eye. Some of these tables also open into an equally attractive and more functional four-legged round table. The table here is a inspired by an original attributed to Levin S. Tarr (17721821) and built between 1795-1810 in Baltimore, Md. The original is now part of the Colonial Williamsburg Collection of Southern Furniture in Williamsburg, Va. The ornamentation on card tables from Baltimore varies quite a bit, but the construction details and design are consistent. Tarr's table has all the construction details common to post-revolutionary Baltimore card tables. These features include the half-round shape, a laminated apron, two rear swing legs that overlap the ends of the front rail when closed and a dovetailed rear apron. Oak and/or yellow pine are the secondary woods used in construction. On my table, the inlay has been simplified and some of the inlay was purchased rather than hand-fit, as in the original. This saved time without affecting the overall grace of the piece. Because of the detail involved in this table I've focused on the inlay work and swing legs. A comfortable level with basic woodworking skills is advised for building this piece. If helpful, more step photos are available at woodworkersedge.com. Shaping the Apron The apron, which is built up using rows of pine blocks, is a detail faithful to the original. It's a stable way to make an accurate curved shape. Begin by cutting a I have oriented the grain on the blocks so the quartersawn edge is to the front. This helps reduce the movement of the face when complete. Set the template and bricking onto the guide pin and make a slow, steady cut using a V2" skip-tooth blade. The resulting apron thickness is slightly over 1" thick, completing the curved apron. Make your first cut to remove the template piece. Hold the apron as tight as possible against the fence during this step. Then reset the fence to the finished height of the apron, rotate the piece to the opposite edge and make your second cut. To trim the ends of the apron, patience and accuracy are required. I clamped the apron to my miter saw, carefully checking the squareness of the end mark to the blade before making the cut. half-circle template from a piece of 3/4"-thick medium density fiber-board (MDF) that's 18" x 34"". The finished diameter of the template is 331/2". To make the circular cut I used an auxiliary table that clamps to my band saw's table. This setup lets me insert a 14"-diameter guide dowel at 163/4" from the blade. A matching diameter hole is made in the MDF board centered on one long edge and set in 3/4". This allows the hole to not be precisely at the back edge. The resulting shape will be larger in circumference than a half-circle, which is fine. Save the falloff pieces for later in the project. Now divide the template into 10 pie-shaped wedges to help align the pine blocks. To lay out the wedges, start with a line at the pivot point running parallel to the back edge. Then get your protractor out and divide the top into 18° sections. You should end up with a center line perpendicular from your base line. Next, cut your pieces of yellow pine to size and trim the ends at 9°. The 13/8" dimension is the height of the blocks. The blocks are located on the template with the center of the block flush to the edge of the template. Glue the pine blocks onto the template around the outer edge. When the glue on this first row has dried, use a bearing-guided flush-trim router bit to sculpt the front face of the blocks to the template. Then repeat the process with the second row of yellow pine blocks (staggering their location) and rout the face again. Repeat the steps for the third row. With the bricking complete and the outside curve routed, carry the line from the template that marks the back edge of your apron (the true half-circle location) up the sides of the apron. Then move back to the band saw and reposition your center pin to 15%" from the blade to shape the rear surface of the apron. Next, head to the table saw and carefully make two cuts. The first is to separate the apron from the strip of MDF template still attached. The second is to rip the apron to its 4" width. Then clamp the apron to the miter saw so that you can make 90° cuts exactly at the lines marking the back edge of the apron. popwood.com 67 |


