Popular Woodworking 2005-08 № 149, страница 72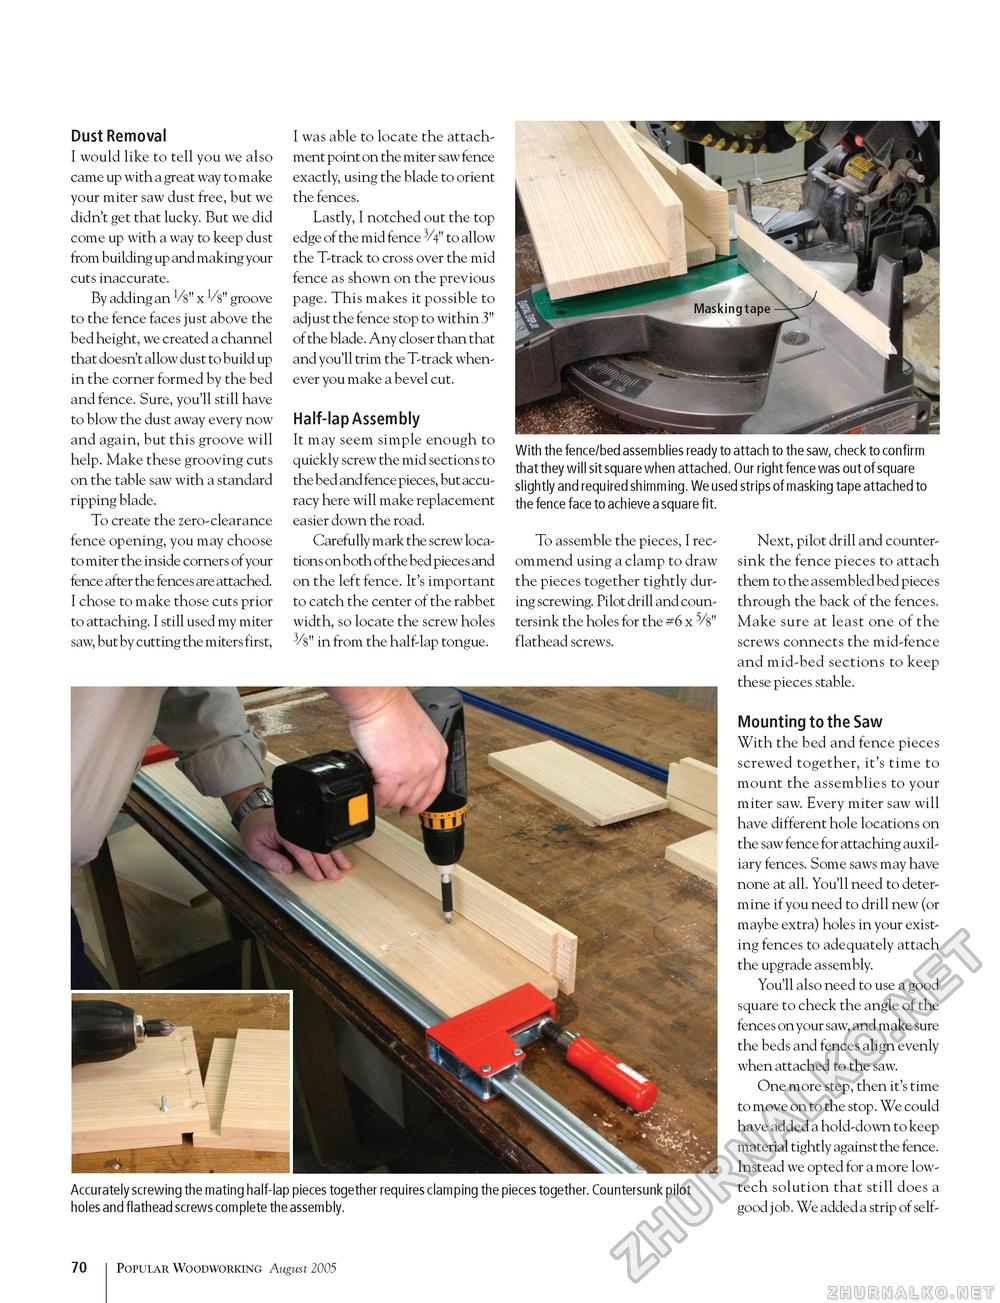
Dust Removal I would like to tell you we also came up with a great way to make your miter saw dust free, but we didn't get that lucky. But we did come up with a way to keep dust from building up and making your cuts inaccurate. By adding an Vs" x Vs" groove to the fence faces just above the bed height, we created a channel that doesn't allow dust to build up in the corner formed by the bed and fence. Sure, you'll still have to blow the dust away every now and again, but this groove will help. Make these grooving cuts on the table saw with a standard ripping blade. To create the zero-clearance fence opening, you may choose to miter the inside corners of your fence after the fences are attached. I chose to make those cuts prior to attaching. I still used my miter saw, but by cutting the miters first, I was able to locate the attachment point on the miter saw fence exactly, using the blade to orient the fences. Lastly, I notched out the top edge of the mid fence 3/4" to allow the T-track to cross over the mid fence as shown on the previous page. This makes it possible to adjust the fence stop to within 3" of the blade. Any closer than that and you'll trim the T-track whenever you make a bevel cut. Half-lap Assembly It may seem simple enough to quickly screw the mid sections to the bed and fence pieces, but accuracy here will make replacement easier down the road. Carefully mark the screw locations on both of the bed pieces and on the left fence. It's important to catch the center of the rabbet width, so locate the screw holes 3/8" in from the half-lap tongue. With the fence/bed assemblies ready to attach to the saw, check to confirm that they will sit square when attached. Our right fence was out of square slightly and required shimming. We used strips of masking tape attached to the fence face to achieve a square fit. To assemble the pieces, I recommend using a clamp to draw the pieces together tightly during screwing. Pilot drill and countersink the holes for the #6 x 5/8" flathead screws. Accurately screwing the mating half-lap pieces together requires clamping the pieces together. Countersunk pilot holes and flathead screws complete the assembly. Next, pilot drill and countersink the fence pieces to attach them to the assembled bed pieces through the back of the fences. Make sure at least one of the screws connects the mid-fence and mid-bed sections to keep these pieces stable. Mounting to the Saw With the bed and fence pieces screwed together, it's time to mount the assemblies to your miter saw. Every miter saw will have different hole locations on the saw fence for attaching auxiliary fences. Some saws may have none at all. You'll need to determine if you need to drill new (or maybe extra) holes in your existing fences to adequately attach the upgrade assembly. You'll also need to use a good square to check the angle of the fences on your saw, and make sure the beds and fences align evenly when attached to the saw. One more step, then it's time to move on to the stop. We could have added a hold-down to keep material tightly against the fence. Instead we opted for a more low-tech solution that still does a good job. We added a strip of self- 70 Popular Woodworking August 2005 |


