Popular Woodworking 2005-10 № 150, страница 103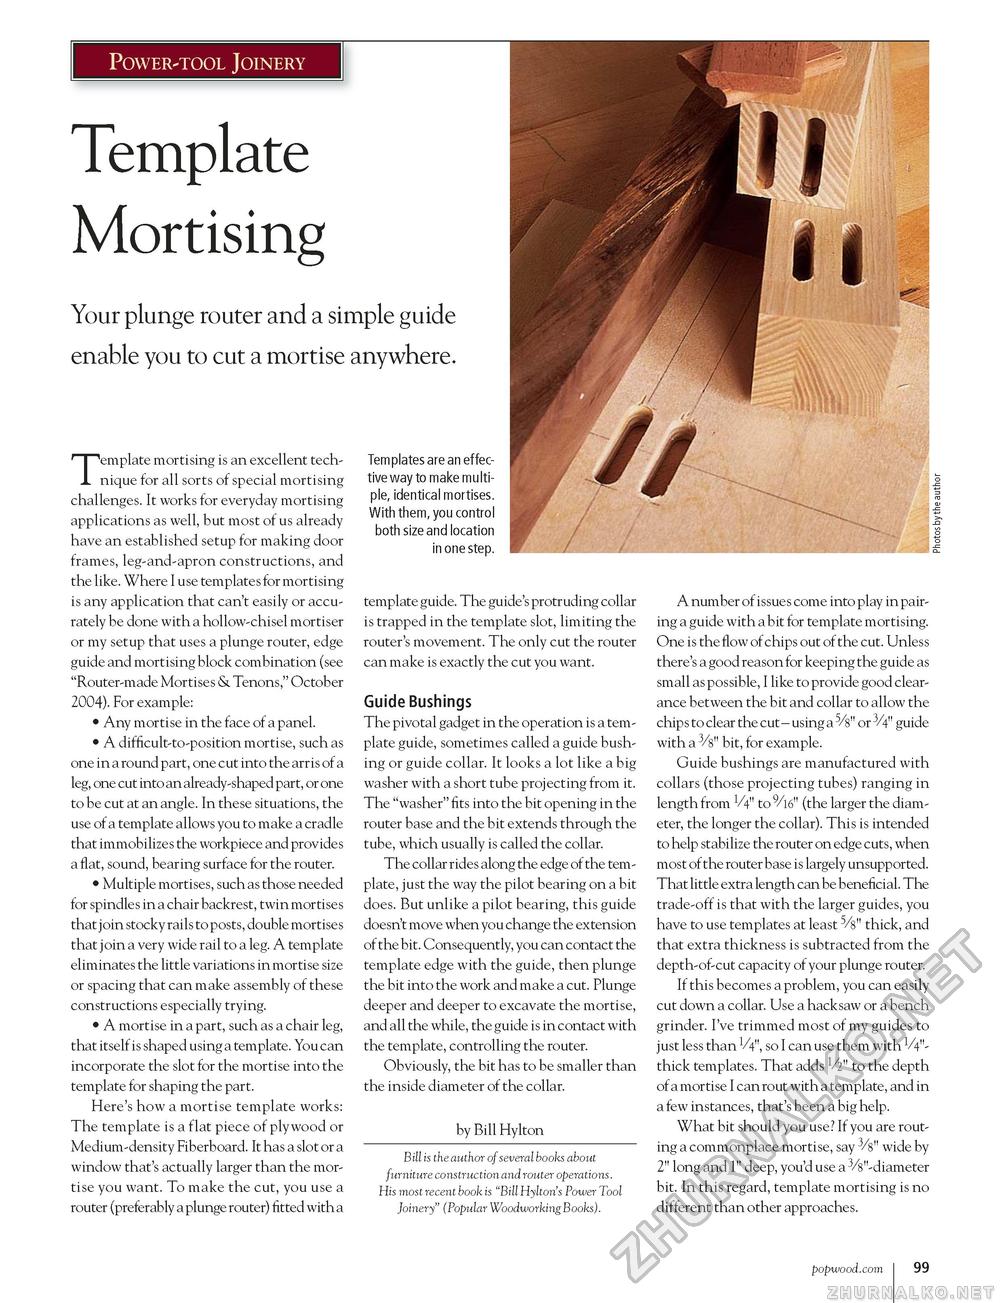
Power-tool Joinery Template Mortising Your plunge router and a simple guide enable you to cut a mortise anywhere. Template mortising is an excellent technique for all sorts of special mortising challenges. It works for everyday mortising applications as well, but most of us already have an established setup for making door frames, leg-and-apron constructions, and the like. Where I use templates for mortising is any application that can't easily or accurately be done with a hollow-chisel mortiser or my setup that uses a plunge router, edge guide and mortising block combination (see "Router-made Mortises & Tenons," October 2004). For example: • Any mortise in the face of a panel. • A difficult-to-position mortise, such as one in a round part, one cut into the arris of a leg, one cut into an already-shaped part, or one to be cut at an angle. In these situations, the use of a template allows you to make a cradle that immobilizes the workpiece and provides a flat, sound, bearing surface for the router. • Multiple mortises, such as those needed for spindles in a chair backrest, twin mortises that join stocky rails to posts, double mortises that j oin a very wide rail to a leg. A template eliminates the little variations in mortise size or spacing that can make assembly of these constructions especially trying. • A mortise in a part, such as a chair leg, that itself is shaped using a template. You can incorporate the slot for the mortise into the template for shaping the part. Here's how a mortise template works: The template is a flat piece of plywood or Medium-density Fiberboard. It has a slot or a window that's actually larger than the mortise you want. To make the cut, you use a router (preferably a plunge router) fitted with a Templates are an effective way to make multiple, identical mortises. With them, you control both size and location in one step. template guide. The guide's protruding collar is trapped in the template slot, limiting the router's movement. The only cut the router can make is exactly the cut you want. Guide Bushings The pivotal gadget in the operation is a template guide, sometimes called a guide bushing or guide collar. It looks a lot like a big washer with a short tube projecting from it. The "washer" fits into the bit opening in the router base and the bit extends through the tube, which usually is called the collar. The collar rides along the edge of the template, just the way the pilot bearing on a bit does. But unlike a pilot bearing, this guide doesn't move when you change the extension of the bit. Consequently, you can contact the template edge with the guide, then plunge the bit into the work and make a cut. Plunge deeper and deeper to excavate the mortise, and all the while, the guide is in contact with the template, controlling the router. Obviously, the bit has to be smaller than the inside diameter of the collar. by Bill Hylton Bill is the author of several books about furniture construction and router operations. His most recent book is "Bill Hylton's Power Tool Joinery' (Popular Woodworking Books). A number of issues come into play in pairing a guide with a bit for template mortising. One is the flow of chips out of the cut. Unless there's a good reason for keeping the guide as small as possible, I like to provide good clearance between the bit and collar to allow the chips to clear the cut - using a 5/s" or 3/4" guide with a 3/s" bit, for example. Guide bushings are manufactured with collars (those projecting tubes) ranging in length from V4" to 9/l6" (the larger the diameter, the longer the collar). This is intended to help stabilize the router on edge cuts, when most of the router base is largely unsupported. That little extra length can be beneficial. The trade-off is that with the larger guides, you have to use templates at least 5/s" thick, and that extra thickness is subtracted from the depth-of-cut capacity of your plunge router. If this becomes a problem, you can easily cut down a collar. Use a hacksaw or a bench grinder. I've trimmed most of my guides to just less than 1/4", so I can use them with V4"-thick templates. That adds V2" to the depth of a mortise I can rout with a template, and in a few instances, that's been a big help. What bit should you use? If you are routing a commonplace mortise, say 3/s" wide by 2" long and 1" deep, you'd use a 3/s"-diameter bit. In this regard, template mortising is no different than other approaches. popwood.com 99 |


