Popular Woodworking 2005-10 № 150, страница 68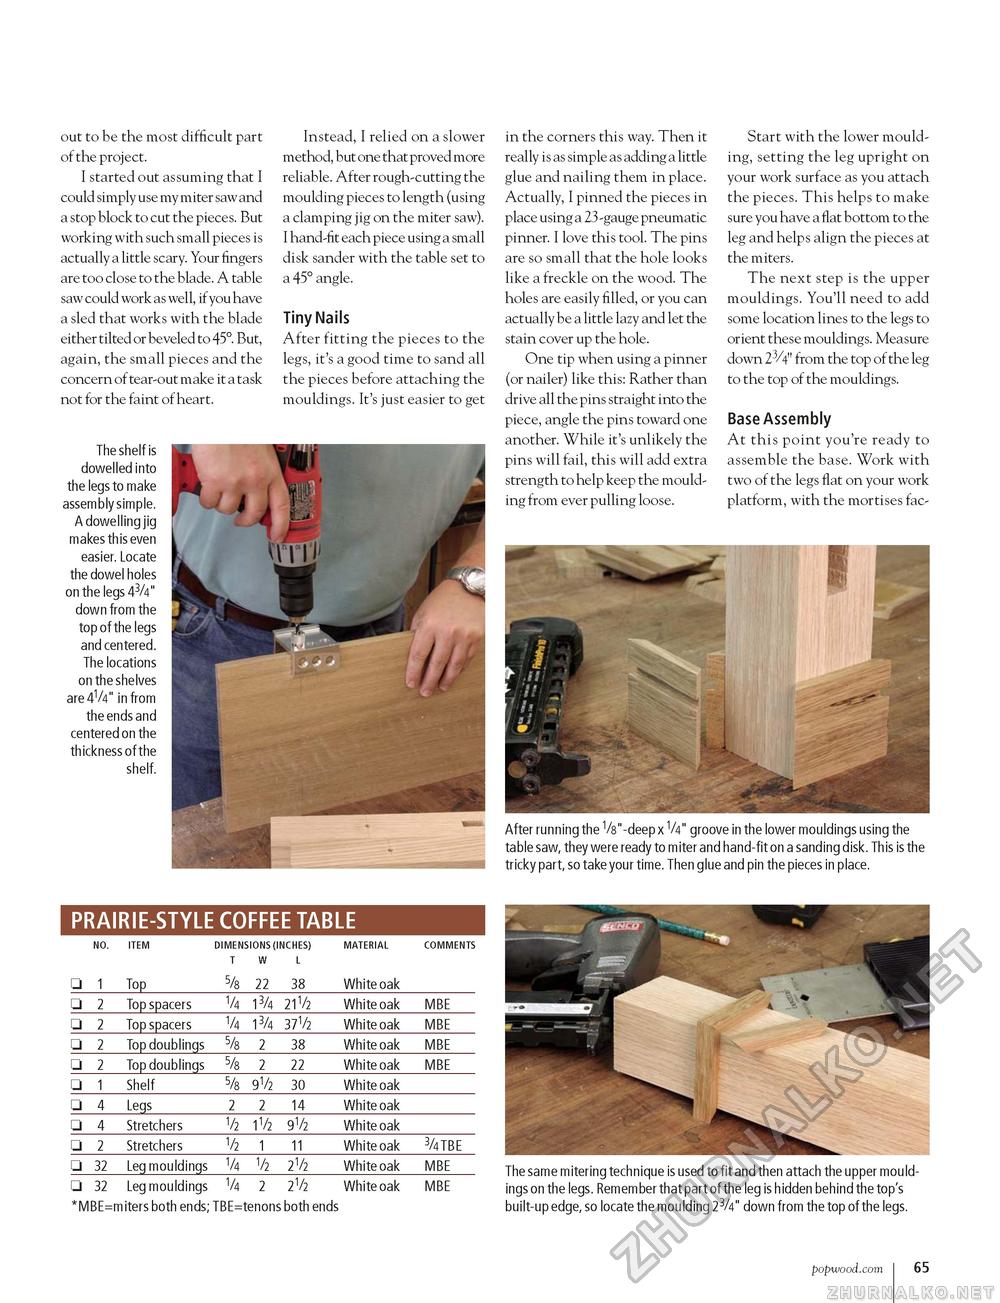
out to be the most difficult part of the project. I started out assuming that I could simply use my miter saw and a stop block to cut the pieces. But working with such small pieces is actually a little scary. Your fingers are too close to the blade. A table saw could work as well, if you have a sled that works with the blade either tilted or beveled to 45°. But, again, the small pieces and the concern of tear-out make it a task not for the faint of heart. The shelf is dowelled into the legs to make assembly simple. A dowelling jig makes this even easier. Locate the dowel holes on the legs 43/4" down from the top of the legs and centered. The locations on the shelves are 41/4" in from the ends and centered on the thickness of the shelf. Instead, I relied on a slower method, but one that proved more reliable. After rough-cutting the moulding pieces to length (using a clamping jig on the miter saw). I hand-fit each piece using a small disk sander with the table set to a 45° angle. Tiny Nails After fitting the pieces to the legs, it's a good time to sand all the pieces before attaching the mouldings. It's just easier to get in the corners this way. Then it really is as simple as adding a little glue and nailing them in place. Actually, I pinned the pieces in place using a 23 -gauge pneumatic pinner. I love this tool. The pins are so small that the hole looks like a freckle on the wood. The holes are easily filled, or you can actually be a little lazy and let the stain cover up the hole. One tip when using a pinner (or nailer) like this: Rather than drive all the pins straight into the piece, angle the pins toward one another. While it's unlikely the pins will fail, this will add extra strength to help keep the moulding from ever pulling loose. Start with the lower moulding, setting the leg upright on your work surface as you attach the pieces. This helps to make sure you have a flat bottom to the leg and helps align the pieces at the miters. The next step is the upper mouldings. You'll need to add some location lines to the legs to orient these mouldings. Measure down 23/4" from the top of the leg to the top of the mouldings. Base Assembly At this point you're ready to assemble the base. Work with two of the legs flat on your work platform, with the mortises fac- The same mitering technique is used to fit and then attach the upper mouldings on the legs. Remember that part of the leg is hidden behind the top's built-up edge, so locate the moulding 23/4" down from the top of the legs. PRAIRIE-STYLE COFFEE TABLE NO. ITEM DIMENSIONS (INCHES) MATERIAL COMMENTS T W L □ 1 Top_5/s 22 38 White oak_ □ 2 Top spacers 1/4 13/4 21V2 White oak MBE □ 2 Top spacers V4 13/4 37V2 White oak MBE □ 2 Top doublings 5/s 2 38 White oak MBE □ 2 Top doublings 5/s 2 22 White oak MBE □ 1 Shelf_5/s 9V2 30 White oak_ □ 4 Legs_2 2 14 White oak_ □ 4 Stretchers V2 1V2 9V2 White oak_ □ 2 Stretchers V2 1 11 White oak 3/4 TBE □ 32 Leg mouldings V4 V2 2V2 White oak MBE □ 32 Leg mouldings V4 2 2V2 White oak MBE *MBE=miters both ends; TBE=tenons both ends popwood.com i 65 |


