Popular Woodworking 2005-10 № 150, страница 69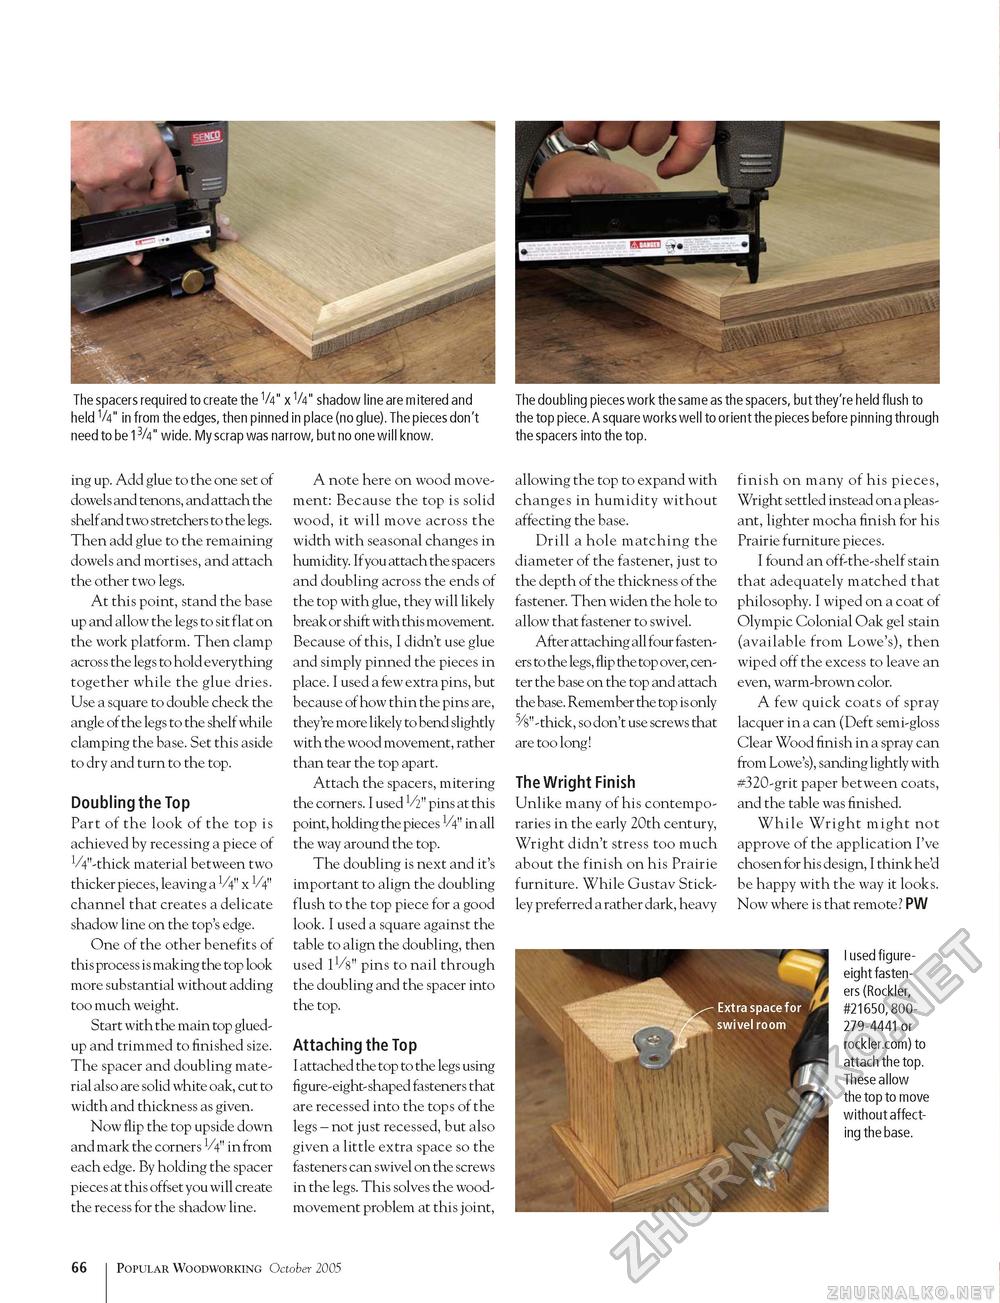
The spacers required to create the V4" x V4" shadow line are mitered and held V4" in from the edges, then pinned in place (no glue). The pieces don't need to be 13/4" wide. My scrap was narrow, but no one will know. The doubling pieces work the same as the spacers, but they're held flush to the top piece. A square works well to orient the pieces before pinning through the spacers into the top. ing up. Add glue to the one set of dowels and tenons, and attach the shelf and two stretchers to the legs. Then add glue to the remaining dowels and mortises, and attach the other two legs. At this point, stand the base up and allow the legs to sit flat on the work platform. Then clamp across the legs to hold everything together while the glue dries. Use a square to double check the angle of the legs to the shelf while clamping the base. Set this aside to dry and turn to the top. Doubling the Top Part of the look of the top is achieved by recessing a piece of VV-thick material between two thicker pieces, leaving a V4" x 14" channel that creates a delicate shadow line on the top's edge. One of the other benefits of this process is making the top look more substantial without adding too much weight. Start with the main top glued-up and trimmed to finished size. The spacer and doubling material also are solid white oak, cut to width and thickness as given. Now flip the top upside down and mark the corners 14" in from each edge. By holding the spacer pieces at this offset you will create the recess for the shadow line. A note here on wood movement: Because the top is solid wood, it will move across the width with seasonal changes in humidity. Ifyou attach the spacers and doubling across the ends of the top with glue, they will likely break or shift with this movement. Because of this, I didn't use glue and simply pinned the pieces in place. I used a few extra pins, but because of how thin the pins are, they're more likely to bend slightly with the wood movement, rather than tear the top apart. Attach the spacers, mitering the corners. I used V2" pins at this point, holding the pieces V4" in all the way around the top. The doubling is next and it's important to align the doubling flush to the top piece for a good look. I used a square against the table to align the doubling, then used V/s" pins to nail through the doubling and the spacer into the top. Attaching the Top I attached the top to the legs using figure-eight-shaped fasteners that are recessed into the tops of the legs - not just recessed, but also given a little extra space so the fasteners can swivel on the screws in the legs. This solves the wood-movement problem at this joint, allowing the top to expand with changes in humidity without affecting the base. Drill a hole matching the diameter of the fastener, just to the depth of the thickness of the fastener. Then widen the hole to allow that fastener to swivel. After attaching all four fasteners to the legs, flip the top over, center the base on the top and attach the base. Remember the top is only 5/s"-thick, so don't use screws that are too long! The Wright Finish Unlike many of his contemporaries in the early 20th century, Wright didn't stress too much about the finish on his Prairie furniture. While Gustav Stick-ley preferred a rather dark, heavy finish on many of his pieces, Wright settled instead on a pleasant, lighter mocha finish for his Prairie furniture pieces. I found an off-the-shelf stain that adequately matched that philosophy. I wiped on a coat of Olympic Colonial Oak gel stain (available from Lowe's), then wiped off the excess to leave an even, warm-brown color. A few quick coats of spray lacquer in a can (Deft semi-gloss Clear Wood finish in a spray can from Lowe's), sanding lightly with #320-grit paper between coats, and the table was finished. While Wright might not approve of the application I've chosen for his design, I think he'd be happy with the way it looks. Now where is that remote? PW I used figure-eight fasteners (Rockler, #21650, 800279-4441 or rockler.com) to attach the top. These allow the top to move without affecting the base. 66 Popular Woodworking October 2005 |


