Popular Woodworking 2005-10 № 150, страница 93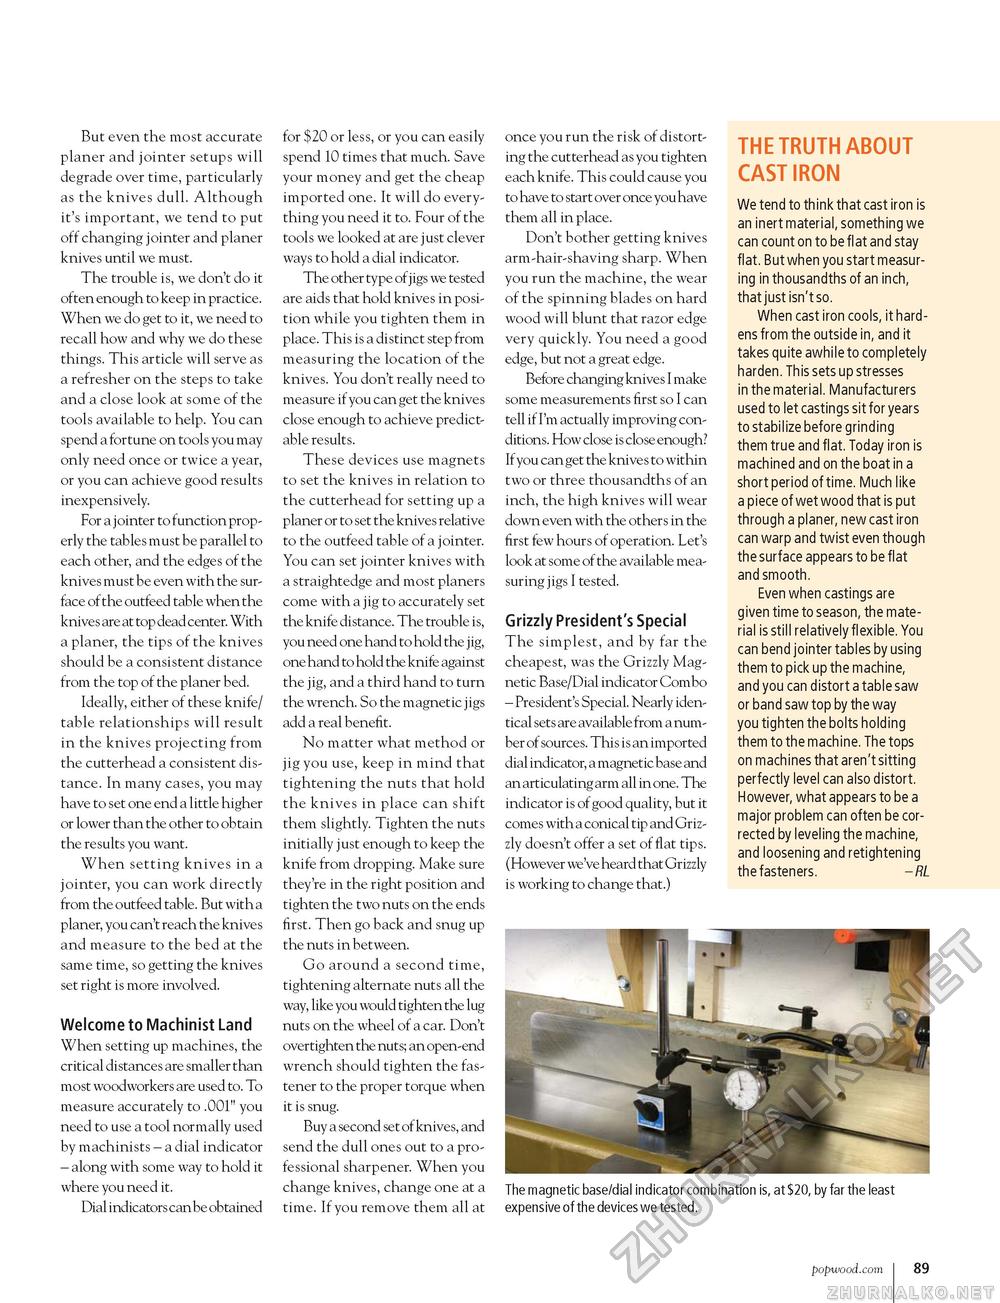
But even the most accurate planer and jointer setups will degrade over time, particularly as the knives dull. Although it's important, we tend to put off changing jointer and planer knives until we must. The trouble is, we don't do it often enough to keep in practice. When we do get to it, we need to recall how and why we do these things. This article will serve as a refresher on the steps to take and a close look at some of the tools available to help. You can spend a fortune on tools you may only need once or twice a year, or you can achieve good results inexpensively. For a jointer to function properly the tables must be parallel to each other, and the edges of the knives must be even with the surface of the outfeed table when the knives are at top dead center. With a planer, the tips of the knives should be a consistent distance from the top of the planer bed. Ideally, either of these knife/ table relationships will result in the knives projecting from the cutterhead a consistent distance. In many cases, you may have to set one end a little higher or lower than the other to obtain the results you want. When setting knives in a jointer, you can work directly from the outfeed table. But with a planer, you can't reach the knive s and measure to the bed at the same time, so getting the knives set right is more involved. Welcome to Machinist Land When setting up machines, the critical distances are smaller than most woodworkers are used to. To measure accurately to .001" you need to use a tool normally used by machinists - a dial indicator - along with some way to hold it where you need it. Dial indicators can be obtained for $20 or less, or you can easily spend 10 times that much. Save your money and get the cheap imported one. It will do everything you need it to. Four of the tools we looked at are just clever ways to hold a dial indicator. The other type ofjigs we tested are aids that hold knives in position while you tighten them in place. This is a distinct step from measuring the location of the knives. You don't really need to measure if you can get the knives close enough to achieve predictable results. These devices use magnets to set the knives in relation to the cutterhead for setting up a planer or to set the knives relative to the outfeed table of a jointer. You can set jointer knives with a straightedge and most planers come with a jig to accurately set the knife distance. The trouble is, you need one hand to hold the jig, one hand to hold the knife against the jig, and a third hand to turn the wrench. So the magnetic jigs add a real benefit. No matter what method or jig you use, keep in mind that tightening the nuts that hold the knives in place can shift them slightly. Tighten the nuts initially just enough to keep the knife from dropping. Make sure they're in the right position and tighten the two nuts on the ends first. Then go back and snug up the nuts in between. Go around a second time, tightening alternate nuts all the way, like you would tighten the lug nuts on the wheel of a car. Don't overtighten the nuts; an open-end wrench should tighten the fastener to the proper torque when it is snug. Buy a second set of knives, and send the dull ones out to a professional sharpener. When you change knives, change one at a time. If you remove them all at once you run the risk of distorting the cutterhead as you tighten each knife. This could cause you to have to start over once you have them all in place. Don't bother getting knives arm-hair-shaving sharp. When you run the machine, the wear of the spinning blades on hard wood will blunt that razor edge very quickly. You need a good edge, but not a great edge. Before changing knives I make some measurements first so I can tell if I'm actually improving conditions. How close is close enough? If you can get the knive s to within two or three thousandths of an inch, the high knives will wear down even with the others in the first few hours of operation. Let's look at some of the available measuring jigs I tested. Grizzly President's Special The simplest, and by far the cheapest, was the Grizzly Magnetic Base/Dial indicator Combo - President's Special. Nearly identical sets are available from a number of sources. This is an imported dial indicator, a magnetic base and an articulating arm all in one. The indicator is of good quality, but it comes with a conical tip and Grizzly doesn't offer a set of flat tips. (However we've heard that Grizzly is working to change that.) THE TRUTH ABOUT CAST IRON We tend to think that cast iron is an inert material, something we can count on to be flat and stay flat. But when you start measuring in thousandths of an inch, that just isn't so. When cast iron cools, it hardens from the outside in, and it takes quite awhile to completely harden. This sets up stresses in the material. Manufacturers used to let castings sit for years to stabilize before grinding them true and flat. Today iron is machined and on the boat in a short period of time. Much like a piece of wet wood that is put through a planer, new cast iron can warp and twist even though the surface appears to be flat and smooth. Even when castings are given time to season, the material is still relatively flexible. You can bend jointer tables by using them to pick up the machine, and you can distort a table saw or band saw top by the way you tighten the bolts holding them to the machine. The tops on machines that aren't sitting perfectly level can also distort. However, what appears to be a major problem can often be corrected by leveling the machine, and loosening and retightening the fasteners. - RL The magnetic base/dial indicator combination is, at $20, by far the least expensive of the devices we tested. popwood.com i 89 |


