Popular Woodworking 2005-10 № 150, страница 95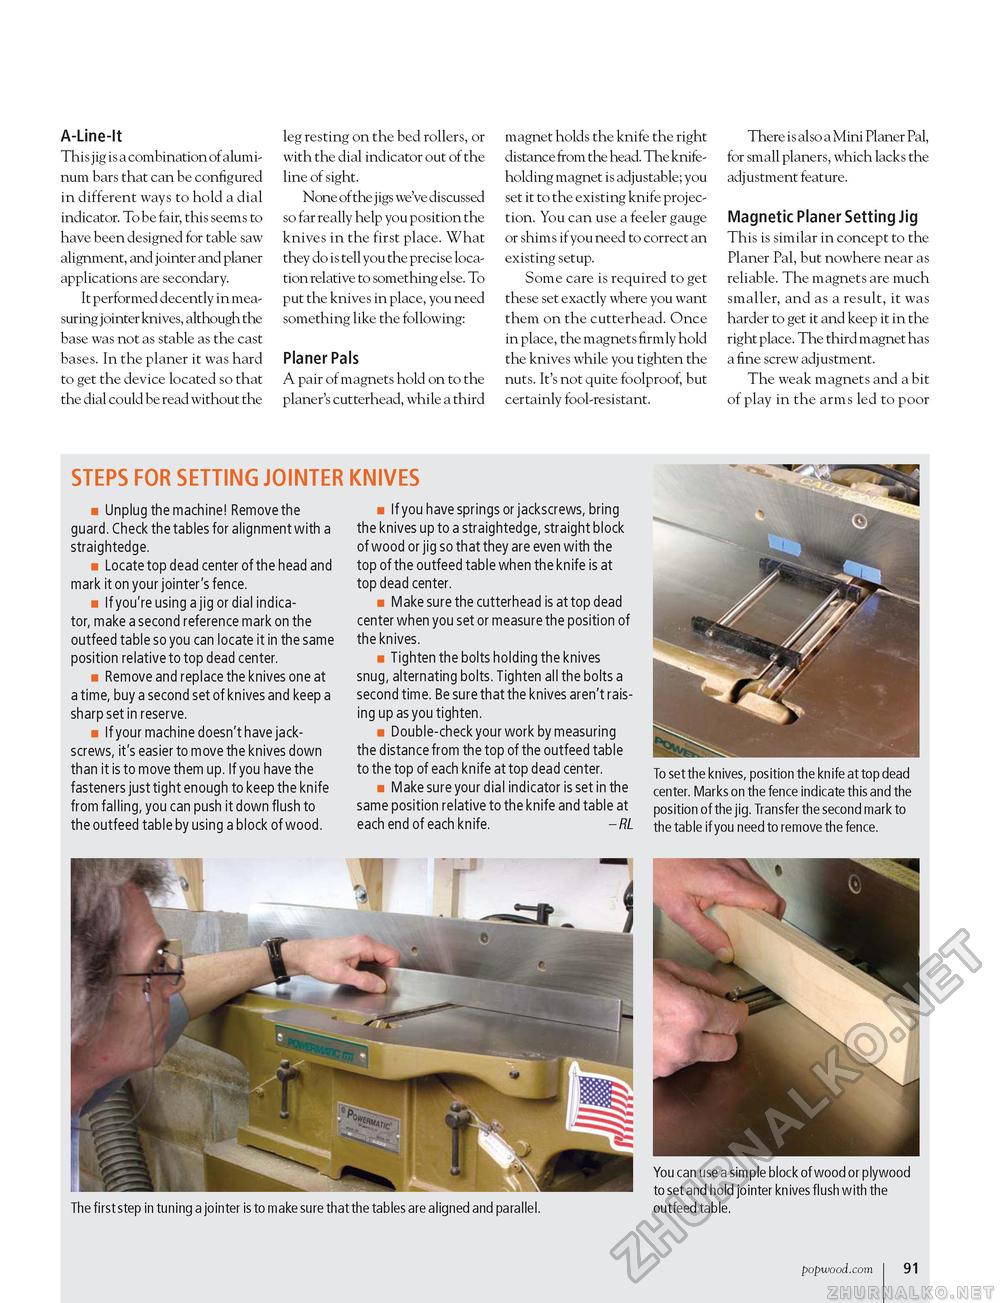
A-Line-It This jig is a combination of aluminum bars that can be configured in different ways to hold a dial indicator. To be fair, this seems to have been designed for table saw alignment, and jointer and planer applications are secondary. It performed decently in measuring jointer knives, although the base was not as stable as the cast bases. In the planer it was hard to get the device located so that the dial could be read without the leg resting on the bed rollers, or with the dial indicator out of the line of sight. None of the j igs we've discussed so far really help you position the knives in the first place. What they do is tell you the precise location relative to something else. To put the knives in place, you need something like the following: Planer Pals A pair of magnets hold on to the planer's cutterhead, while a third magnet holds the knife the right distance from the head. The knife-holding magnet is adjustable; you set it to the existing knife projection. You can use a feeler gauge or shims if you need to correct an existing setup. Some care is required to get these set exactly where you want them on the cutterhead. Once in place, the magnets firmly hold the knives while you tighten the nuts. It's not quite foolproof, but certainly fool-resistant. There is also a Mini Planer Pal, for small planers, which lacks the adjustment feature. Magnetic Planer Setting Jig This is similar in concept to the Planer Pal, but nowhere near as reliable. The magnets are much smaller, and as a result, it was harder to get it and keep it in the right place. The third magnet has a fine screw adjustment. The weak magnets and a bit of play in the arms led to poor STEPS FOR SETTING JOINTER KNIVES ■ Unplug the machine! Remove the guard. Check the tables for alignment with a straightedge. ■ Locate top dead center of the head and mark it on your jointer's fence. ■ If you're using a jig or dial indicator, make a second reference mark on the outfeed table so you can locate it in the same position relative to top dead center. ■ Remove and replace the knives one at a time, buy a second set of knives and keep a sharp set in reserve. ■ If your machine doesn't have jack-screws, it's easier to move the knives down than it is to move them up. If you have the fasteners just tight enough to keep the knife from falling, you can push it down flush to the outfeed table by using a block of wood. ■ If you have springs or jackscrews, bring the knives up to a straightedge, straight block of wood or jig so that they are even with the top of the outfeed table when the knife is at top dead center. ■ Make sure the cutterhead is at top dead center when you set or measure the position of the knives. ■ Tighten the bolts holding the knives snug, alternating bolts. Tighten all the bolts a second time. Be sure that the knives aren't raising up as you tighten. ■ Double-check your work by measuring the distance from the top of the outfeed table to the top of each knife at top dead center. ■ Make sure your dial indicator is set in the same position relative to the knife and table at each end of each knife. - RL To set the knives, position the knife at top dead center. Marks on the fence indicate this and the position of the jig. Transfer the second mark to the table if you need to remove the fence. The first step in tuning a jointer is to make sure that the tables are aligned and parallel. outfeed table. popwood.com i 91 |


