Popular Woodworking 2005-11 № 151, страница 62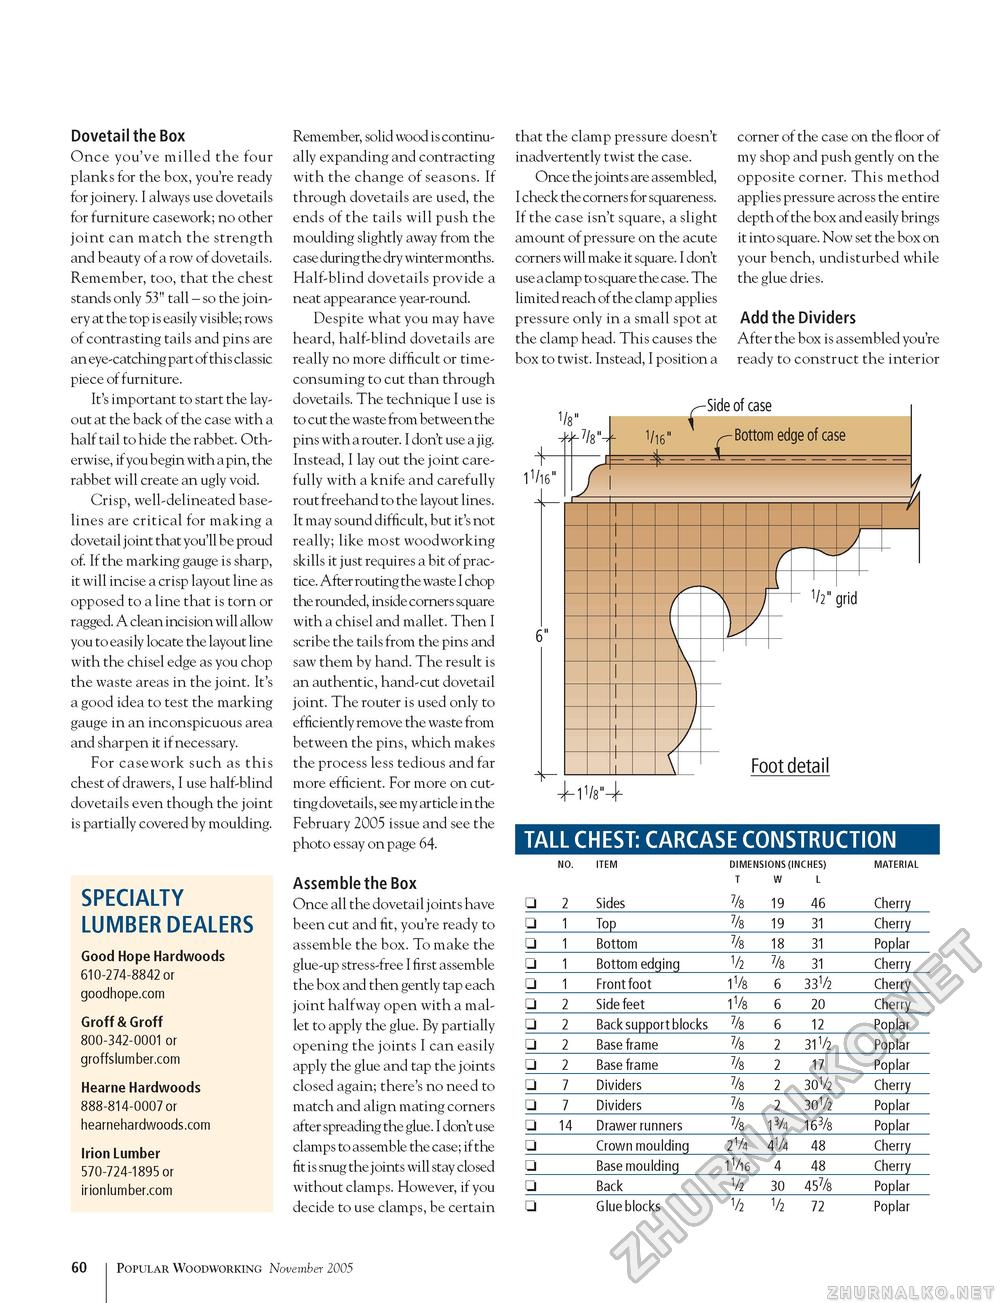
Dovetail the Box Once you've milled the four planks for the box, you're ready for joinery. I always use dovetails for furniture casework; no other joint can match the strength and beauty of a row of dovetails. Remember, too, that the chest stands only 53" tall - so the joinery at the top is easily visible; rows of contrasting tails and pins are an eye-catching part of this classic piece of furniture. It's important to start the layout at the back of the case with a half tail to hide the rabbet. Otherwise, if you begin with a pin, the rabbet will create an ugly void. Crisp, well-delineated baselines are critical for making a dovetail joint that you'll be proud of. If the marking gauge is sharp, it will incise a crisp layout line as opposed to a line that is torn or ragged. A clean incision will allow you to easily locate the layout line with the chisel edge as you chop the waste areas in the joint. It's a good idea to test the marking gauge in an inconspicuous area and sharpen it if necessary. For casework such as this chest of drawers, I use half-blind dovetails even though the joint is partially covered by moulding. SPECIALTY LUMBER DEALERS Good Hope Hardwoods 610-274-8842 or goodhope.com Groff & Groff 800-342-0001 or groffslumber.com Hearne Hardwoods 888-814-0007 or hearnehardwoods.com Irion Lumber 570-724-1895 or irionlumber.com Remember, solid wood is continually expanding and contracting with the change of seasons. If through dovetails are used, the ends of the tails will push the moulding slightly away from the case during the dry winter months. Half-blind dovetails provide a neat appearance year-round. Despite what you may have heard, half-blind dovetails are really no more difficult or time-consuming to cut than through dovetails. The technique I use is to cut the waste from between the pins with a router. I don't use a jig. Instead, I lay out the joint carefully with a knife and carefully rout freehand to the layout lines. It may sound difficult, but it's not really; like most woodworking skills it just requires a bit of practice. After routing the waste I chop the rounded, inside corners square with a chisel and mallet. Then I scribe the tails from the pins and saw them by hand. The result is an authentic, hand-cut dovetail joint. The router is used only to efficiently remove the waste from between the pins, which makes the process less tedious and far more efficient. For more on cutting dovetails, see my article in the February 2005 issue and see the photo essay on page 64. Assemble the Box Once all the dovetail joints have been cut and fit, you're ready to assemble the box. To make the glue-up stress-free I first assemble the box and then gently tap each joint halfway open with a mallet to apply the glue. By partially opening the joints I can easily apply the glue and tap the joints closed again; there's no need to match and align mating corners after spreading the glue. I don't use clamps to assemble the case; if the fit is snug the joints will stay closed without clamps. However, if you decide to use clamps, be certain that the clamp pressure doesn't inadvertently twist the case. Once the joints are assembled, I check the corners for squareness. If the case isn't square, a slight amount of pressure on the acute corners will make it square. I don't use a clamp to square the case. The limited reach of the clamp applies pressure only in a small spot at the clamp head. This causes the box to twist. Instead, I position a corner of the case on the floor of my shop and push gently on the opposite corner. This method applies pressure across the entire depth of the box and easily brings it into square. Now set the box on your bench, undisturbed while the glue dries. Add the Dividers After the box is assembled you're ready to construct the interior Side of case 1V16" TALL CHEST: CARCASE CONSTRUCTION
60 Popular Woodworking November 2005 |
|||||||||||||||||||||||||||||||||||||||||||||||||||||||||||||||||||||||||||||||||||||||||||||||||||||||||||||||||||||||


